What’s better than adding some crispy and fragrant fried garlic to any dish? Besides adding a ton of garlic to the dish at the beginning, nothing really beats that extra crunch of garlic with every bite.
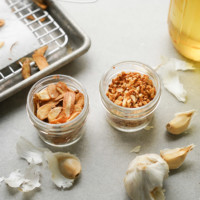
I’ll show you how to make two types of fried garlic to make for all your salads, roasted vegetables, and more!
Types of garlic to use
There are two main varieties of garlic: hardneck and softneck. Each can be used in the same way, but they also have different flavor profiles. You can typically find softneck garlic at your local grocery store and have a less pungent flavor than hardneck garlic that has a more complex and stronger flavor.
You can tell these garlic varieties apart because hardneck garlic are more uniform in size, have fewer cloves, and has a thick, middle stem (this is the “hard neck” part of the garlic). The softneck doesn’t have a stem inside at all and has significantly more cloves (up to 20-30 that vary in size). Between these two main varieties, there are dozens of other varieties too.
For this recipe, I would recommend using hardneck garlic because they are likely to keep their strong pungent flavor during frying. You can typically find hardneck varieties at Asian grocery stores. To make deep-frying worth it, I like to fry about ½ to 1 cup of garlic slices or chopped pieces and save the oil for future cooking.
Types of oil to use
Since garlic is already a fairly strong and pungent flavor, you want to use a neutral cooking oil like vegetable oil or sunflower oil so we don’t mask the garlic flavor with an aromatic one like olive oil. I also like that vegetable oil has a high smoke point so it won’t burn when you are deep frying the garlic.
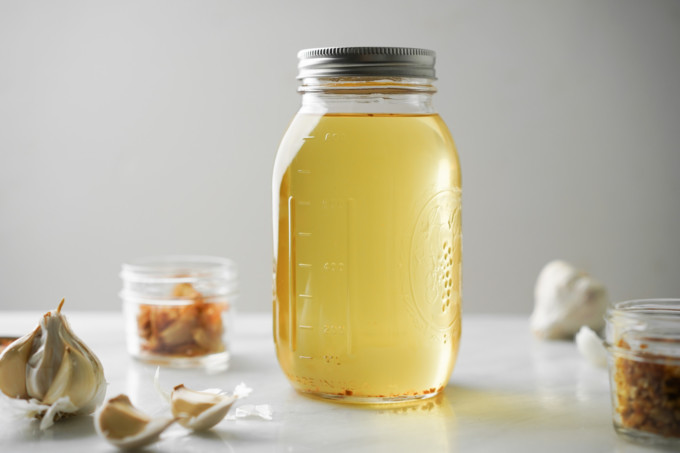
Another bonus to this recipe is that you can save the oil from deep frying to use in future recipes and it will have a nice hint of garlic flavor–um garlic-flavored eggs in the morning? Yes, please!
If you don’t want to deal with a large amount of oil for deep frying, you can also have the option to pan-fry the garlic pieces with just enough oil to cover and cook them.
How to fry the garlic chips
To fry garlic chips and chopped garlic, there are two basic ways detailed below:
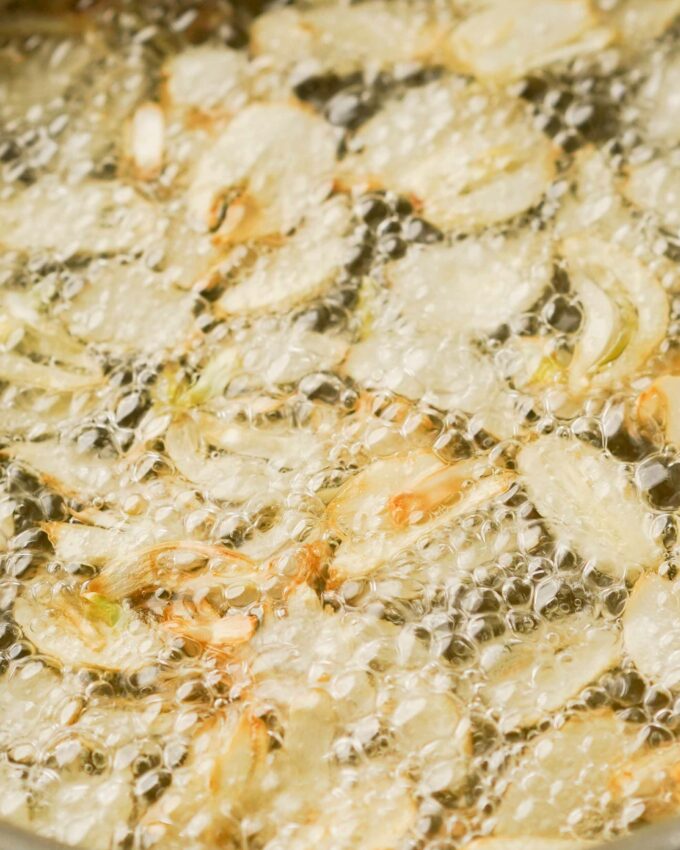
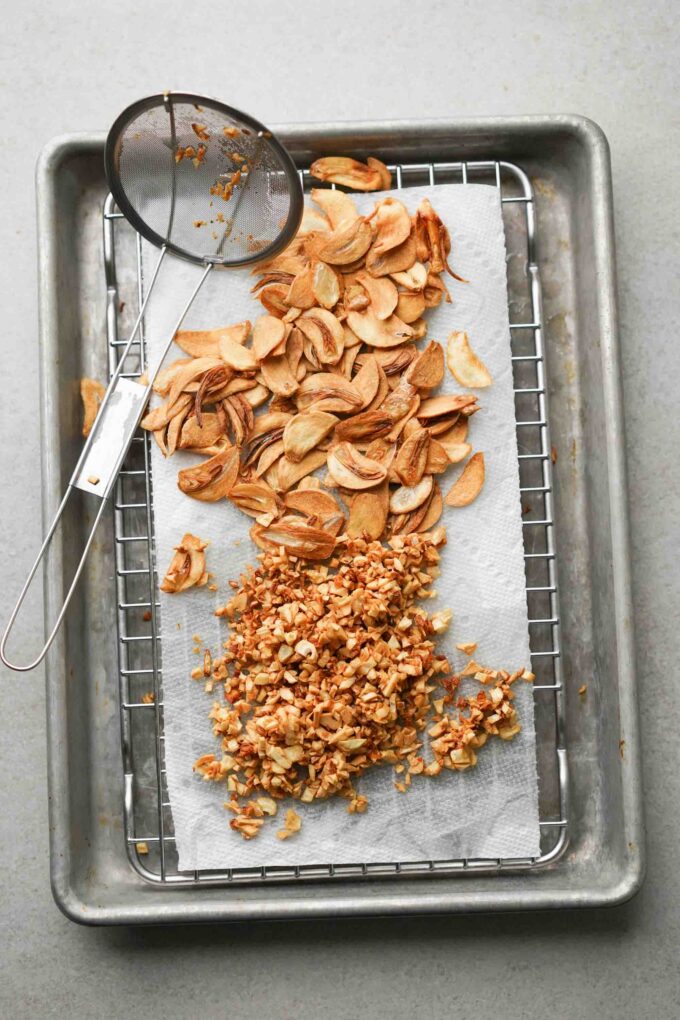
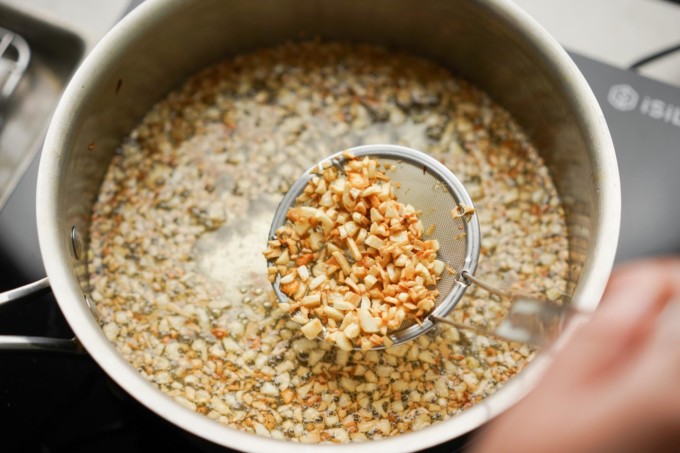
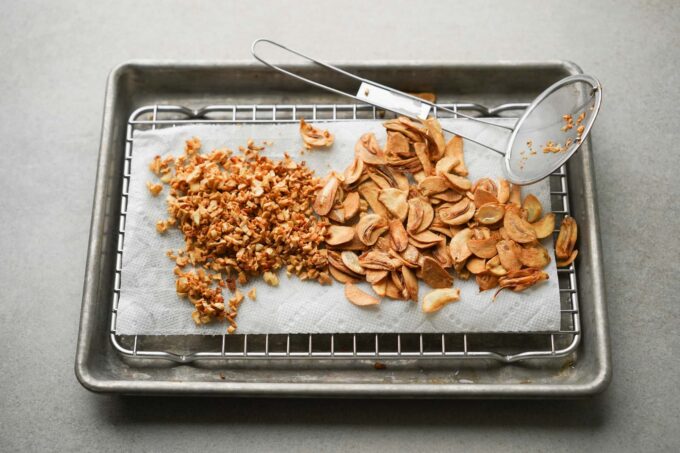
- Deep-frying garlic: If you have a large amount of garlic you want to fry, this is your best bet because it’s faster to do large batches and you can keep the oil to use for later recipes because it’s infused with that garlic flavor. (Note: if you end up burning the oil or overuse the oil from too much deep-frying you should not reuse this oil. Signs of burned or overused oil are dark brown coloring and smells burned). Use about 1 ½ inch of oil from the bottom of your pot and heat it up to about 300°F. Add your garlic and swirl to ensure all the garlic is properly coated and cook until it’s lightly golden brown (they will continue to slowly darken after removing). Transfer to a paper towel to drain and serve.
- Pan-frying garlic: This is great for small batches or one-off dishes that you want to top a pinch of fried garlic. Use a small pan to combine the garlic and just enough oil to cover the garlic. Pan-fry until they are slightly golden brown (they continue to brown and cook after you transfer them), and move them onto a paper towel to drain.
How garlic chips are used
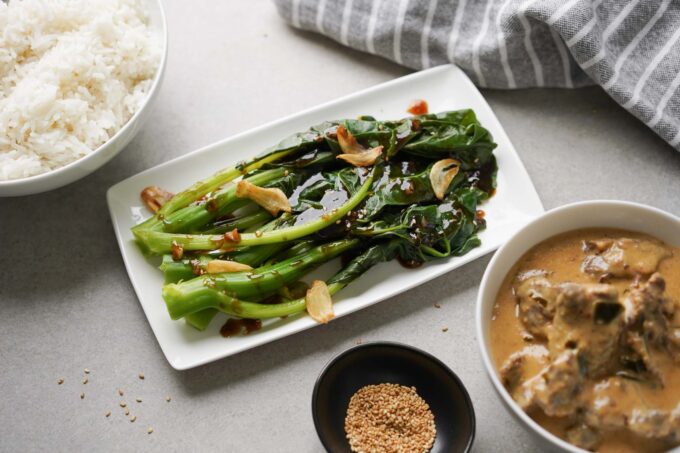
You can definitely use fried garlic in so many ways. Some of my favorite ways to use fried garlic chips are on salads, KBBQ wraps, and vegetables like smashed potatoes, sauteed bok choy, or brussels sprouts. There’s really an unlimited way you can use this ingredient.
For Vietnamese recipes, I’ve had fried garlic chips in dishes like grilled blood clams and hủ tiếu dai, however Vietnamese food tends to be topped with fried shallot instead of garlic–which you can fry up the same way.
How to store garlic chips & garlic oil
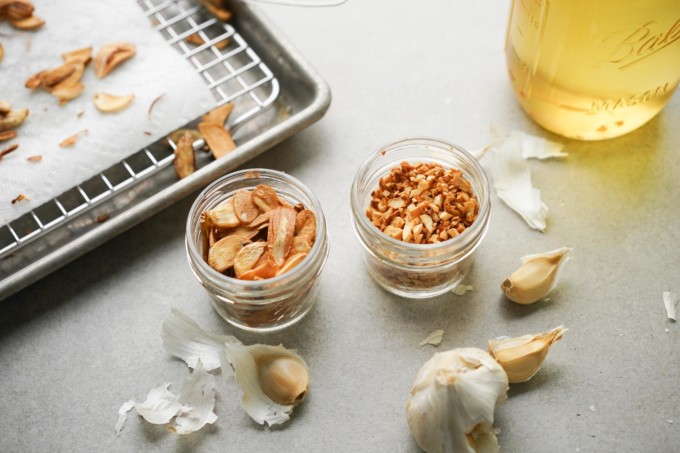
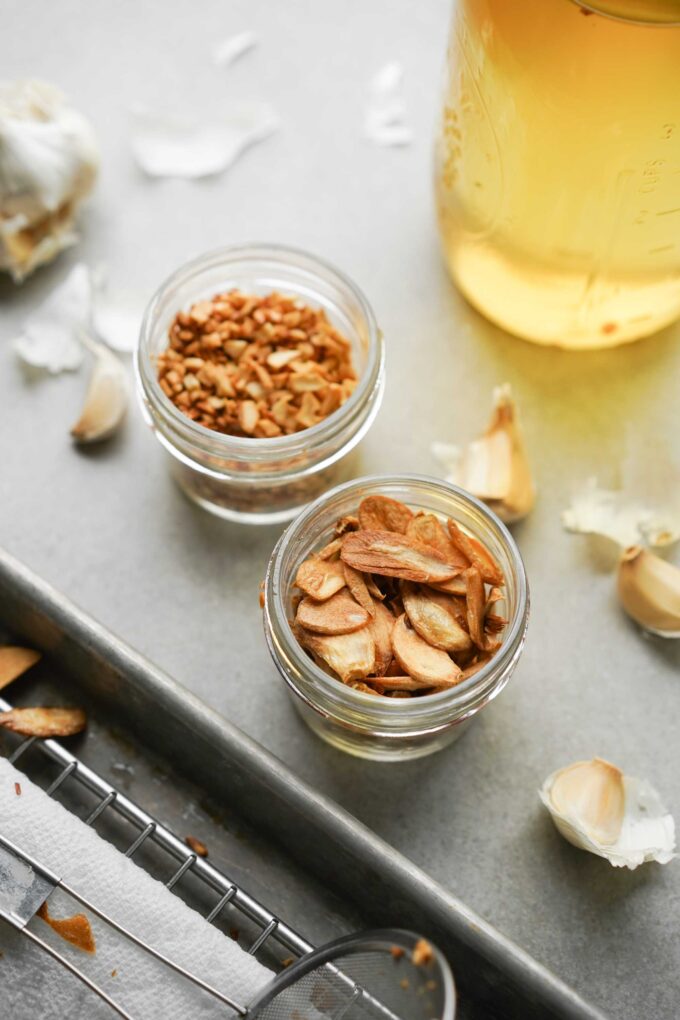
I like draining all the oil from my fried garlic before storing them, as well as cooling them to room temperature. I store the fried garlic in air-tight containers and the garlic oil in a mason jar or oil container. The garlic should last for at least 1 week.
Crispy Fried Garlic Chips (Tỏi Phi)
Ingredients
- 100 g garlic sliced or chopped
- neutral cooking oil vegetable oil preferred
Equipment Used
- mandoline slicer (optional)
- knife
- pan
- tongs
- cooling rack
- paper towels
Instructions
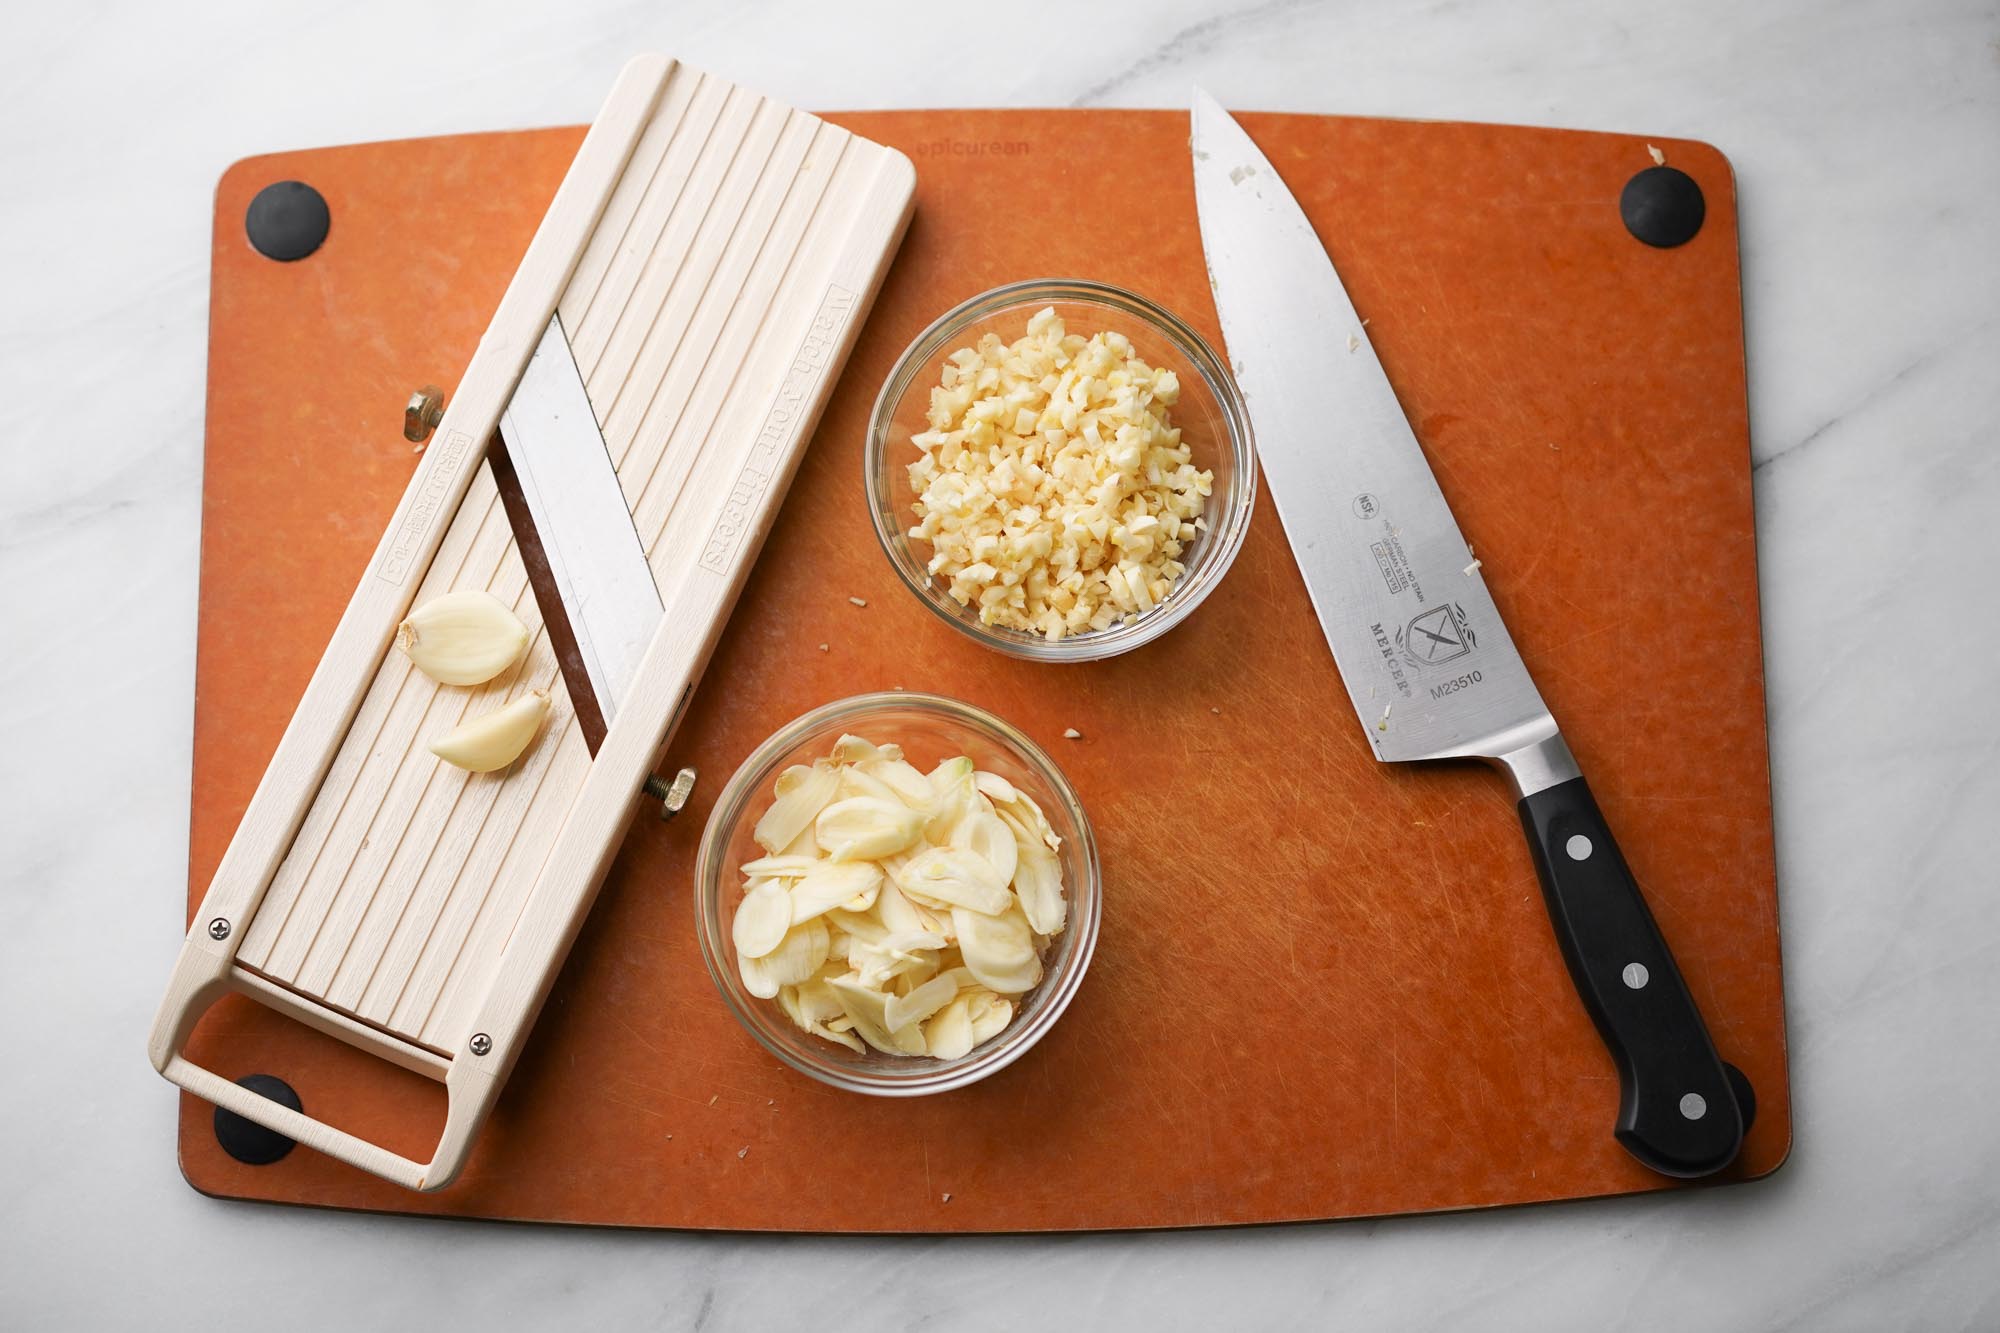
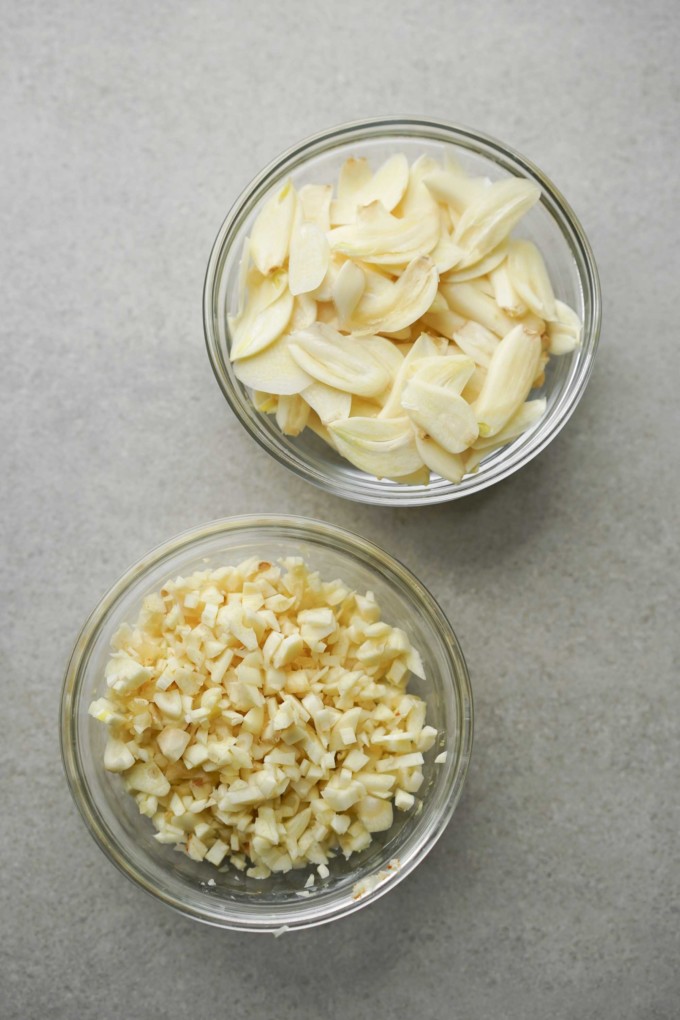
- Slice or chop your garlic cloves in your desired shape. I like using a mandolin with a cut-proof glove to get ultra-skinny slices, but be careful if you don’t have a glove.

- Deep-frying: Use about 1 ½ inch of oil from the bottom of your pot and heat it up to about 300 °F. (I used about 2 cups of vegetable oil for my 3.5-quart pot). Add your garlic and swirl to ensure all the garlic is properly coated and cook until it’s lightly golden brown, about 3-5 minutes. Do not leave the pot unattended because it goes from pale to brown quickly. Transfer to a paper towel to drain.
- Pan-frying: Use a small pan to combine the garlic and just enough oil to cover the garlic. Pan-fry until they are slightly golden brown (they continue to brown and cook after you transfer them), about 3-5 minutes, and move them onto a paper towel to drain.
- Serve the fried garlic fresh after it’s cooled to the touch.
- You have the option to save the deep-frying oil once it’s cooled down for later use. (Note: if you end up burning the oil from too much deep-frying you should not reuse this oil. Signs of burned or overused oil are dark brown coloring and smells burned).