Soft and airy vanilla flavored soufflé pancakes are more than just a trend, they’re life changing. Like crispy belgian waffles or even ube waffles, these soufflé pancakes are definitely something you should add to your breakfast line up.
With this recipe, you don’t have to travel to Japan or even Korea to get soufflé pancakes at home. Although, let’s make it clear, this recipe takes a lot of patience and probably a few tries to get right.
This Japanese soufflé pancake recipe will give you a crash course on how to perfect these thick and tall, yet silky and light soufflé pancakes, and how to adjust for any issues you may have along the way.
Where’d soufflé pancakes come from?
Soufflé pancakes came to the US by way of a trend in Japan around 2014 that was started by two prominent cafes, Happy Pancake and Gram Cafe. Eventually, thanks to social media, #soufflepancake started trending and US cafes caught on. Luckily, we have Basilur Cafe nearby for these super soft and silky pancakes.
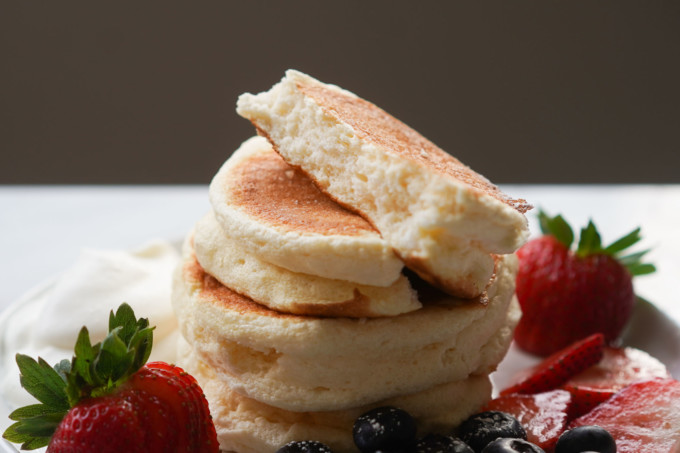
In general, souffle pancakes have one major ingredient similar to it’s namesake: the meringue. It’s voluminous and fluffy exterior seems to defy gravity on your plate and this recipe will give you extra large pancakes that won’t deflate.
Thanks to my sleuthing skills, I found videos of a popular soufflé pancake cafe, Flipper, where they show how to make their super soft and huge pancakes.
After studying (aka putting on repeat) many of their videos, I was able to deduce which ziploc containers and scaled measurements they used for a solid starting point. Then I tested, tasted, and adjusted the recipe to make the perfect soufflé pancake that is silky, airy, and keeps it’s height.
What gives it lift: meringue
The meringue is made by three simple ingredients: egg whites, sugar, and cream of tartar. The key to making the meringue thick, but still airy is to use cream of tartar, which is a stabilizing ingredient. You don’t want to add too much of this though because you could end up with an overly citric flavored meringue.
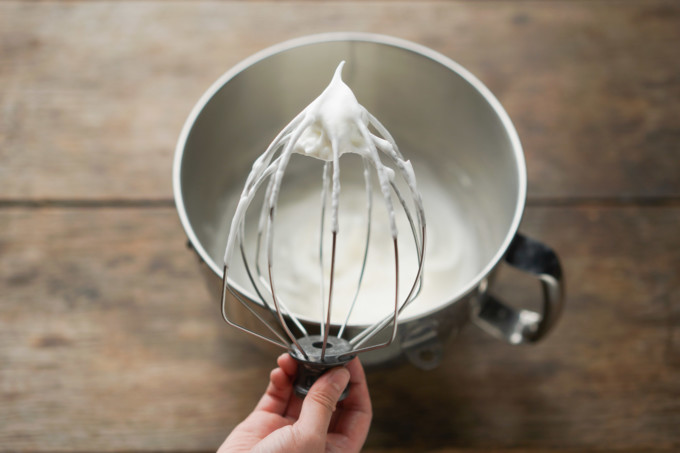
I would highly recommend using a stand mixer for this recipe because it will keep you from getting arthritis. I used the whisk attachment and beat all the ingredients together on level 8 for about 3 minutes to achieve stiff and thick peaks.
The thicker your meringue, the more stabilized and airy your pancakes will be. It’s almost like you want to push the egg whites to the highest level of beating JUST before they break to get the right amount of thickness.
The batter & gentle folding
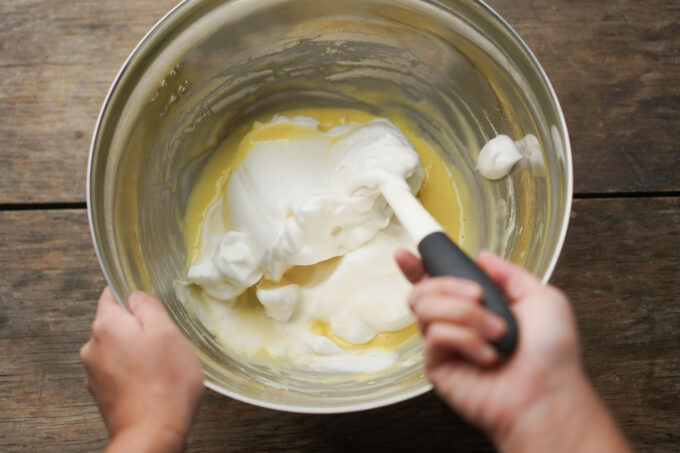
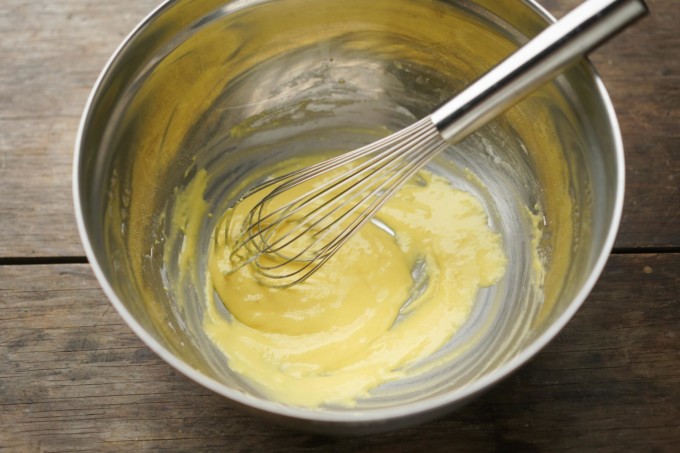
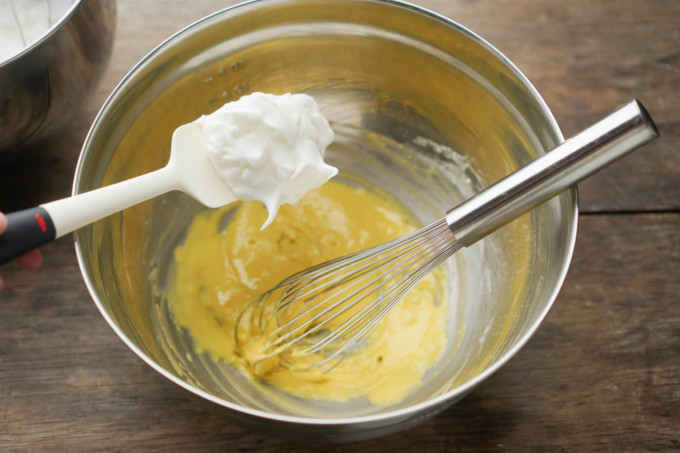
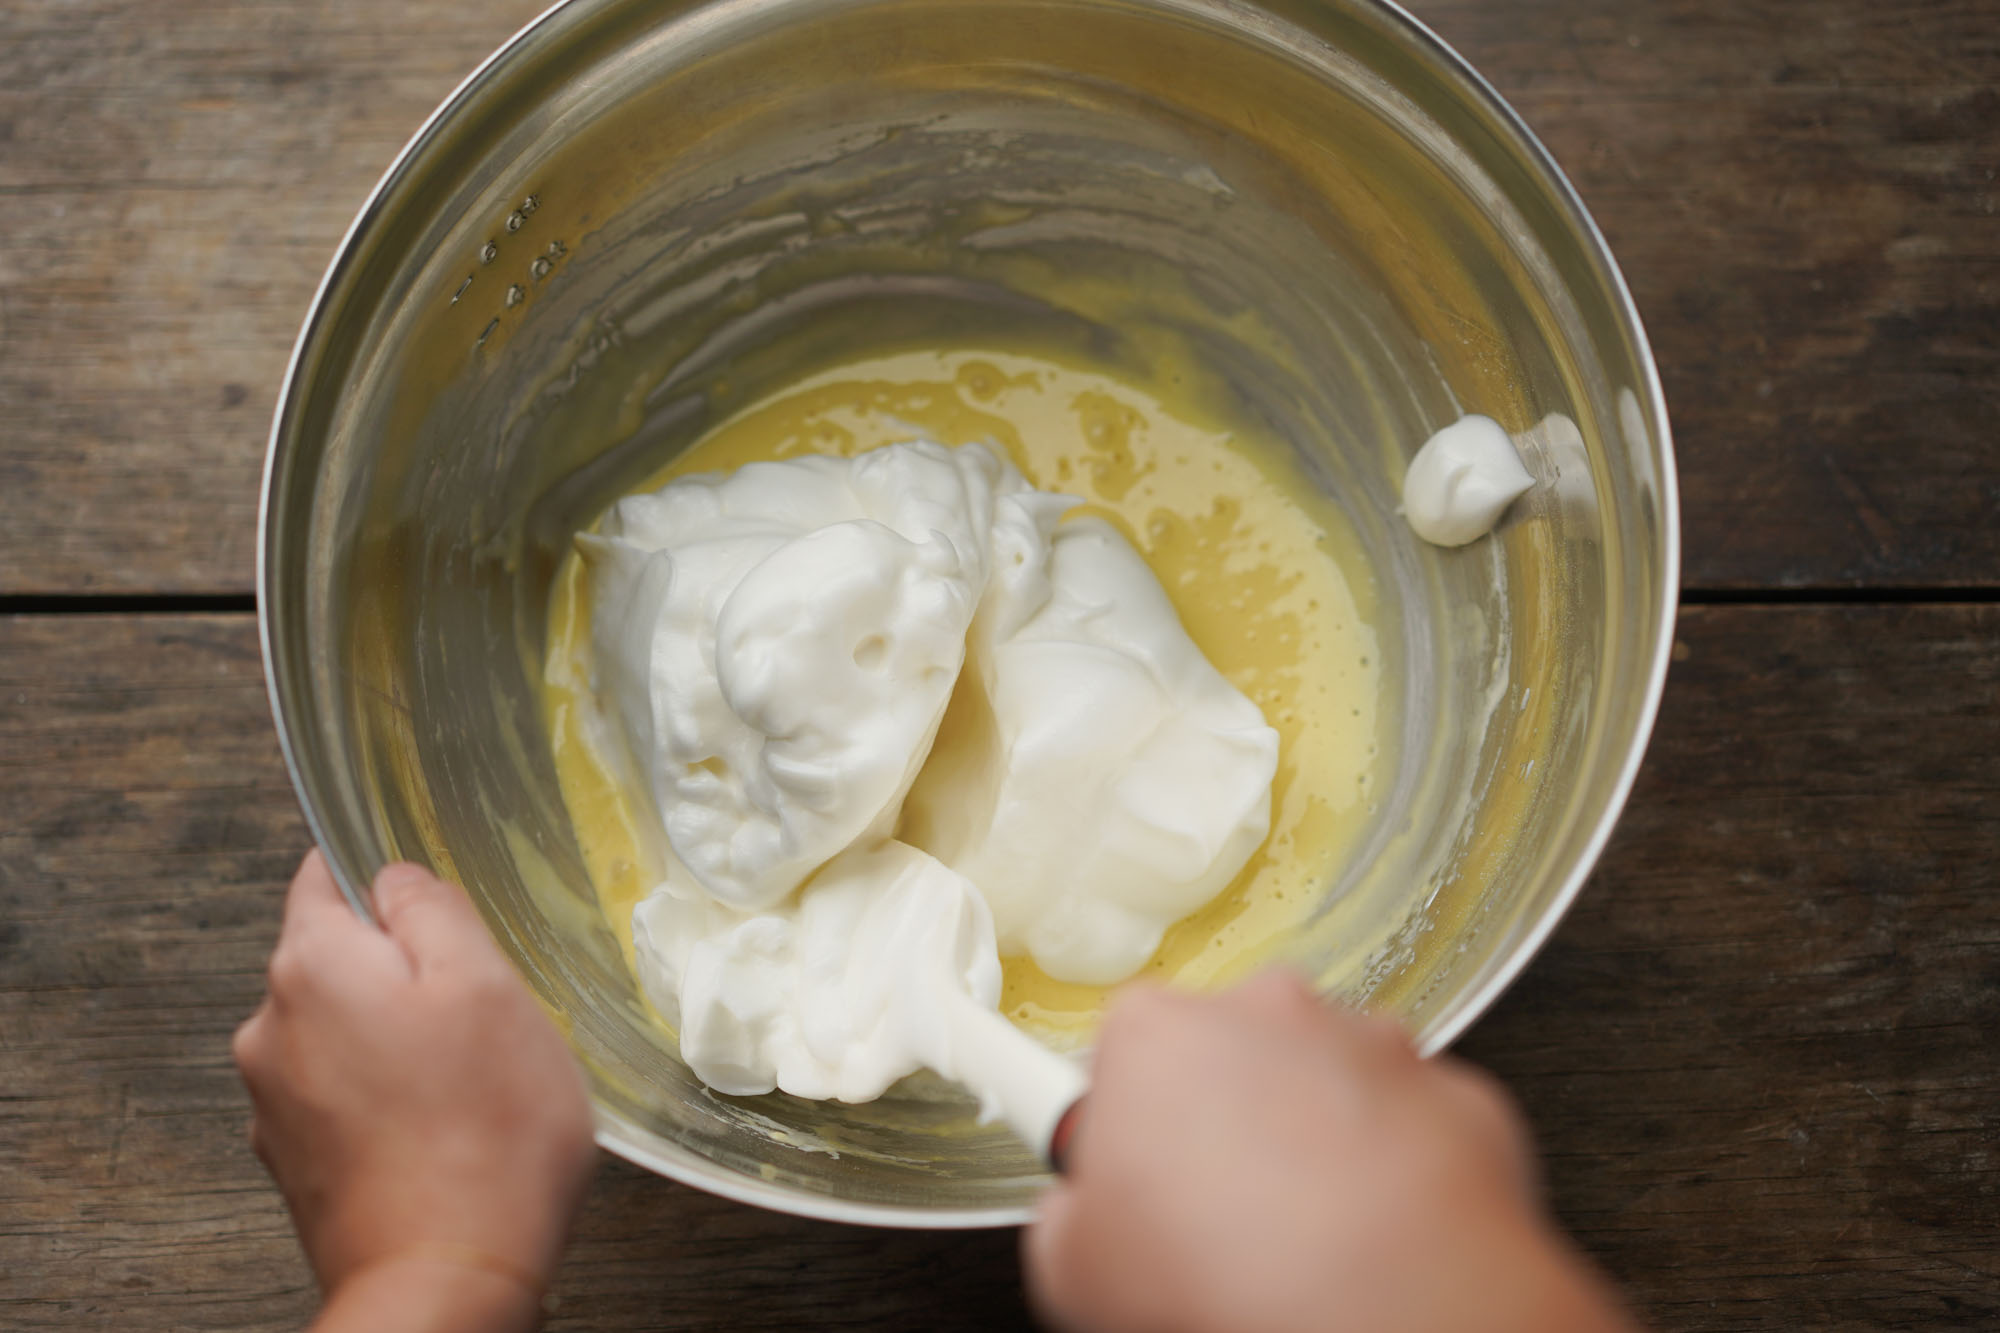
For the batter portion, you want to whisk all the ingredients together and get the consistency of a slightly thick pancake batter. You want to take about a quarter of the meringue and add this to the batter, using it as a “sacrificial” portion to even out the thickness of the batter. It will make incorporating the rest of the meringue easier without deflating it.
To combine the meringue and the batter, you want to use a spatula and very gently fold in the meringue to limit the amount that it will deflate. Slice the spatula in the middle of the mixture, and scoop the bottom of the bowl to lift the batter towards the top of the bowl. Turn the bowl 180° and repeat until the meringue is thoroughly folded into the batter.
Equipment and cooking technique
Disher / scooper: For this recipe, I bought dishers, or scoopers that were similar in size to those used in the Flipper Cafe videos: #4 (8 oz scoop) and #12 (2.66 oz scoop). I used dishers to get equal amounts of batter for each pancake. It’s also easier to use dishers because it’s easier to release
For my earlier attempts, I used the #4 scoop for the bottom, first scoop of batter, and the #12 for the second scoop. This resulted in larger pancakes but is more difficult to flip and serve before deflating.
I found that making smaller pancakes made the pancakes easier to flip. I liked using only the #12 disher for both the first and second scoop!
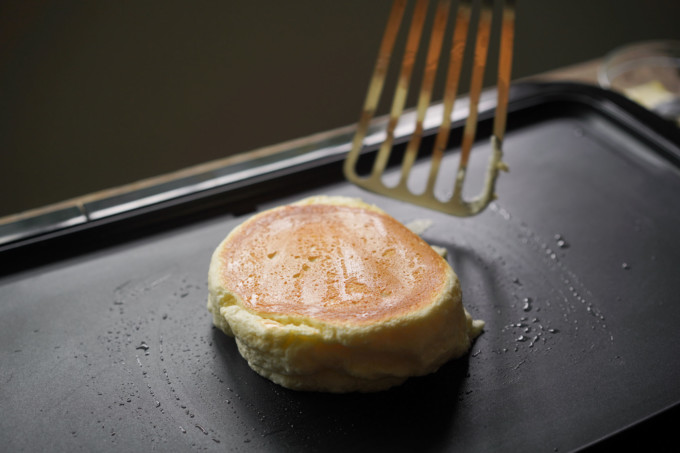
Spatula / turner: I like using a slotted turner for this since there’s less surface area for the pancake to stick to. I tried using a traditional un-slotted spatula and it wasn’t as easy.
The griddle: It helps to have a predictable and measurable source of heat. I used an inexpensive electric griddle. The temperature marker on the unit on its lowest marked setting was 150 °F. I tried it on a cast iron pan with worse results, but likely didn’t preheat it enough and was using an induction cooktop with heat settings that were too unpredictable. The raised sides of the pan made it hard to flip the cakes too, so if you must use a cast iron pan, go for the low profile ones.
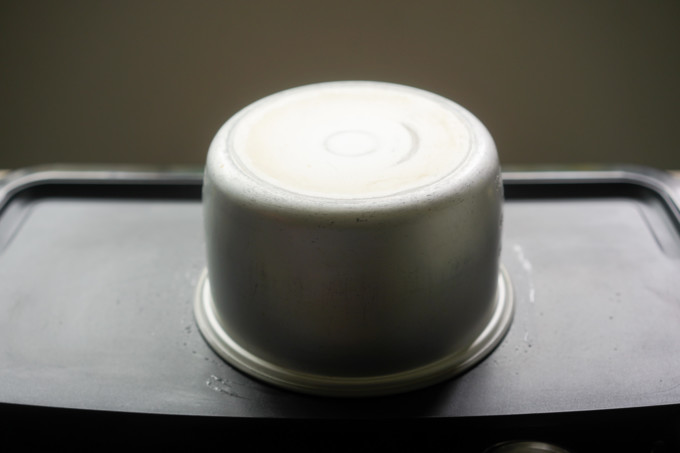
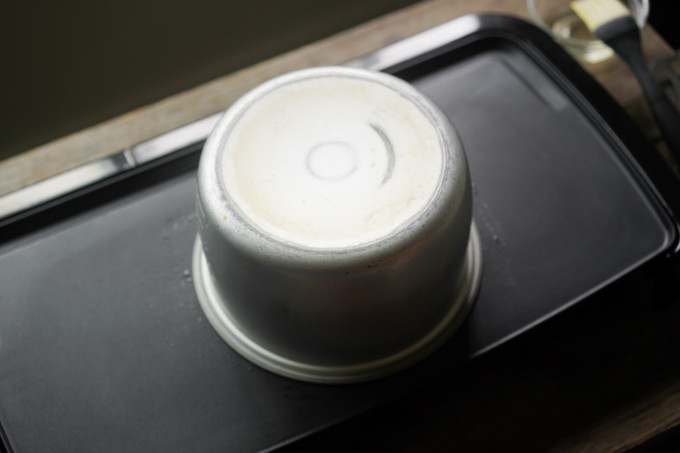
The lid: For my lid, I just used my thin, nonstick-ish rice cooker pot and turned it upside down because it was tall and wide. I also tried this with my stand mixer’s mixing bowl and the griddle ended up getting too hot, burning the pancakes. You may need to experiment to find a lid that works on your chosen cooktop.
Thermometers: I used an infrared thermometer to verify it was cooking between 300-350 °F the whole time. The temperature is critical because the face of the pancake needs to brown at a slow enough rate to not burn, and so that when covered, the top/inside of the pancake cooks all the way through. If the temp is too low, it may never brown or cook to the proper internal temperature.
I also used an instant-read thermometer to ensure the centers of the pancakes were cooked. When fully cooked, an instant read thermometer displayed about 160 °F in the center.
How long does each pancake take to cook?
After testing various timings (and making a lot of mistakes), I’ve found that each pancake takes about 8-9 minutes to cook. This is the best timing that gives you golden brown and fluffy souffle pancakes using a #12 disher on a griddle that measures 300-350 °F.
- 00:00 – add the first scoop on the griddle
- 00:40 – add the second scoop on top of the first scoop after 40 seconds
- 04:00 – turn pancake after 4 minutes
- 09:00 – remove the pancake after 9 minutes
Cooking tips
- Make sure to beat the eggs to STIFF peaks. The stiffer the peaks, the better the stability of the batter when you mix and cook them on the griddle.
- Use ¼ of the meringue to mix into the batter as a sacrificial portion. This will help evenly thin out the batter and make it easier to fold in the meringue without deflating the egg whites.
- Make smaller pancakes about 3.5-4″ in diameter. Use the #12 disher or a smaller sized scoop for the first and second scoop of each pancake. This keeps the second layer from being too heavy and prevents deflating the pancake.
- Cook the first layer of pancakes for 40 seconds before adding a second layer on top. This will help stabilize the pancake height and help it cook evenly.
- Not all lids are created equal. Depending on the type of lid you use, it could heat up the pancake faster or slower. Since these pancakes are HUGE, I used my rice cooker pot and turned it upside down. I previously tried my stand mixer bowl, but for some reason it made my pancakes cook too fast on the bottom.
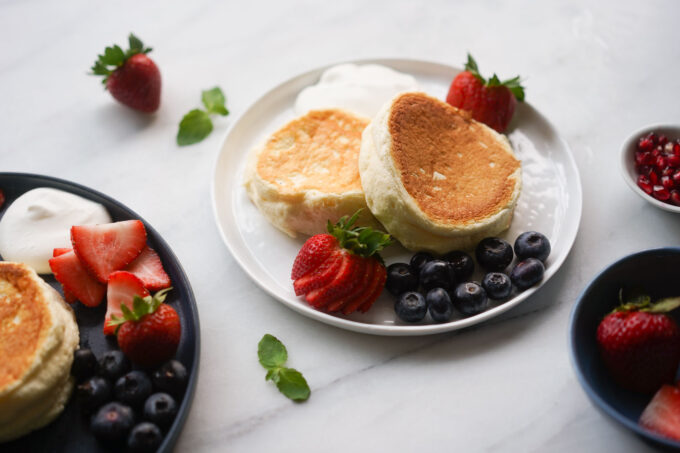
Soufflé pancake toppings
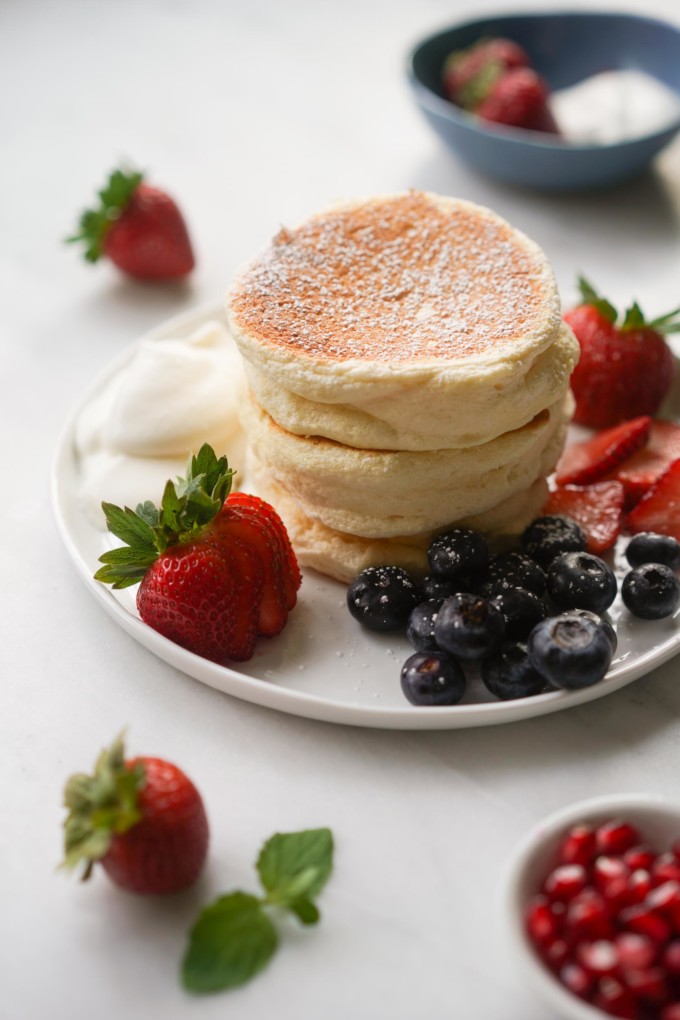
While these pancakes are delicious on their own, I like to add a sweet and light whipped cream and fresh fruit. Since the pancakes aren’t too sweet on their own, you can adjust the sweetness with the whipped cream. You don’t even need syrup on top.
Why do my soufflé pancakes deflate?
Soufflé pancakes get their height and shape from the meringue in the batter. Most times, this shape deflates due to the egg whites in the meringue being over-beaten or not beaten enough. There’s a fine line between perfect stiff peaks and over-beaten eggs. Stiff peaks for my Kitchenaid mixer is between 3-5 minutes on the highest setting.
Why are my pancakes burning?
One thing about using a lid is that most of them are not clear, so you need to use your nose to make sure you don’t smell burning. If you start to smell burning, immediately lift the lid and use a spatula to check the bottom of your pancake.
To prevent burning, I lower the temperature to the lowest setting and check my pancake in two-minute intervals.
Why are my pancakes uncooked in the center?
If your pancakes are cooked on the outside, but undercooked on the inside, that means it’s cooked too fast and possible on high heat. Lower the temperature to slow down the cooking time so the inside cooks evenly. You can also add one or two drops of water around the pancake to create steam inside the lid as the pancake cooks. This will prevent the outside from drying out too fast and allow the inside of your pancake to cook evenly.
What do soufflé pancakes taste like?
Soufflé pancakes taste like airy vanilla-flavored pancakes that have a light sweetness to them.

Fluffy Japanese Soufflé Pancakes
Ingredients
Meringue
- 170 g egg whites (~5.66 large egg whites)
- 25 g granulated white sugar
- 2 g cream tartar
Batter
- 35 g egg yolk (2.33 large egg yolks)
- 45 g whole milk
- 50 g cake flour
- 2 g baking powder
- 1 g salt
- vegetable oil
Whipped cream
- 4 fl oz heavy whipping cream
- 37.5 g granulated white sugar
Toppings, optional
- sliced fruit
- maple syrup
- powdered sugar
Equipment Used
- rice cooker pot, or other lid
Instructions
Meringue
- In a stand mixer with a whisk attachment, combine the egg whites, sugar, and the cream tartar. Begin beating the eggs on the highest level of your stand mixer. On my Kitchenaid Pro it is level 8.
- Beat the egg whites for approximately 3 minutes, or until you get very stiff peaks and a glossy finish.

Batter
- While you are making the meringue, whisk the egg yolks and milk in a large mixing bowl.
- Add the cake flour, baking powder, and salt in the mixing bowl and whisk until fully incorporated.
- Add ¼ of the meringue into the batter and whisk until it’s fully incorporated.
- Then add the rest of the meringue and use a spatula to carefully slice through the batter to get the spatula underneath.

- Then gently fold turn and fold over the bottom of the batter onto the top.
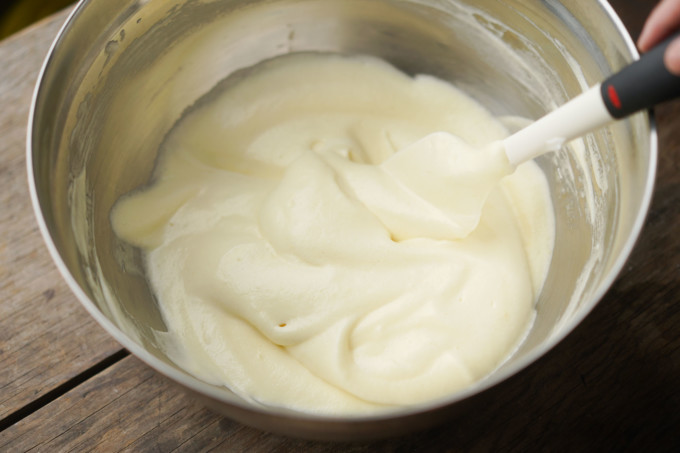
- Keep repeating this gentle slice and fold method to fully incorporate the meringue into the batter. Don’t whisk this or use harsh motions because it can deflate the meringue. See photo for final texture.
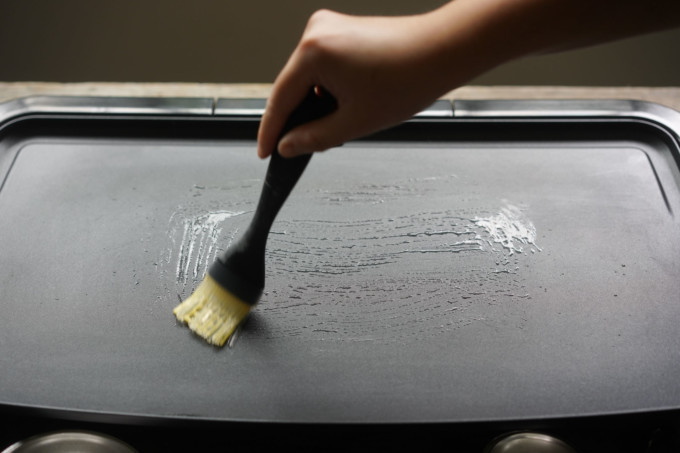
- Preheat your pan or griddle on the lowest setting. My griddle has a temperature marker at at 150 °F, but I used an infrared thermomter on the griddle to verify it was registering between 300-350 °F average–the target you should aim for on your stove. The temperature is critical because the face of the pancake needs to brown at a slow enough rate to not burn, and so that when covered, the top/inside of the pancake cooks all the way through. If the temp is too low, it may never brown or cook to the proper internal temperature.
- Brush some neutral cooking oil onto the griddle.
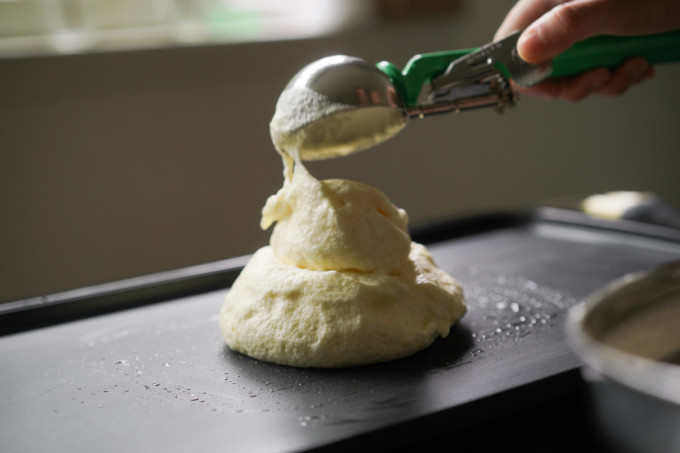
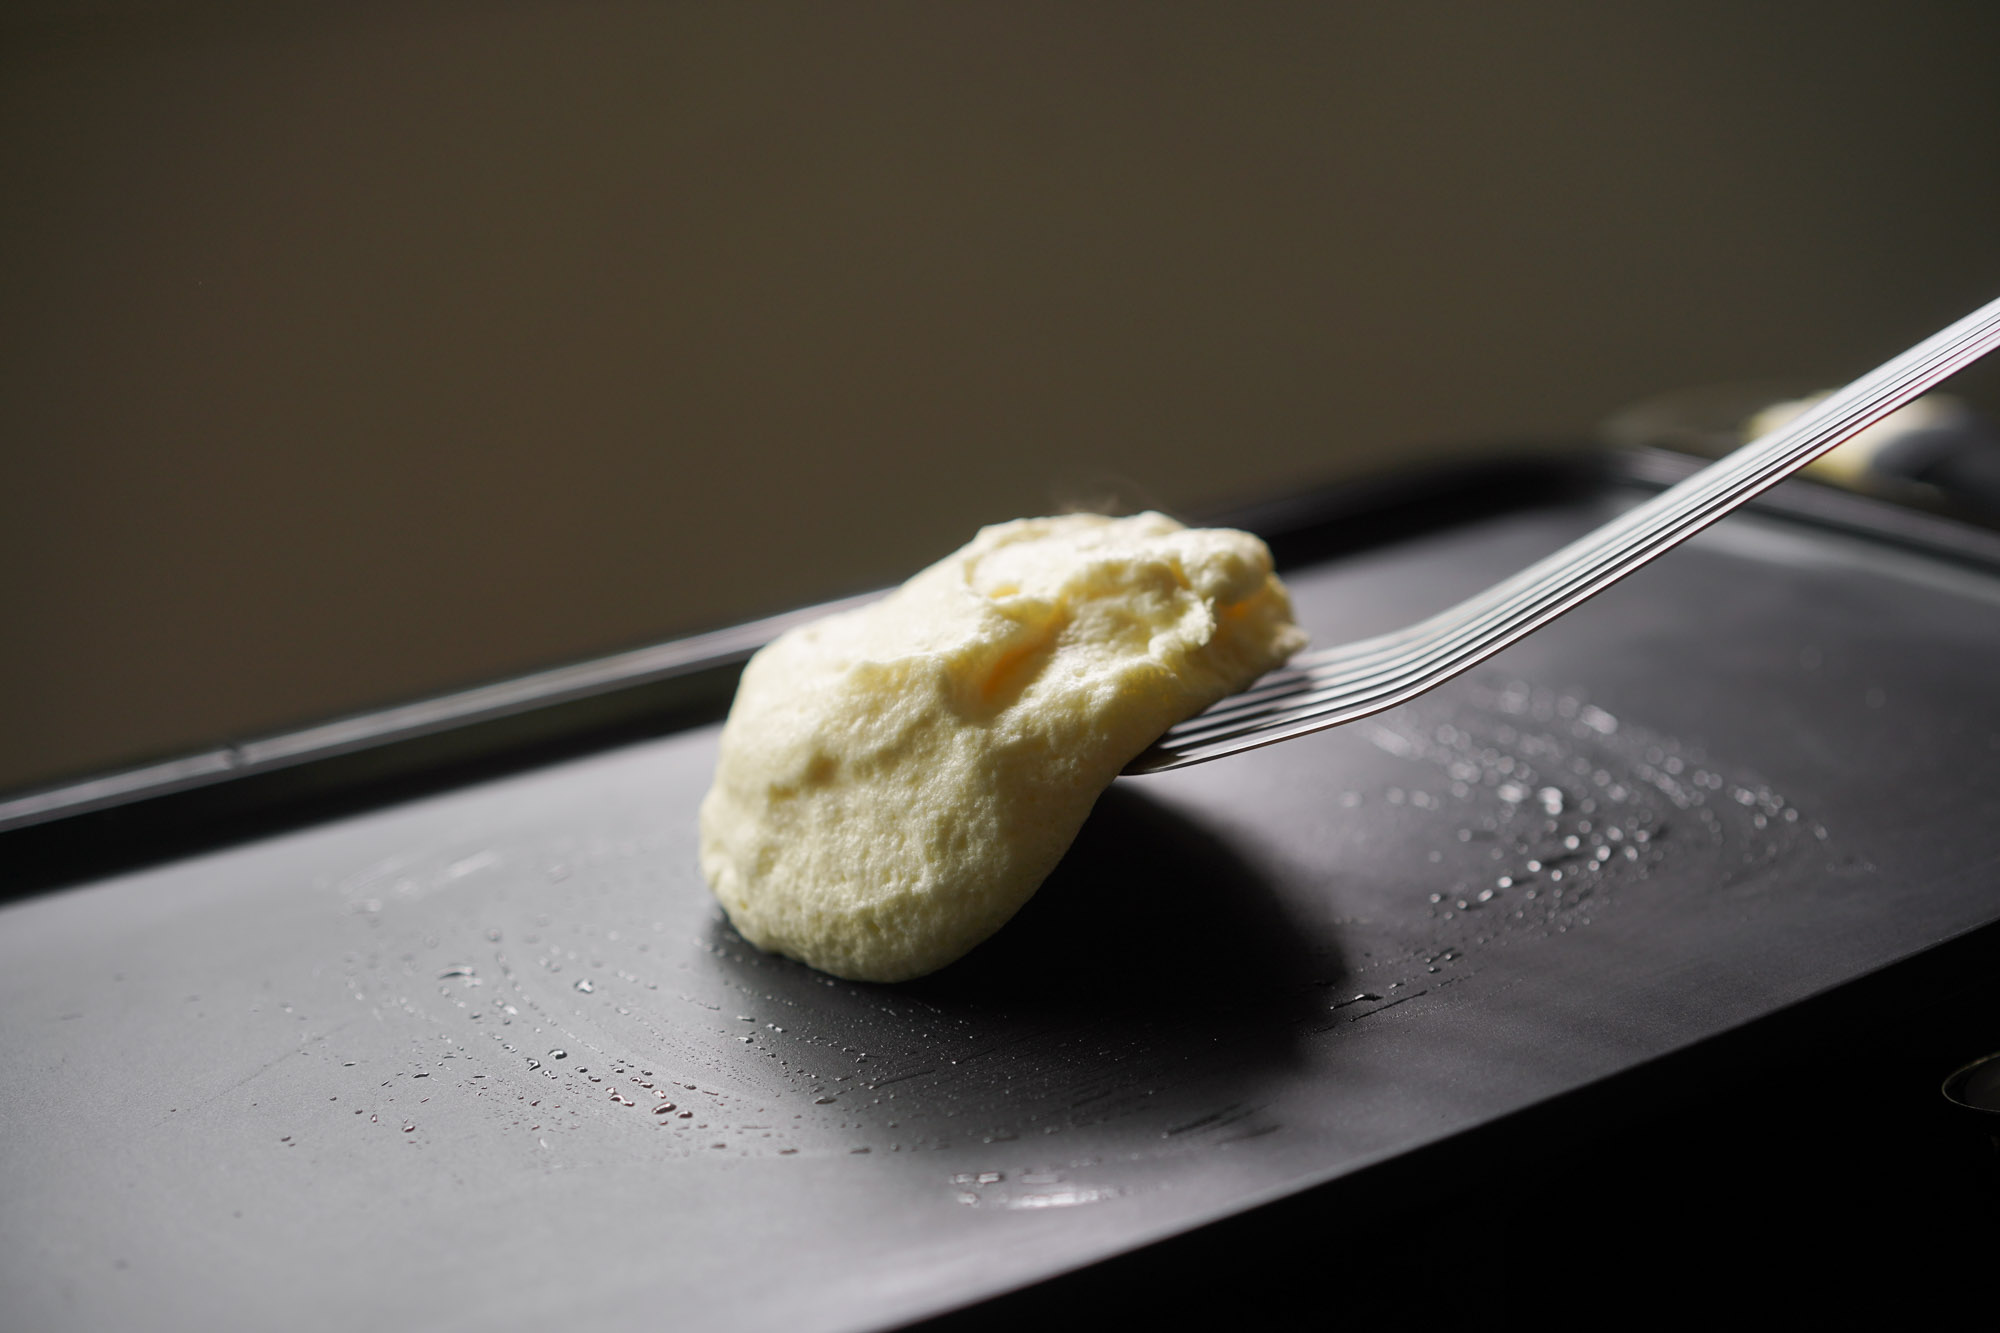
- Using an 2.66 oz disher (#12), add a heaping scoop of batter onto the griddle.
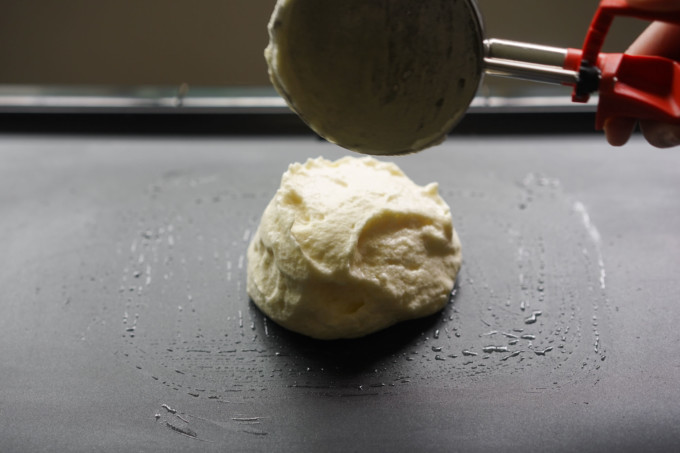
- Add the lid on top and cook the pancakes for 40 seconds.
- Remove the lid, then use the same disher and scoop another heaping portion of the batter on top of each pancake. Close the lid and cook for another 2 minutes so the top of the new batter scoops can cook a bit.
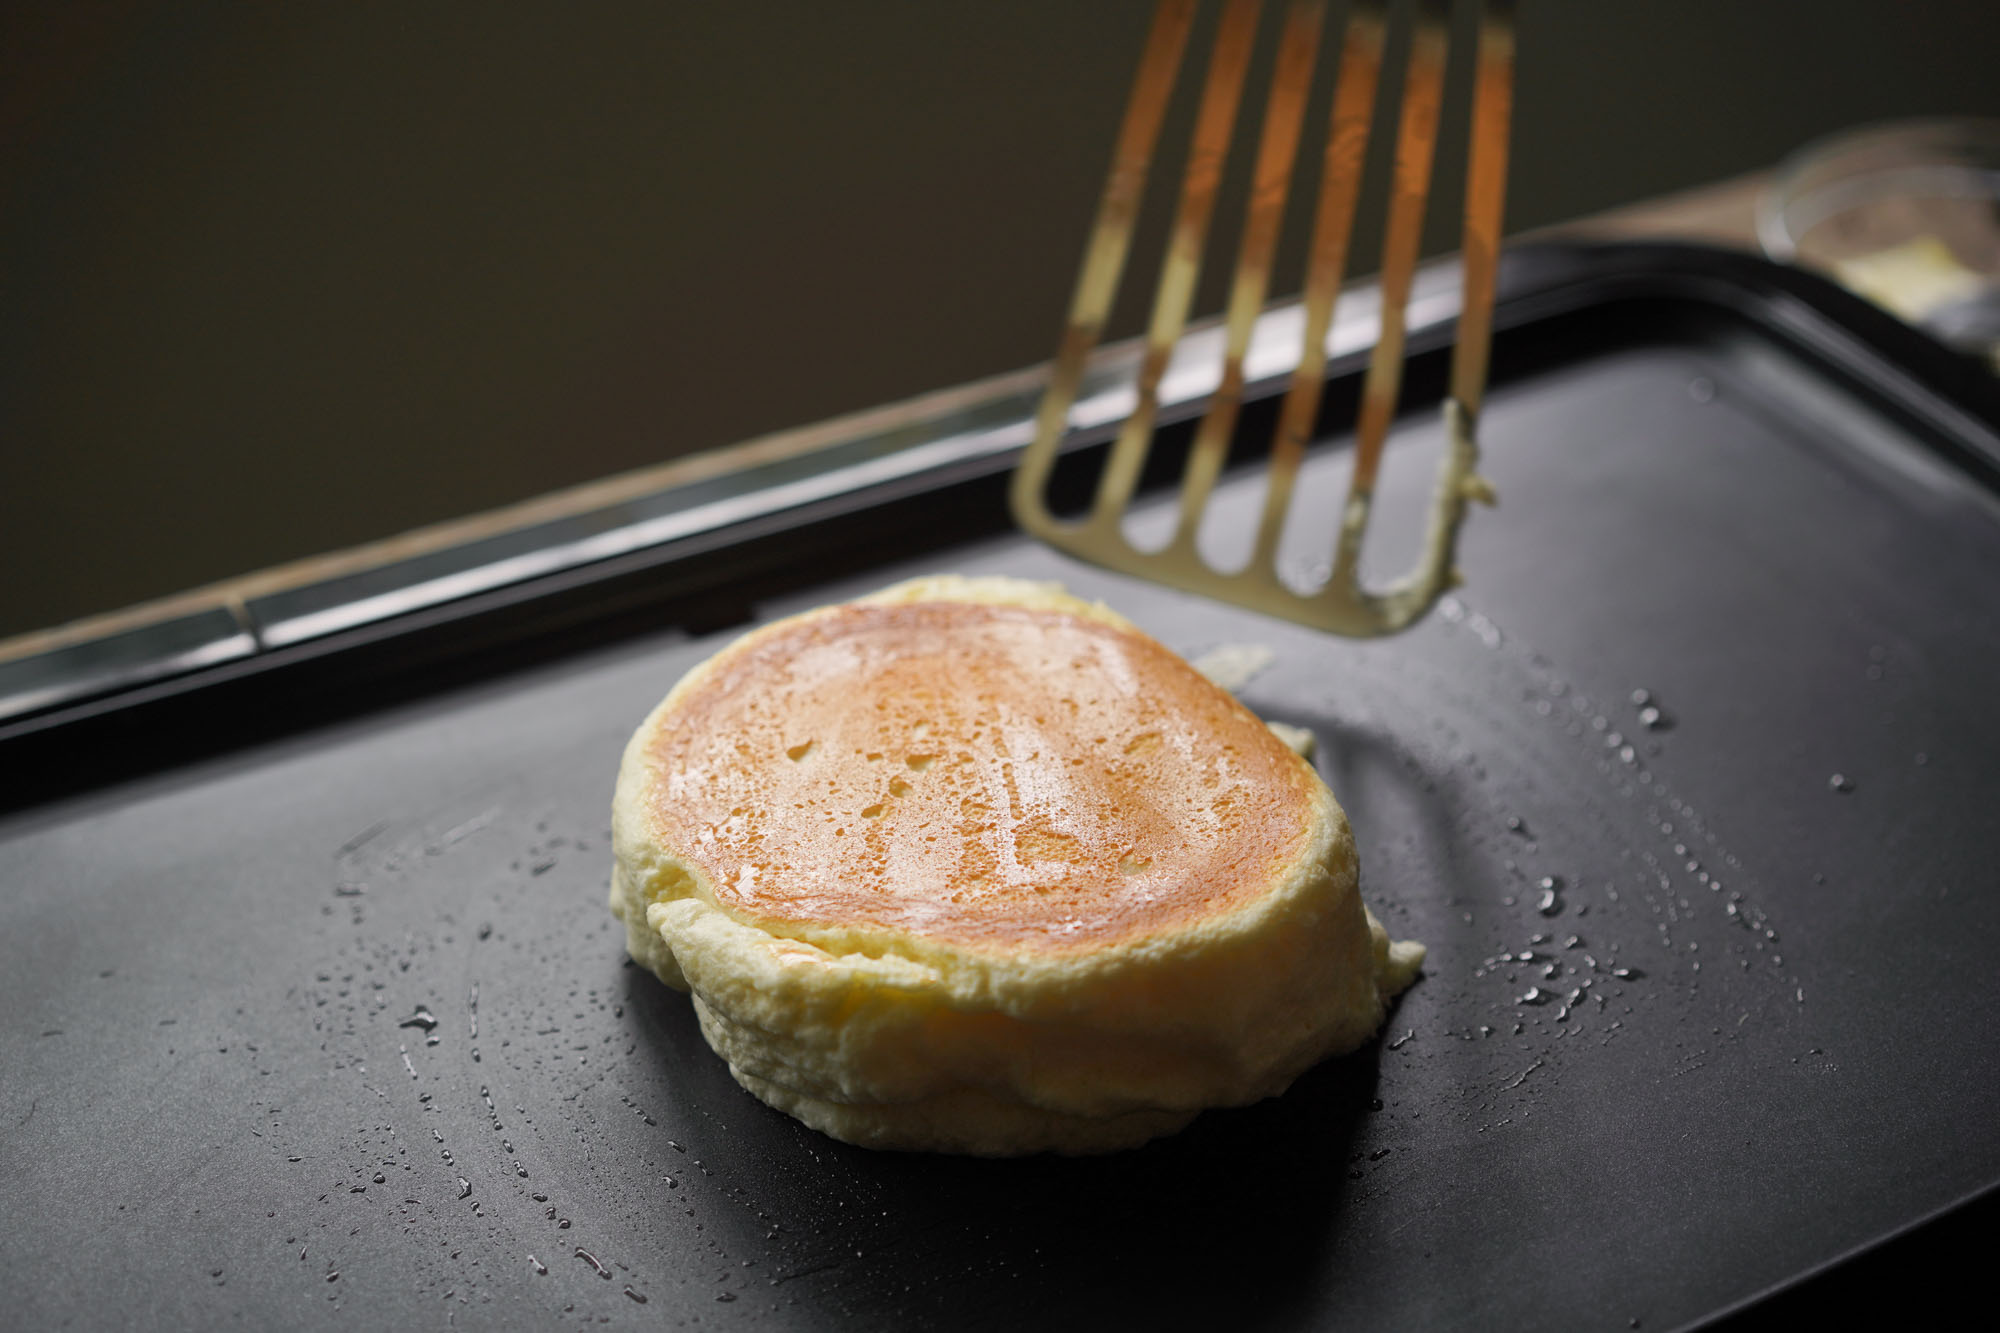
- Remove the lid and use your fish turner to gently lift the pancake bottom to see if there's a medium or golden brown color.
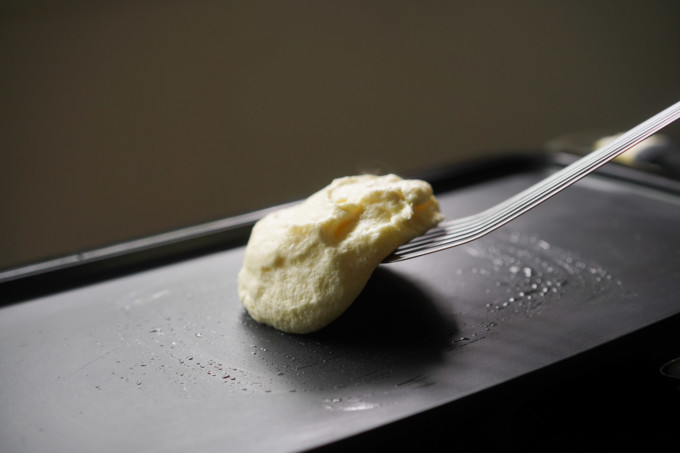
- If it's ready and medium or golden brown, now brush your spatula/turner with some oil to help with the flip.
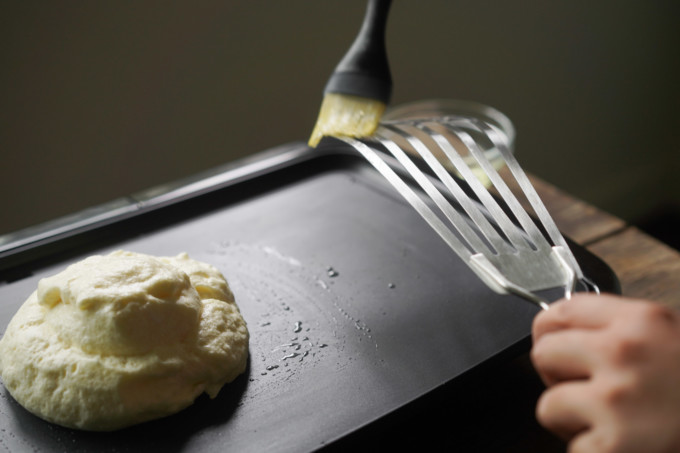
- Lift the entire pancake with the fish turner, brush on more vegetable oil on the griddle, and then flip the pancake over onto the area you brushed with oil.
- Close the lid and cook for another 4-5 minutes or until the pancake is slightly firm to the touch.
- The pancakes should be done when they are slightly golden on top and bouncy. You can also use your spatula to lift the bottom of the pancake and peak if it’s golden brown at the bottom. Each pancake measured at about 160 °F in the center with an instant read thermometer when fully cooked. Serve immmediately as these can deflate rather quickly!


Whipped cream
- In your stand mixer, combine the whipping cream and sugar and beat for about 3-5 minutes or until the cream is frothy and slightly thick.
- Transfer your pancakes onto a plate and top with whipping cream and fruit if you prefer. Serve immediately.


I just found these and made them for my son’s birthday breakfast. My family LOVED them!! I have Celiac, so I subbed 25 grams Tapioca Starch and 25 grams of Potato Starch for the cake flour. So happy to have found fairly easy and fast light and fluffy gluten free pancakes!!!
Hey Sara, very interesting.. I haven’t done much testing on making subs for gluten-free mods, so thanks thats really cool to know! Glad it worked out well for you.