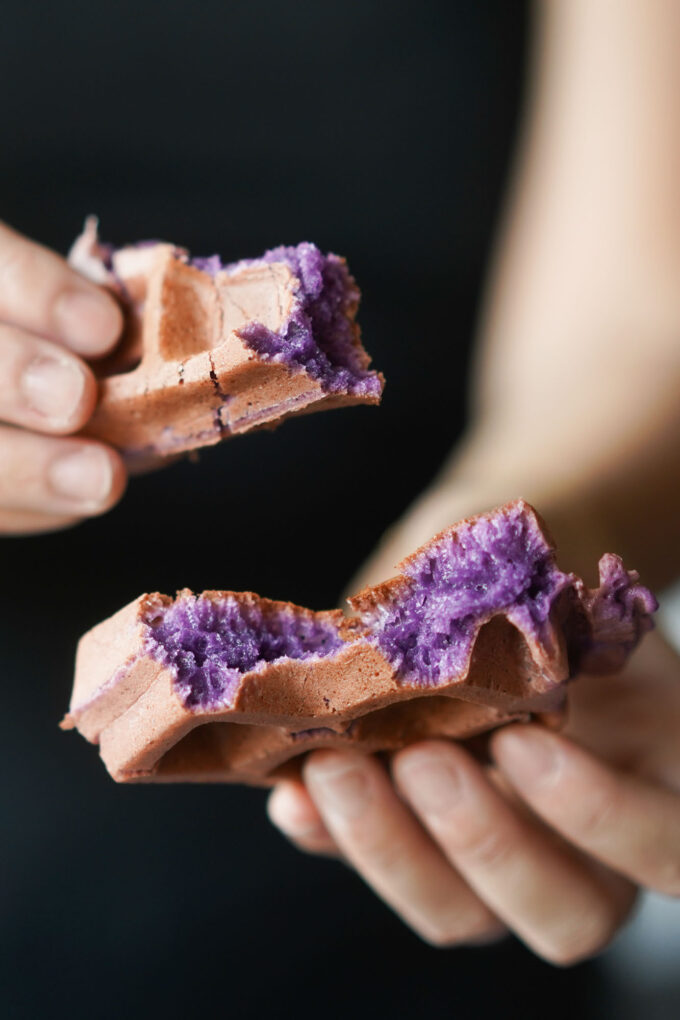
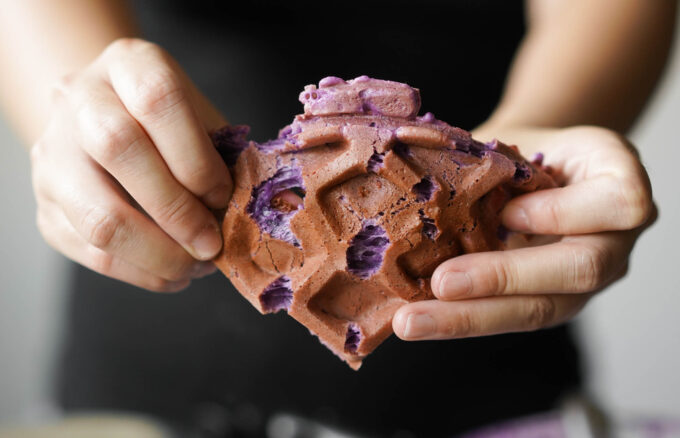
This ube waffle is extraordinary with its ultra chewy, mochi-like centers with a light and crispy crust–let’s not even get started on the sweet and nutty flavor of this traditional Filipino purple yam.
If you are addicted to my pandan waffles or vegan pandan waffles (or even mochi donuts!), then you’ll love this new ube version; It’s just as easy to prep and make any time.
What is ube?
Ube is an indigenous tuber from the Philippines that is well known for it’s sweet and nutty flavor profile, along with its vibrant purple coloring. While sometimes it gets confused with a purple sweet potato (like the Okinawan purple sweet potato), it’s a completely different root.
While Okinawan purple sweet potato has pale, brown skin and a deep purple center, ube roots have very dark skin and sometimes a super purple or lighter purple center (it depends on the ube).
Magnolia brand ube ice cream is probably the most well known for this flavor and it’s also amazing on halo halo. Ube is having its moment in the culinary trend world and you can find ube flavored anything, like ube boba milk tea, ube cheesecake, ube crinkle cookies, ube cake, and now ube waffles.
Thanks to Trader Joe’s popular ube mochi pancake and waffle mix, I was craving some ube waffles, but with a similar crispy crust like the pandan waffles. After tinkering with the original pandan waffle recipe, I was able to add in ube puree into the batter as a replacement of pandan extract.
Ube puree
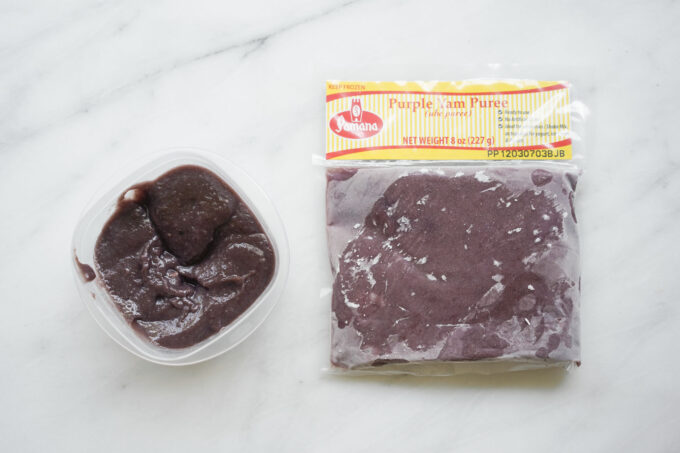
Since this ube craze started, it’s been difficult finding fresh ube roots at my local Filipino grocery store, Seafood City. Luckily, I was browsing through my freezer section and found frozen Pamana brand ube puree packets. This includes real ube and you can buy multiple packs and keep it on hand in the freezer for future ube recipes. If you can’t find ube puree, I would suggest using premade ube halaya jam too.
For this recipe, I used ube puree and mixed it with water to even out the thickness. Many times when you have cooked tubers, they have a very thick and viscous consistency like when I boiled taro and purple sweet potato for taro milk tea. I didn’t want this consistency to mess up my chewy and light waffle texture, so I added water.
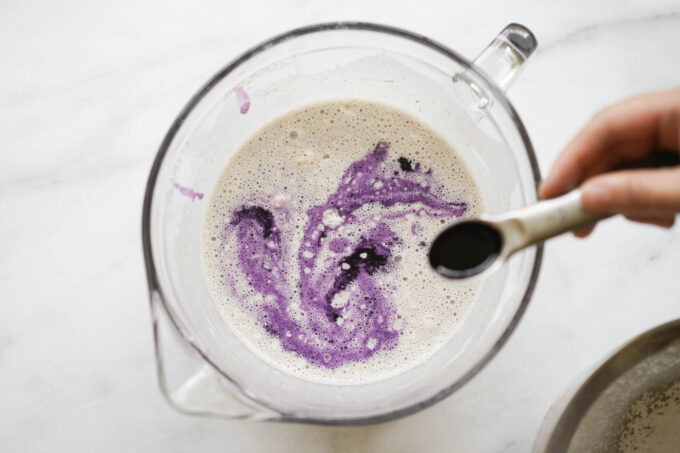
To amp up the ube flavor and purple color, I added some ube extract, which instantly gave it a bright and vibrant purple coloring. Note that both the ube puree and ube extract include artificial colorings and/or flavors, I try to refrain from using artificial ingredients like this most of the time so if I can find fresh ube, I would use that instead.
Cooking tips
After making over a couple of dozen of these waffles, here are some tips to follow to get the best tasting ube waffles:
- The key flour ingredients are tapioca starch (sometimes referred to as tapioca flour, but it’s the same thing), rice flour, and all-purpose flour. Having this trio of flour really helps create the best balance of chewy centers and crispy outer layer textures in this recipe. I’ve tinkered enough with the ratio of flours to notice that the more tapioca flour you add, the chewier it will be; the more rice flour you add, the crispier the crust will be; and the flour changes the density and softness of the waffle.
- I’ve found all of these types of flour from my local Asian supermarket like 99 Ranch, H Mart, and local Vietnamese grocery stores too.
- Rice flour is NOT THE SAME as glutinous rice flour. You cannot substitute one for the other and I encourage you to look over the label of your flour before starting. Glutinous rice flour is used to make mochi and will make your waffle stickier, not crispier.
- Premix the ube puree, extract, and water before adding it into your other wet ingredients because it helps evenly distribute the ube puree.
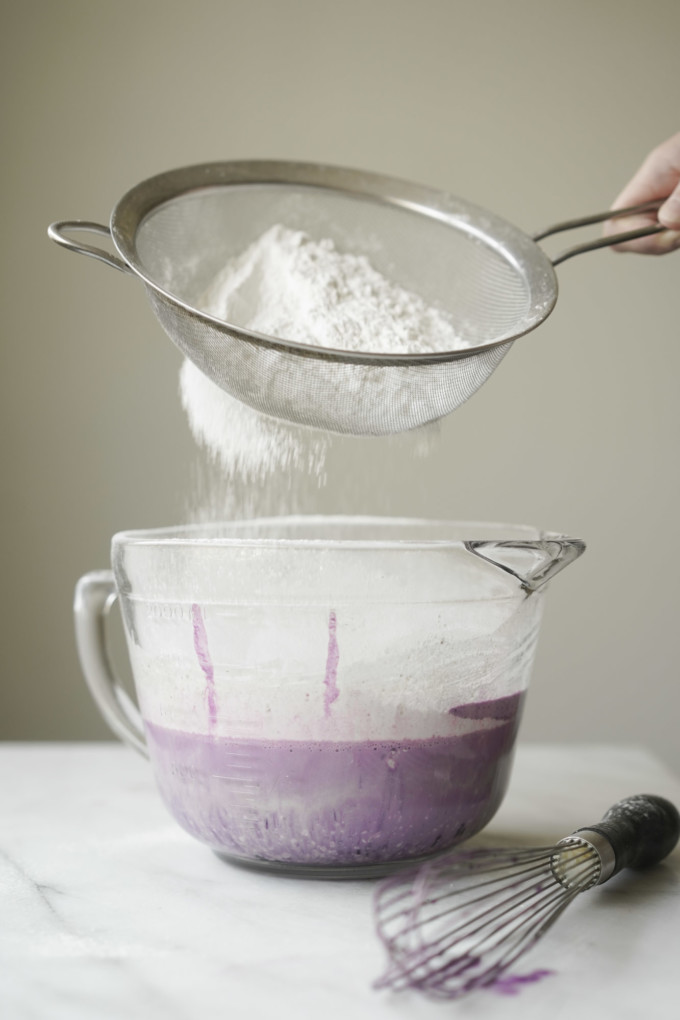
- Make sure to sift all your flour before mixing it into the wet batter, this will help remove lumps.
- Rest your batter at least one hour on the counter before making your waffles. This helps the baking powder develop and you’ll notice the batter will be slightly bubblier and smoother when it’s done resting.
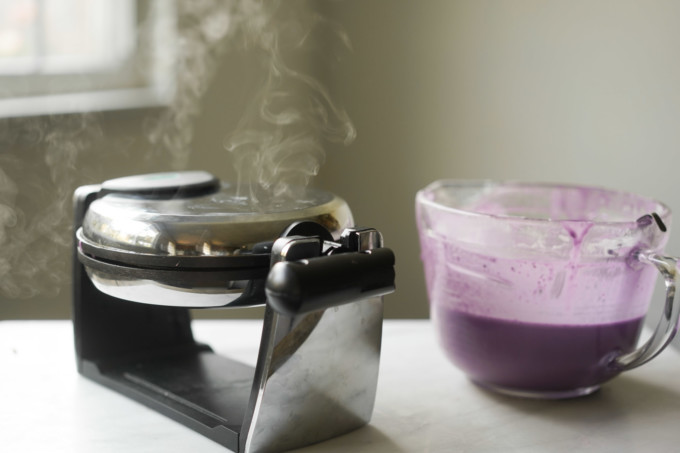
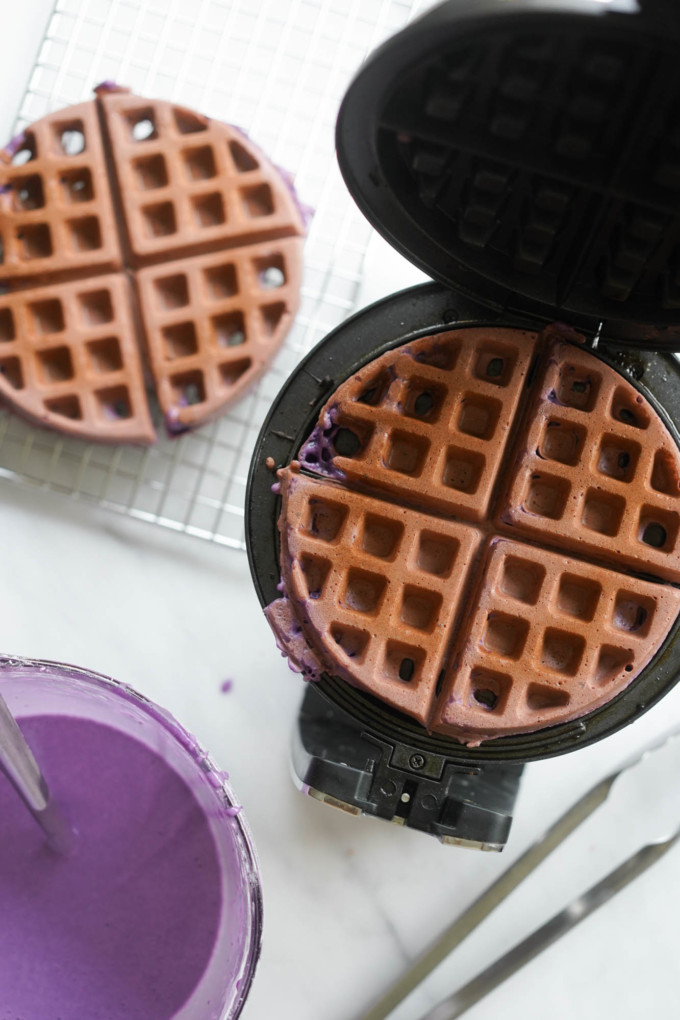
- Cook your waffles at medium-high temperature to get a nice and even crisp. I use my waffle timer to let me know when the waffles are finished. I sometimes will leave the waffles in about 30 seconds longer after the timer goes off. My waffle iron is an Oster Belgian waffle maker.
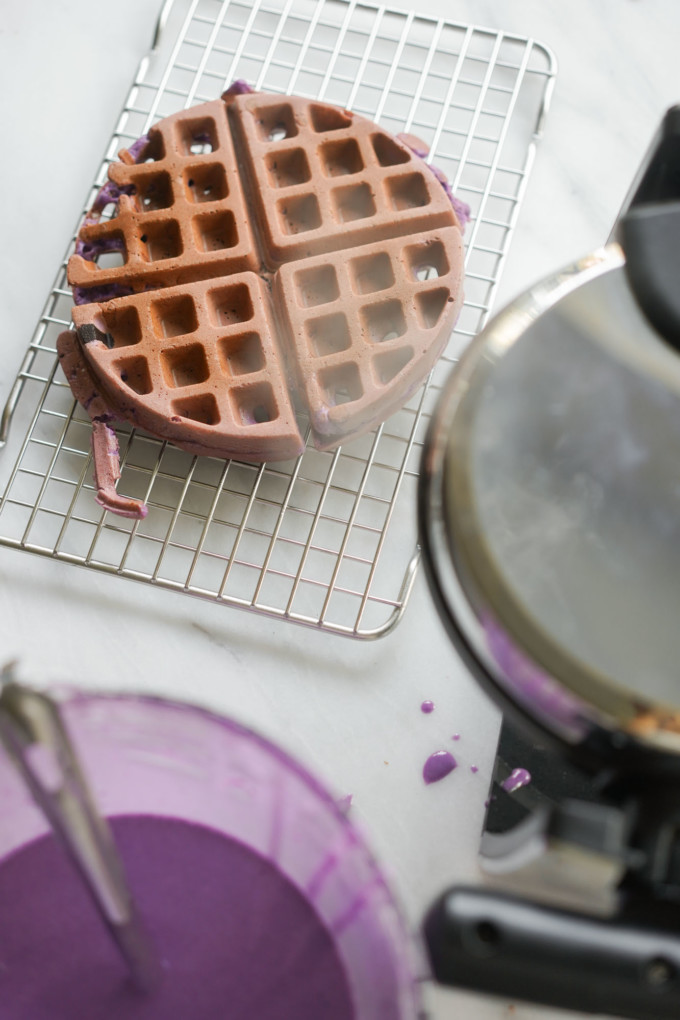
- Use a cooling rack to rest your finished waffles for about 30 seconds before eating. After removing them from the waffle machine, you’ll notice that the outer layer will get crispier on the cooling rack (amazing!). Serve immediately to get the best fresh flavor and textures.
Premaking and storage
You can also premake the batter and leave it in the fridge for a couple of days too.
You can freeze leftover batches of cooked waffles in an airtight container up to a month (from what I’ve tested). When I want to heat them up, I pop them in my toaster and they’re pretty good out of the freezer.
PLEASE use a kitchen scale
Use a scale to follow the recipe below as it will yield more accurate measurements and consistent results. Flour compacts in any measuring tool, so it’s very hard to be accurate with volumetric measuring.

Ube Waffles (Crispy Outside & Chewy Mochi-Like Inside)
Ingredients
Method A: Ube puree & extract (preferred)
- 134 g (½ c) ube puree preferred brand Pamana or ube halaya jam
- ½ c water
- 1 tsp ube extract optional
Method B: Ube extract only
- 2 tsp ube extract
- ½ c water
Waffle ingredients
- 2 large eggs
- 13 oz coconut cream (1 can) preferred brand Savoy
- ube puree or extract from above
- 1 tbsp neutral cooking oil
- 290 g (2 ½ c and 3 tbsp) tapioca starch
- 73 g rice flour
- 70 g all purpose wheat flour the one everyone has in the pantry
- 8 g (2 tsp) baking powder
- 200 g (1 c) white sugar
- 1 g (¼ tsp) salt
Equipment Used
- flour sifter
- disher / cookie scoop
Instructions
Ube
- Ube puree & extract method (preferred): Measure out the ube puree (or halaya jam) and add into a small bowl. Whisk in water carefully until the puree is evenly mixed. Whisk in ube extract. I prefer this method to get more real ube in here while using less extract.
- Ube extract only method: In a small bowl, whisk water and ube extract until thoroughly combined.
Waffle batter
- In a large mixing bowl, beat the eggs and whisk in the coconut cream, ube puree (or extract) liquid, and cooking oil until combined.
- Sift the tapioca flour, rice flour, all-purpose flour, and baking powder into the large mixing bowl. Add the sugar and salt into the mixing bowl and then use a spatula or wooden spoon to combine wet and dry batter softly. DO NOT over mix. There should be some lumps leftover.
- Cover the waffle batter with a towel or cover and let rest on the counter for at least one hour. If you don’t plan on making the waffles the same day, you can move the mixing bowl into the fridge until you are ready to cook your waffles. Make sure to remove the batter from the fridge about 20 minutes before cooking to bring your batter to room temperature.
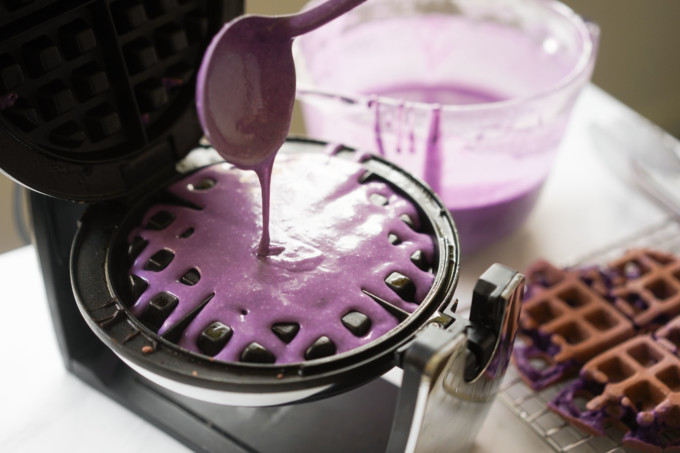
- After resting, preheat your waffle iron to medium-high. Fill your waffle iron to how much you prefer, I use a small ladle measure out about ½ cup of batter per waffle. This will fill out my Belgian waffle maker.
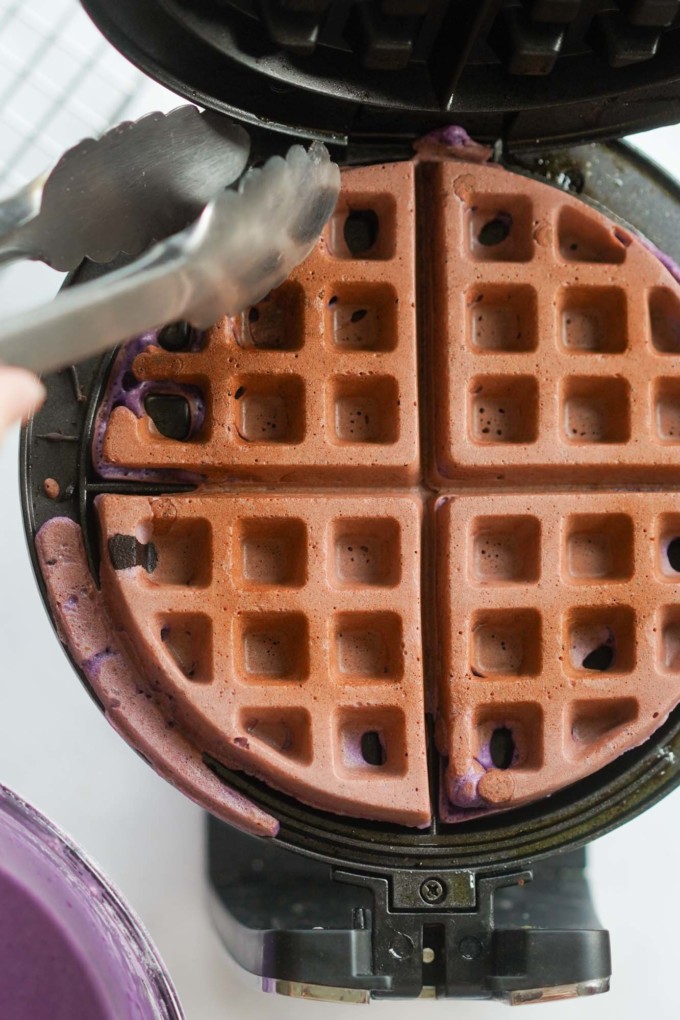
- Remove your finished waffle (it should have a slightly browned crust that is crisp to the touch), and directly onto your cooling rack.
- Let it cool for about 30 seconds and the crust will get even crispier. Then serve fresh!
- You can freeze extra waffles in the freezer in an airtight bag for up to one month. Heat them up again in a toaster or toaster oven to refresh their texture.




I tried your recipe and its sooooooooo GOOOD!!!!
Do you think i can substitute the APF to a gluten free one?
Thanks Blaine! I havent tried that but hitting this texture was pretty finnicky with substitutions, so I would say it’s risky 🙂
Soooo good! I tried this and added young coconut strings (macapuno) and cut the sugar in half.
Oo nice tip for the macapuno mod Bernadette. I caught your share on IG too, looking good thank you!
Excellent recipe! Easy to make. We made it ahead of time for a delicious weekday breakfast. Perfect crispiness and chewiness. So good!
Thanks so much Yan 🙂
Thanks for sharing this recipe! I finally had time to buy tapioca starch and tried this today….the crispiness outside and chewiness inside was incredible!!! It made my daughter’s weekend:). Excited to try your other recipes.
Glad to hear it Viang 🙂
Thank you for posting this! I swapped the all purpose flour with King Arthur’s measure for measure gluten free flour to make this gluten free and it was very good!
Very good to know thanks Maricar!