Espresso was a new frontier for me, as someone who regularly made pour over coffee for more years than I can remember. Some friends were knee-deep in coffee education as they were starting up a coffee shop. I saw all the geeky gear, science, and technique–I was instantly hooked.
Before that it was me sippin’ occasional shots of espresso that dad pulled, unsure how he could drink something so bitter. I quickly got over that and am on the two-coffees-a-day bandwagon. And today, it’s mostly two double shots pulled a day for lattes.
Here’s a quick rundown of how to make espresso at home:
- Warm up your espresso machine
- Grind 20g fresh beans, the size finely tuned for espresso
- Distribute grinds in the portafilter evenly, tamp with 30 lb pressure
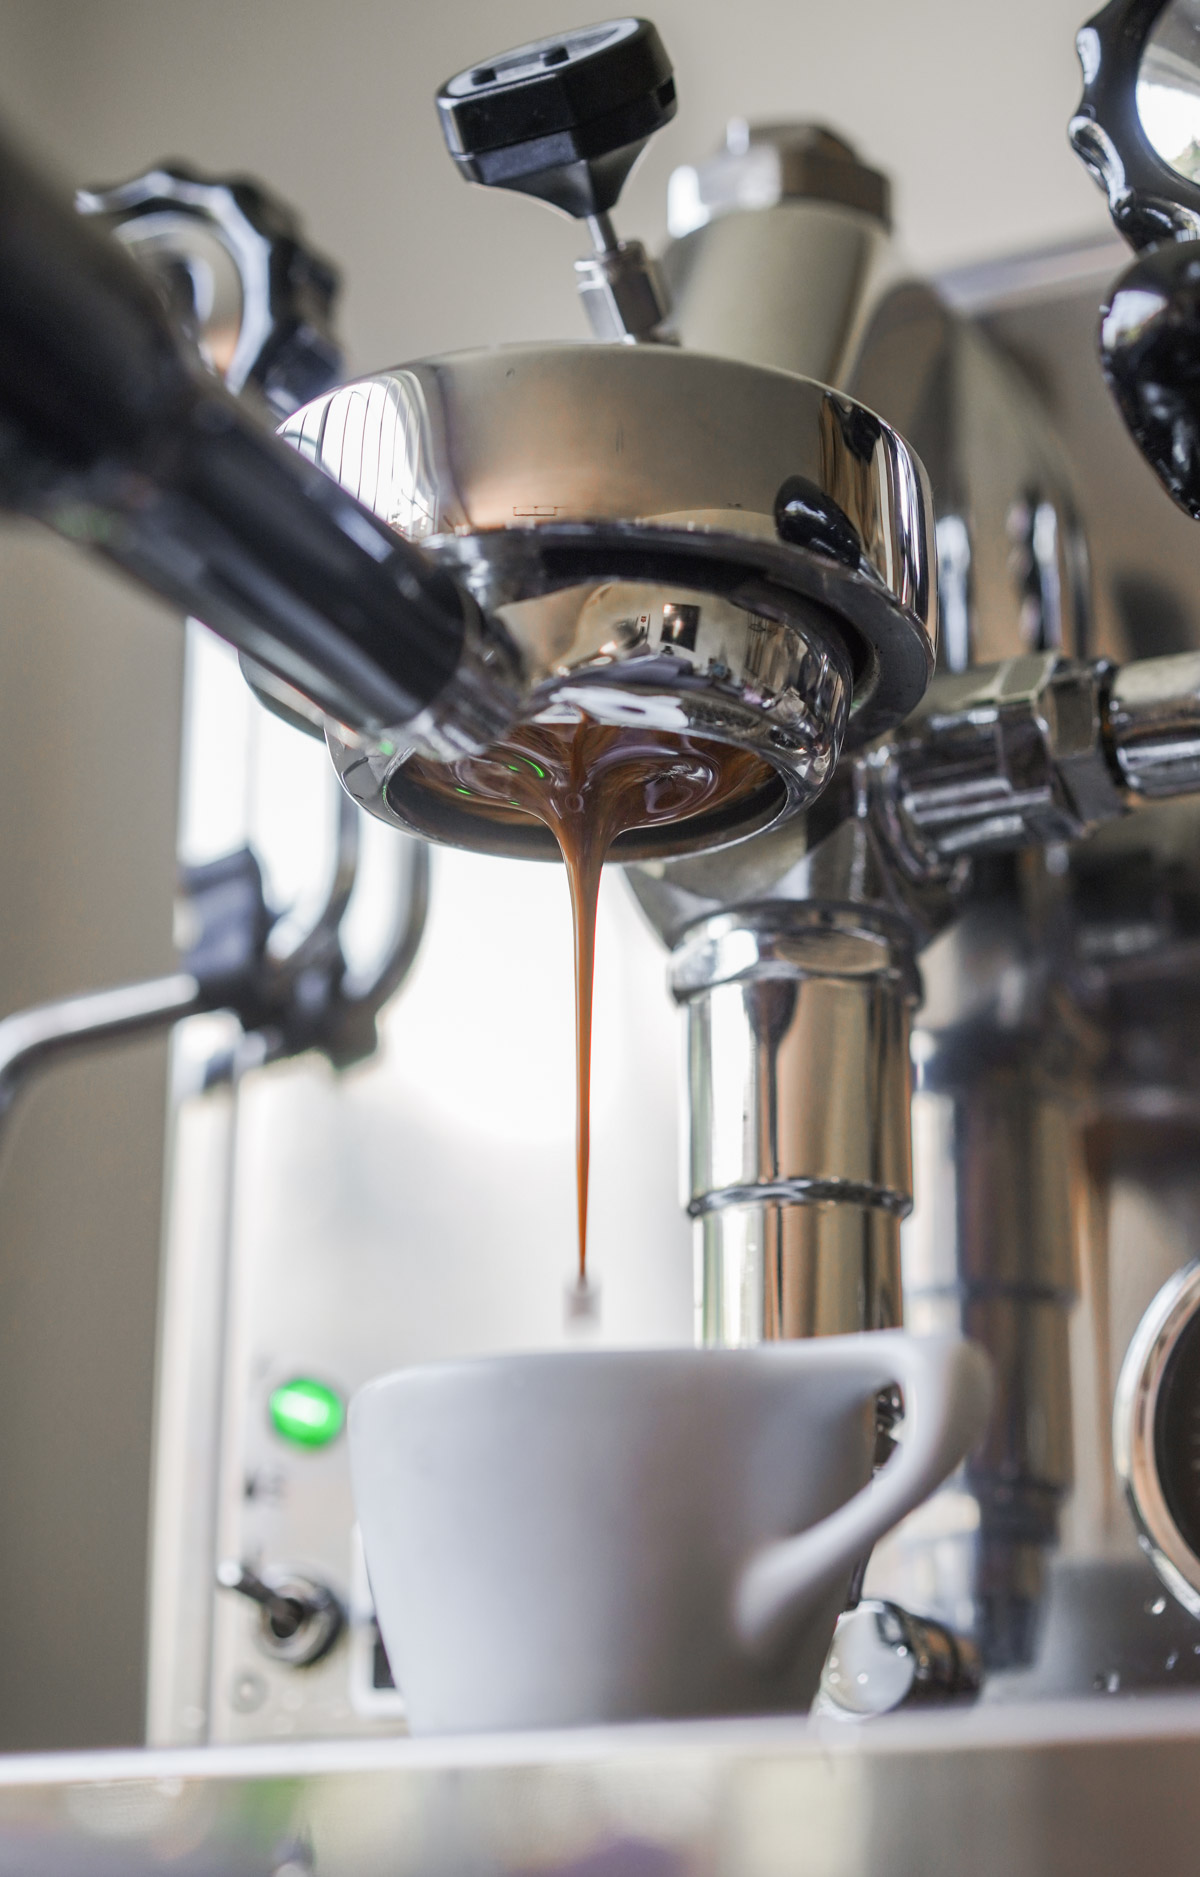
- Pull a shot with water at ~204F, yielding 25g of espresso over 30-35 seconds
- Stir, sip, and adjust grind size for future shots if needed
It takes a little more detail than this to get it done right, which we’ll go over below. Each of the bullet points can probably be expanded into their own full blown essays, which can get really interesting to learn about. However, we’ll keep it a bit simpler for this post just to cover more topics and help get you started. We don’t have to become scientists to pull good espresso shots, but that could be fun too!
Coffee beans
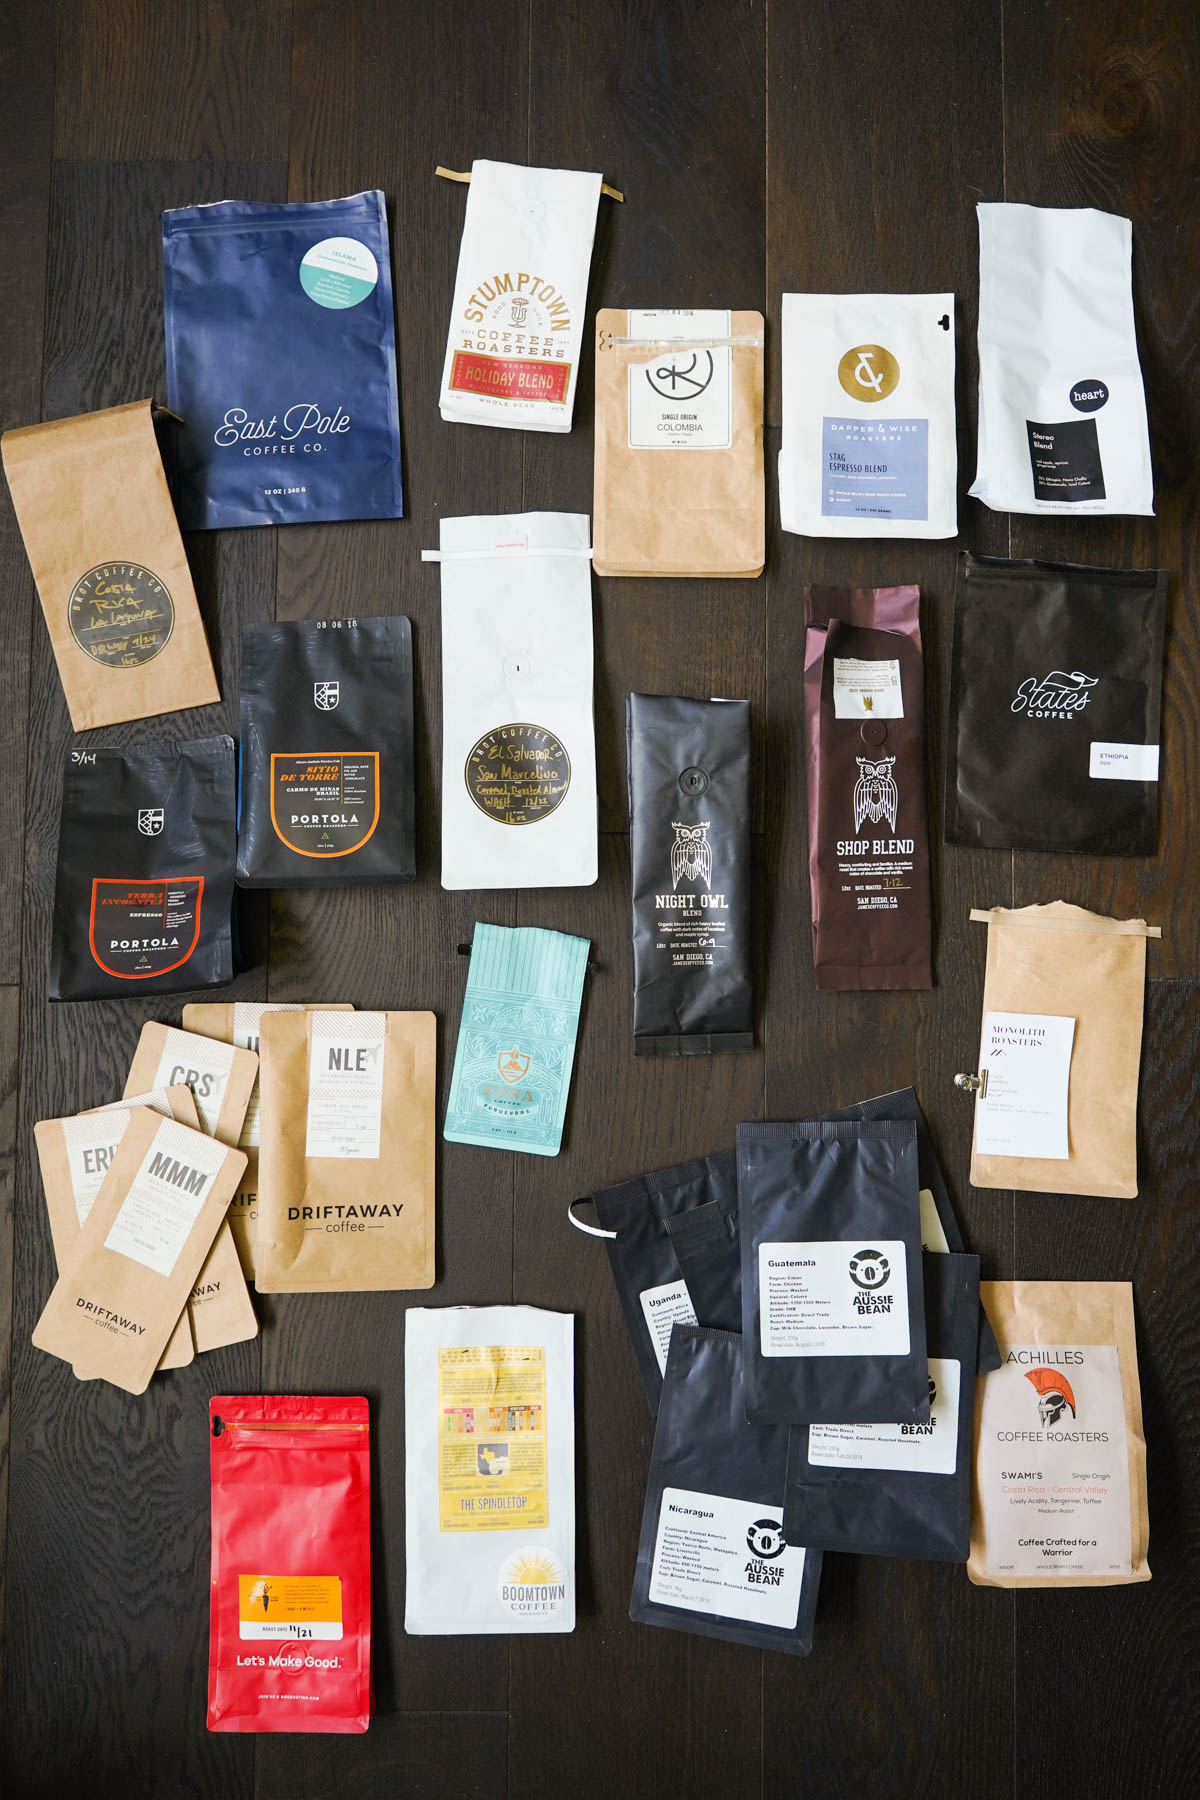
Here’s my growing collection of coffee bags! They’re kind of a fun reminder of where I’ve been and gifts people have gotten me too. Its getting out of control though…
I love the philosophy of freeing your mind of coffee bean restrictions. That is, use any brew method you want for any type of roast or variety you please. Of course some roasters may roast to hit a particular flavor profile or calibrate it to their ideal taste for an espresso or other method of brewing, but it doesn’t mean you have to stick to it.
Coffee age – When buying locally or freshly roasted coffee, the ideal window to use it is around 7-14 days after the roast date. After the initial 2 week phase, it’s still ok to use but you start to lose the subtle qualities of the coffee. It’s ok to use it fresher than 7 days after roast too, but the coffee is likely still degassing CO2, and I find that grind size may need to be adjusted more during this range.
Roast origin – Half the fun is mixing up the roast you use each time for new styles and flavors. Beans from different countries tend to have share similar characteristics. For example, Latin American beans tend to be on the more nutty and chocolatey side, whereas African beans have brighter and fruitier notes.
Roast darkness – These coffees from third wave roasters tend to me on the medium and lighter roast in terms of color. Of course if you enjoy the green mermaid chain of coffees you may be more accustomed to dark roasts.
Choosing an espresso grinder
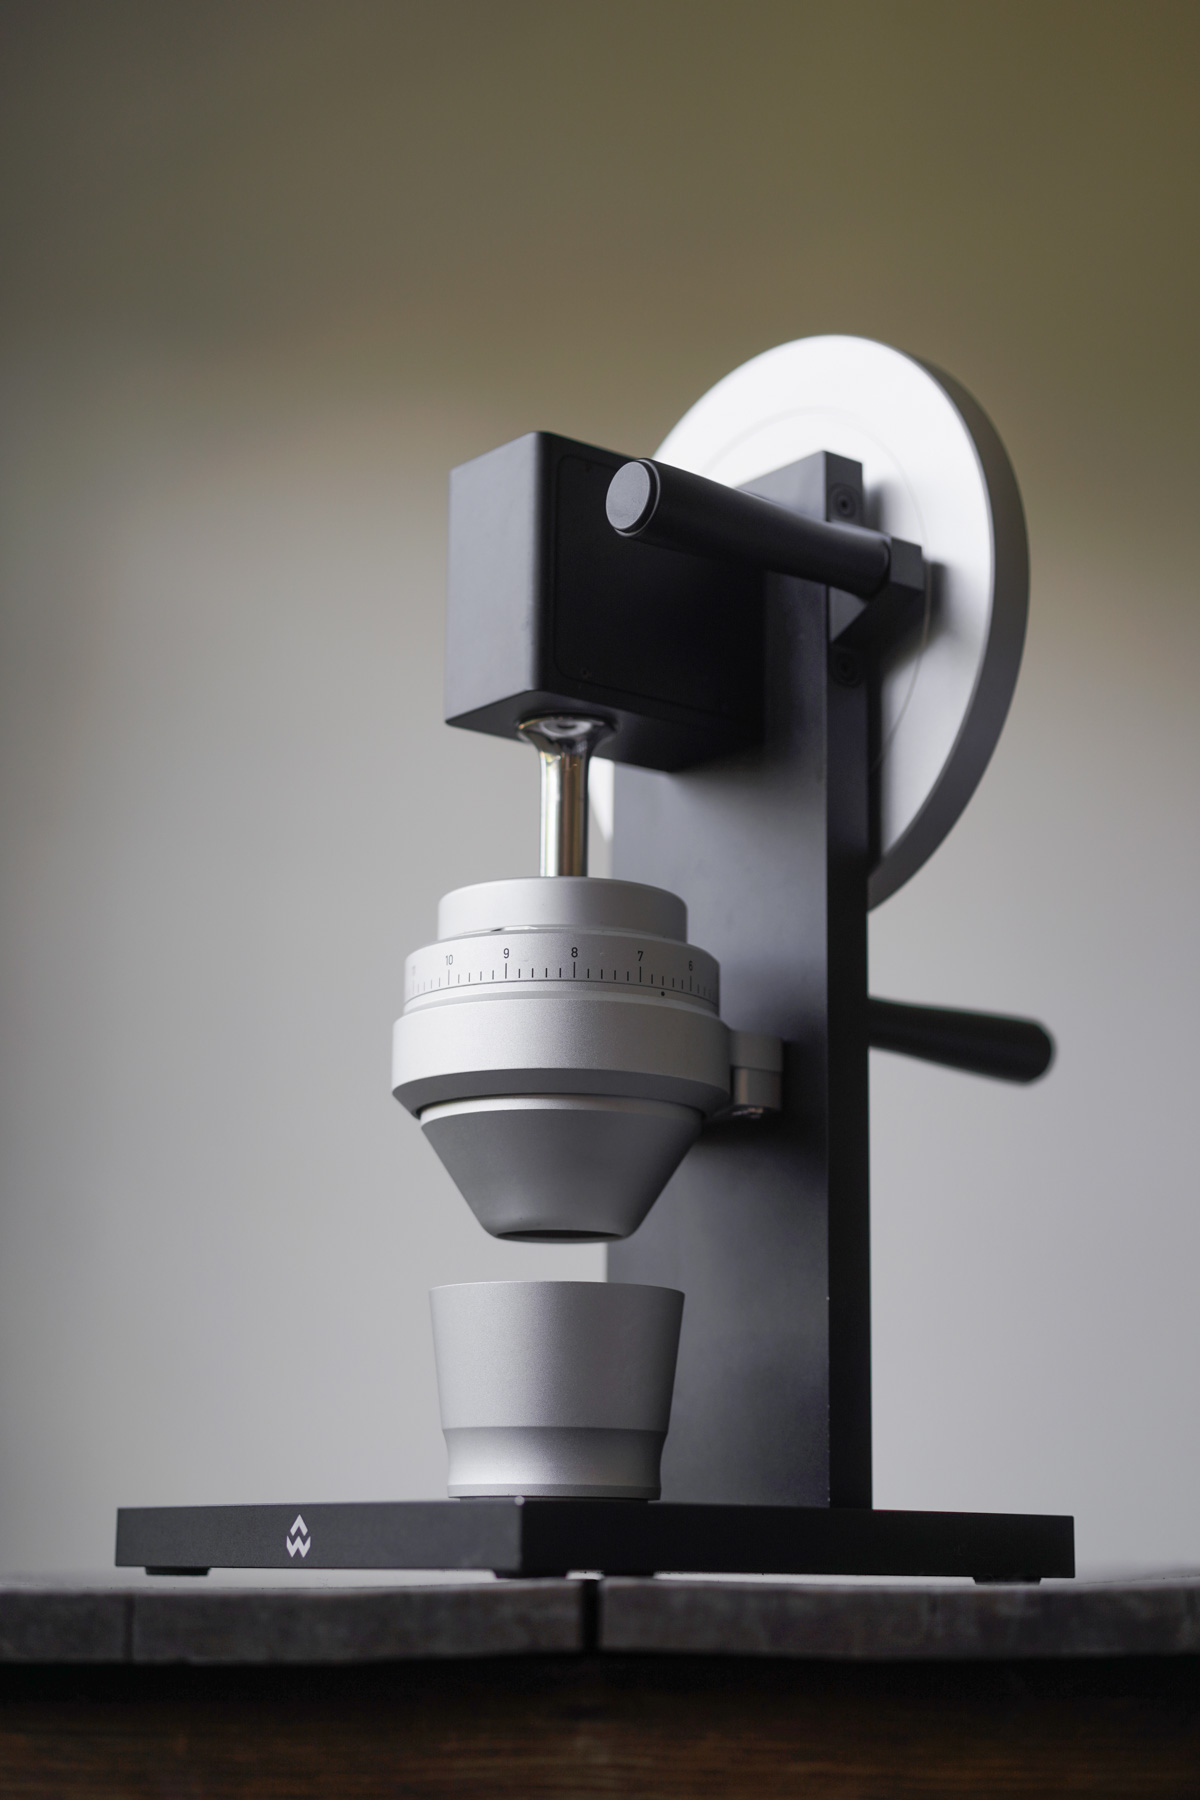
I use the HG-1 manual grinder. This was not the most affordable way to get high end burrs (built around the Mazzer burrs), and get it in an awesome looking black and silver manual grinder. It uses an 83mm conical burr set, which means more surface area to dissipate heat while grinding.
Also recommended, at different price points:
Fine enough grind – You need a grinder that can go fine enough to hit the espresso range, roughly 250-500 micrometers. This is finer than table salt, and more often compared to powdered sugar. A finer grind makes it harder for water to travel through the coffee, and creates the required pressure you need to pull a proper shot. Not all normal coffee grinders can get this small, and if it can, you typically don’t have enough fine control over the size which is essential in dialing in a shot.
Micro adjustments – Espresso grinders typically have stepped or unstepped adjustments for grind size, and they have micro adjustment capability that other types of brewing don’t need. It is amazing how fine one ‘click’ of adjustment on an espresso grinder can change your espresso shot. I would guess the steps are something between 3-6x as small per click on a regular burr grinder for drip, meaning you would way overshoot any fine tuning for espresso on a normal drip grinder.
Dosing / scale – Some grinders have built in scales and holders so you can grind right into the portafilter. This costs more and can save some time in your routine, especially if you’re pulling multiple shots for people (or yourself) a day.
This means you’ll either need a scale directly beneath your portafilter, or you need to tare your cup and weigh the yield at around 30 seconds. If you have much less yield than 25g by that time, your grind is too fine. If you have more than 25g pulled in that time frame, grind finer. If you can’t grind finer, it’s probably time to get a grinder for espresso.
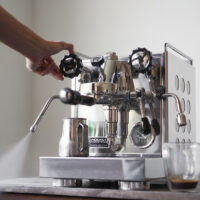
Choosing an espresso machine
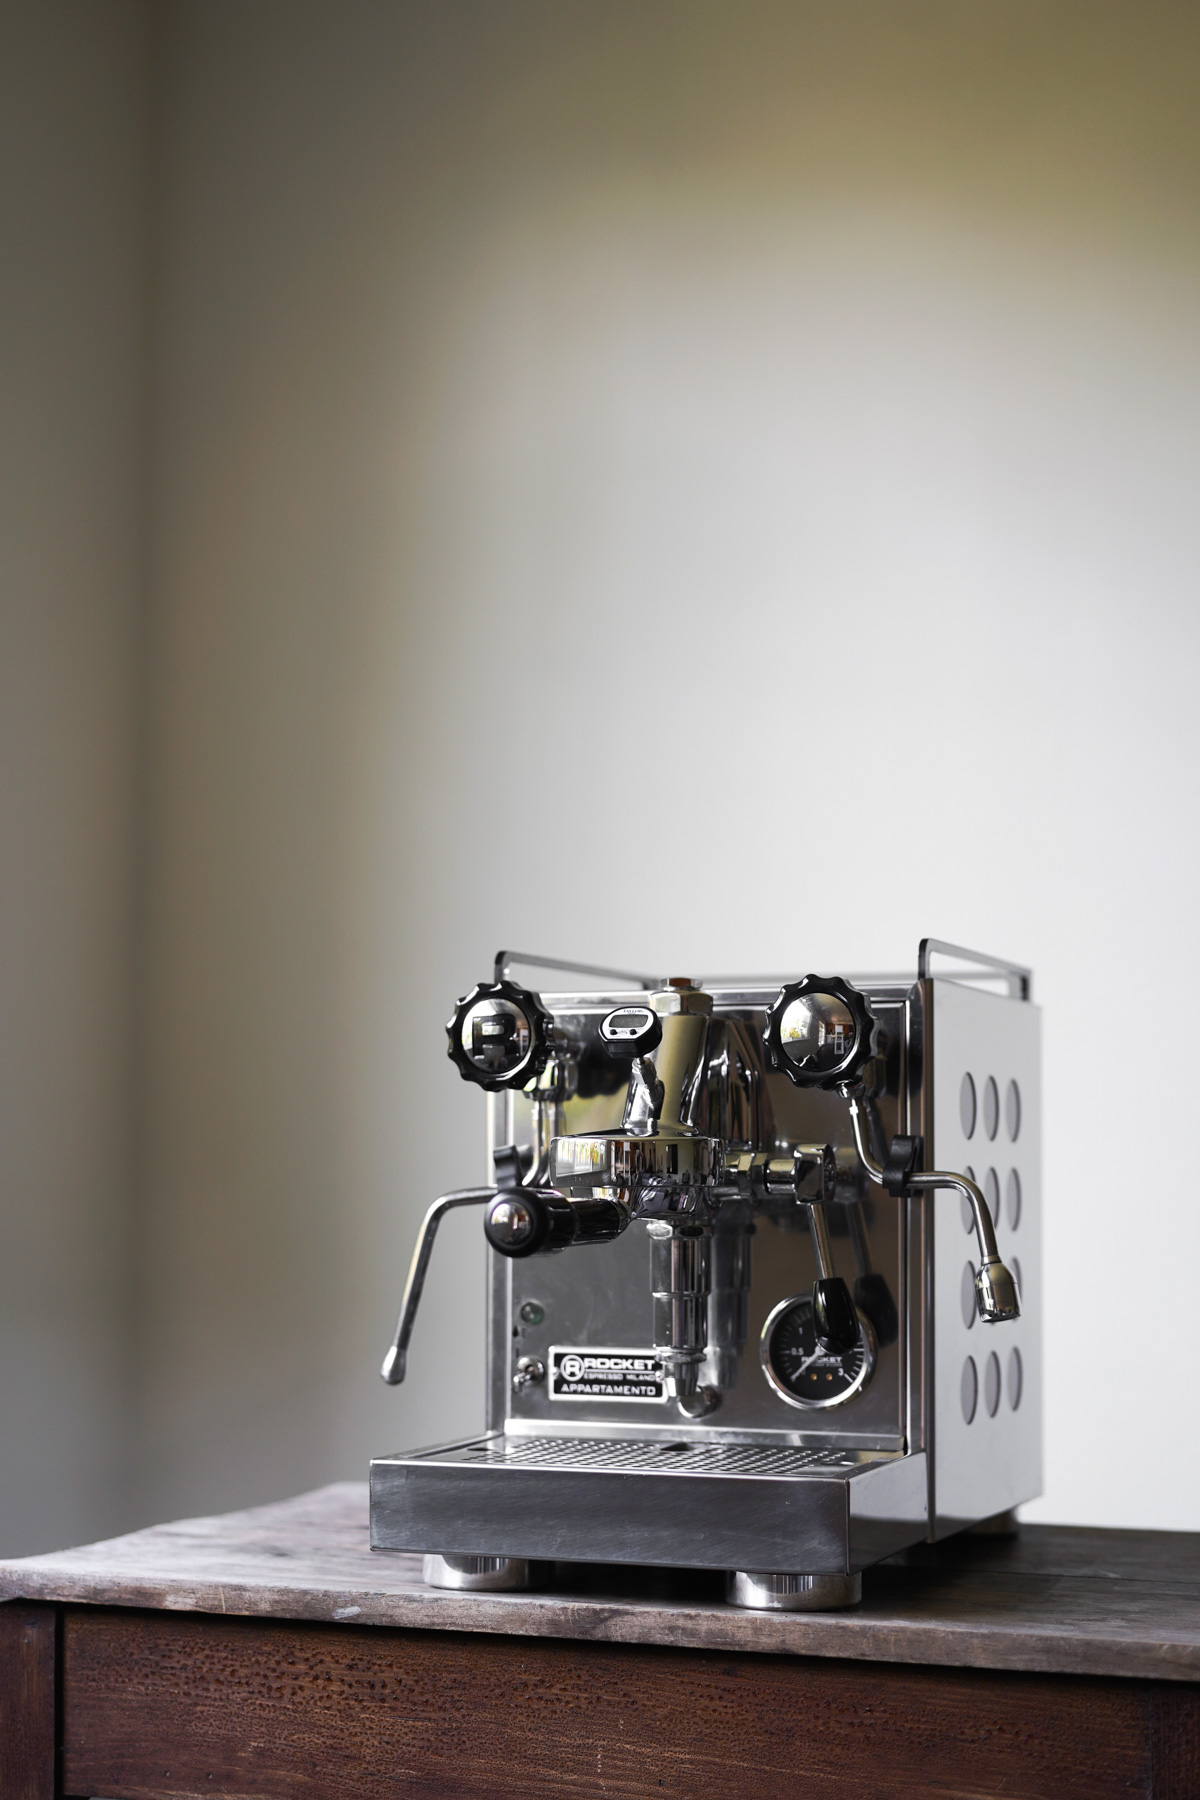
My friend, a huge gear nerd, hilariously and sternly told me “tell me what machine you’re looking at under $1,000 and I’ll tell you whats wrong with it.” I started with a Rancilio – Silvia as a loaner from a friend, and then shortly upgraded to a Rocket – Appartamento. It’s a steep increase in price but with some features you don’t get in more affordable machines. There seems to be an endless price ceiling, but you don’t have to go sky high for good espresso!
Recommended espresso machines:
To pull proper espresso you need a few things:
Pressure – Espresso is typically brewed around 9 bar (9 times the atmospheric pressure at sea level). You want a machine that can hit and maintain this level throughout the shot. It helps to have a machine with a pressure gauge.
Temperature – Coffee is extracted around 195-205F. You can pull a shot blind, but it is extremely helpful to have a thermometer at or near the group head so you know the water and unit temperature when you are brewing. (On our boba tea post we make jasmine tea, requiring 180 F, which is pretty impossible to guess without a thermometer.)
All these machines use boilers that can get the temperature above the ideal range so it can heat up the components, and maintain that temperature as you brew.
This means you will have to raise or lower the temps a bit at the group head before brewing, typically by flushing room temp water through the head until it hits proper range.
Shortcomings of my first machine – My first espresso machine was a Rancilio – Silvia machine with a PID installed. This machine requires you to ‘temperature surf’ (sounds fun right!) before brewing. The boiler temperature sits below the optimum brew temperature at rest, so to kick it back up to the optimum range there’s a switch to pull room temp water from the reservoir into the boiler. Once the boiler detects the temps have dropped enough it turns back on, and we ‘ride the temp wave’ back towards boiling temp.
Then we are supposed to wait about half a minute for it to wave to drop back down to an ideal temp of around 204F. We start at the high end because when you start pulling a shot it will decrease and we want to stay within the extraction range. This machine worked, but if you are lucky enough to get something better than something that just ‘works’, please do yourself a favor.
Method for brewing espresso
The recipe I use is double shot, 20g dose (beans) ground to a fineness to achieve ~25g yield (extracted coffee) over a time span of around 28-35 seconds from the time the pull is started.
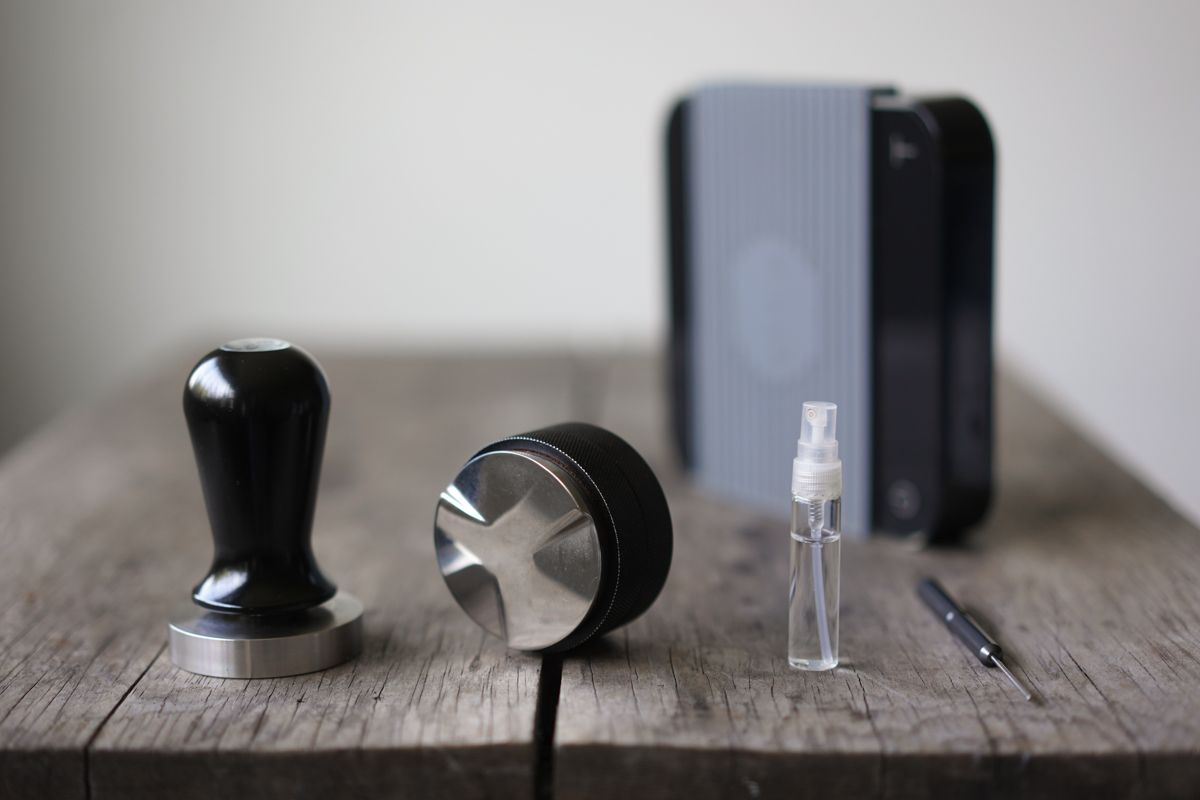
Extra gear that will make espresso-ing easier:
- Acaia Pearl Scale – has a timer and accuracy to 0.1g
- Atomizer (mini spray bottle) – reduces grinder retention
- Distribution stick – makes an even puck for even extraction
- Round distribution tool – makes an even puck for even extraction
- Espro spring loaded tamp – compresses coffee to create required pressure
1. Weigh 20g beans, spritz with water from a small atomizer. This keeps the coffee grinds from getting stuck in your grinder, so every last bit should come out.
2. Grind the beans. You want something finer than table salt, and more like powdered sugar. Start here, but knowing exactly how large isn’t important, because you will know indirectly based on the time required to brew (see later steps). The grind range needed ranges typically between a span of 10 settings on my grinder. I can typically ballpark where to start based on how much space the beans take up in my measuring cup: the more space it takes up, the less dense the bean, typically requiring a larger grind.
3. Load the portafilter. Distribute the grinds for evenness. I use a distribution stick, and then a round distribution tool. Try not to compress the coffee too much during this stage.
4. Tamp with about 30 lb pressure. It is impossible to tamp too hard but possible to tamp too lightly–just don’t hurt yourself. Keeping it level during the tamp is key.
5. Flush water through the grouphead to lower temps a bit. For my machine, flushing to hit around 207F will result in an optimal temp range when pulling a shot of around 199-204F.
6. Attach the portafilter, tare the scale, place a cup underneath and pull the shot. Start the timer as soon as you start the pull. Stop the pull around ~30 seconds.
7. Stir your coffee a bit with a spoon and taste. If your yield is below 25g, typically you’ll need to increase the size of your grind, and if yield is higher, you need to decrease grind size. But taste each pull to make sure its good to you before adjusting.
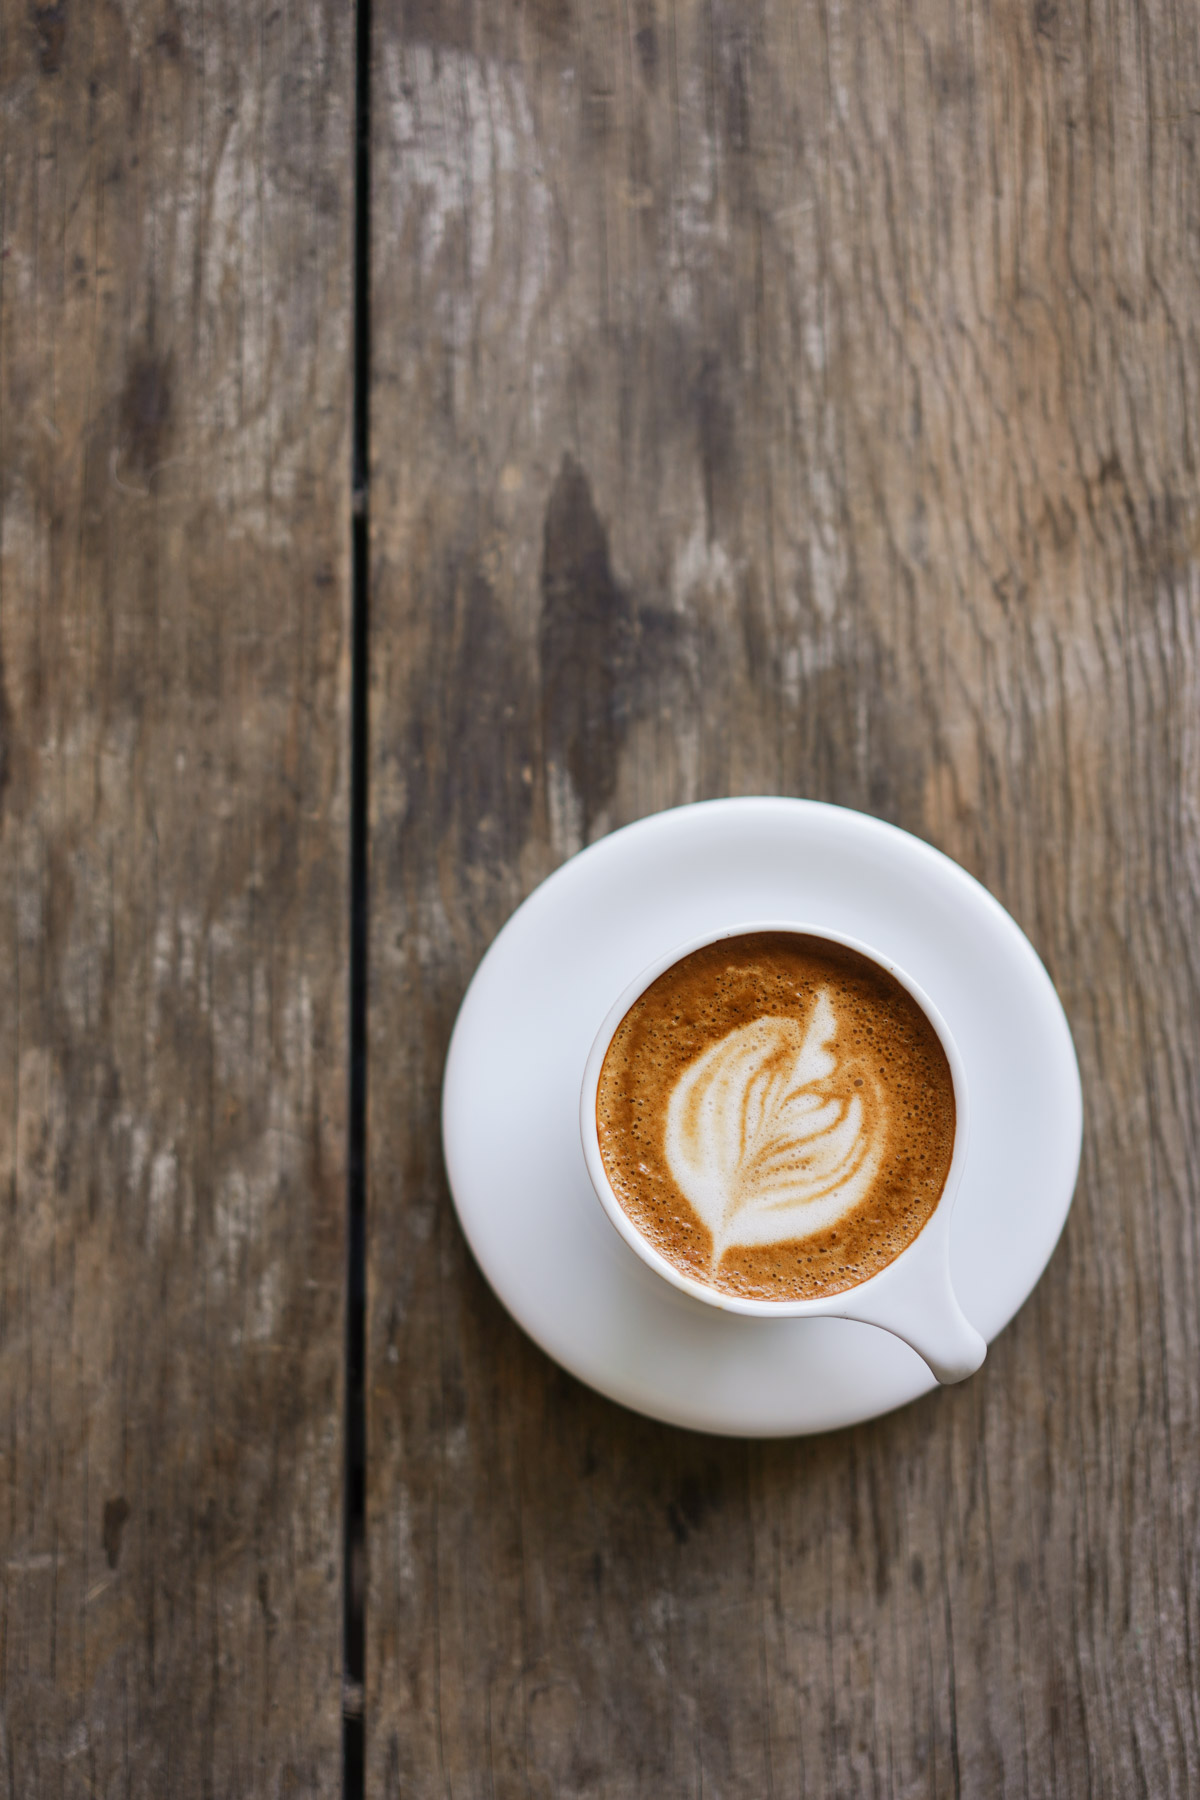
After you get the hang of these you can start making other fun drinks that require espresso like lattes, cortados, Americanos, or even a pumpkin spice latte!
How to Make Espresso
Ingredients
- 20 g fresh coffee beans
- filtered water
Gear
- Espresso grinder
- Espresso machine
- Scale with timer and accuracy to 0.1g
- Small atomizer
- Distribution stick and tool
- Tamp
- Espresso cup
Instructions
- Weigh 20g beans, spritz with water from atomizer.
- Grind the beans to about powdered sugar consistency, between 250-500 micrometers.
- Load the portafilter. Distribute the grinds for evenness. I use a distribution stick, and then a round distribution tool.
- Tamp with about 30 lb pressure as level as you can.
- Flush enough water so when you brew, it maintains temps at the grouphead of around 199-204F.
- Attach the portafilter, tare the scale, place a cup underneath and pull the shot. Start the timer as soon as you start the pull. Stop around ~30 seconds.
- Taste it! If your yield is below 25g and it tastes bitter, burnt or over extracted, increase the size of your grind, and if yield is higher than 25g, and it tastes too sour decrease grind size for the next shot.


