Pour over coffee was my only method of brewing twice daily for a span of 3-4 years at one point. It is pretty easy to learn, very enjoyable and relaxing to do first thing in the morning.
Making pour over coffee can be as simple or complicated as you want it to be. I chose the more complicated way because I get to nerd out on gear. The parameters of a more controlled brewing method are much more strict than the average ‘joe’. You absolutely don’t have to get this nerdy about it to brew an amazing cup, but controlling each of your variables will help you calibrate your brew with each new bag of beans you get.
Shout out to my cousin John for getting me into specialty coffee way back when. It started with Aeropress, then pour over, then it’s just really spun out of control.
This is a coffee I drink as plain black coffee. Quite a different experience than my Vietnamese coffee recipe, where condensed milk is a requirement (I reduce that a bit to keep it dark).
If you just want the quick and dirty to get rolling on your first pour over, scroll to the bottom for a simplified recipe!
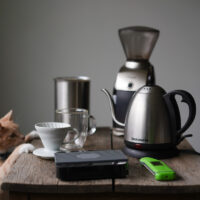
Gear for pour over coffee
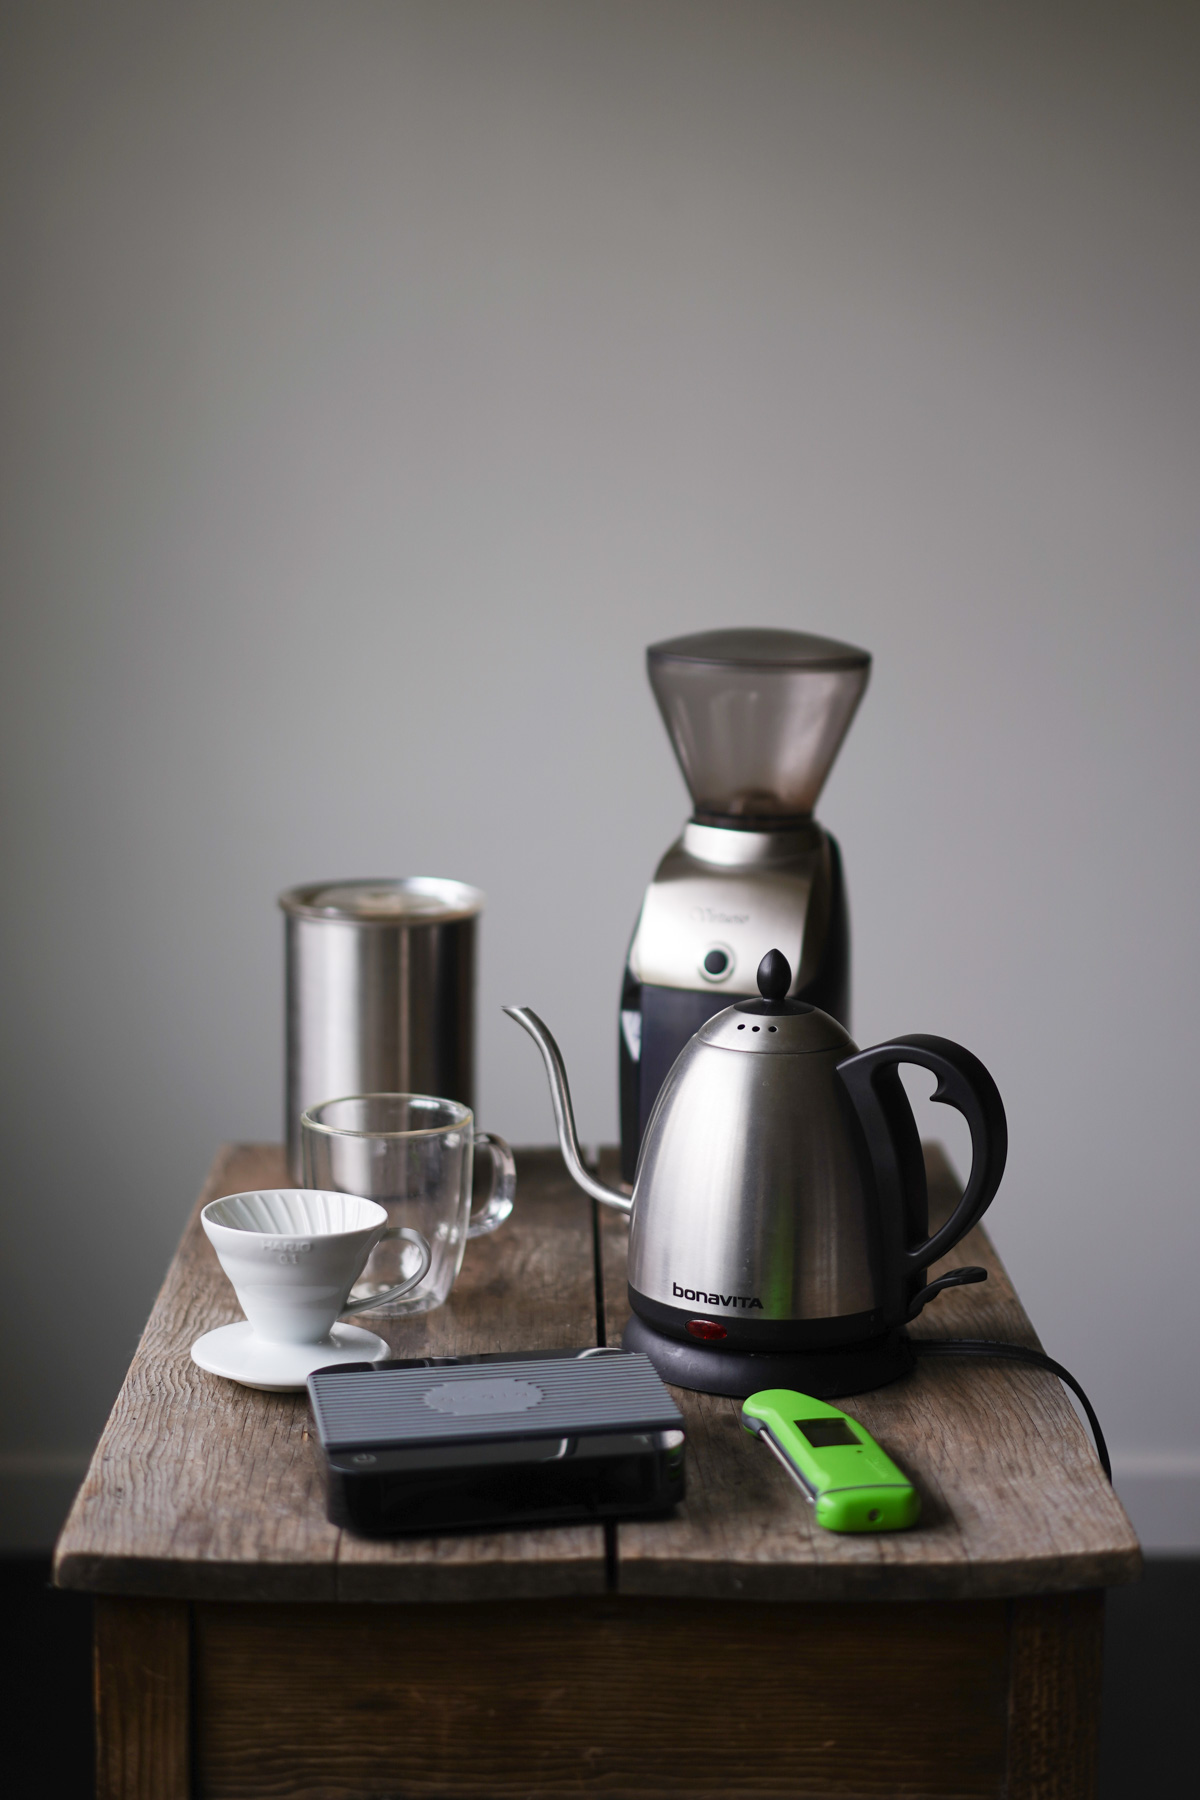
I put the entire list of gear I use below, into one organized Amazon list. You absolutely don’t have to have all this gear to brew great pour over, so I made a more cost effective list of gear instead here. I really like that if you use a kettle with a temp setting or a thermometer, and a scale with a timer on it you can get by with even less gear!
Pour over device – I use the Hario – V60. It’s is the smaller size (01) for brewing 1-2 cups. If you need to brew up to 4 cups, get the 02 size, or up to 6 cups with the 03 size. There are tons of brands to choose from and I suspect the final result wouldn’t differ too wildly. This one looks great though, is easy to clean and insulates heat well enough to brew. Larger devices use larger filters which are only cost efficient if you will be brewing larger batches.
Scale – I use the Acaia – Pearl. This is the standard at third wave coffee shops because it’s an amazing product. The cost is super high in terms of bang for buck, but nothing else is available on the market that does as good a job with as good a design. This one looks great, is super responsive and has a built in timer. For years I used the Jennings CJ-4000 (it broke, support was unresponsive so I’m bitter, not even gona link you to it) also a $20 Salter kitchen scale which was fine at the time.
Timer – Use a kitchen timer or the stopwatch on your phone as I did before getting one integrated with the scale.
Filter – Hario – Unbleached V60 size 01 filters. There are reusable metal ones if you’re into that which apparently lets more of the coffee oils into your cup.
Grinder – I use a Baratza – Virtuoso which does the job well. Use a burr grinder. A cheap burr grinder if you have to. It will ensure more uniform grind size so you can control your brew. If you use a blade grinder it will yield large variations on grind size preventing you from calibrating your brew for each new bag of beans. Many of my family members (I think about four!) use a more affordable Capresso – Infinity regularly and like it too!
Cup – I use a double walled cup. I received two metal ones (this Yeti and the handle-less version) as gifts which i use often but also love Bodum’s double walled glass mugs because you can see inside. Depsite having no lid it will keep your coffee hot for about 20x longer than a standard mug–it is seriously amazing.
Gooseneck electric kettle – Apparently electric kettles are standard in other countries but I bought my first one to start pour overs. A gooseneck one will let you control the flow of water precisely without disrupting the coffee grinds during brew. I use the basic gooseneck electric from Bonavita, but since temperature is important, I do wish I got the temperature control version instead. The price gap between these two models when I bought a few years back used to be much cheaper and looks to be only about a $10 difference now!
Thermometer – Coffee is extracted with water between 195 and 205 °F. If you brew just off the boil it can overcook and overextract your coffee. You can try to time it off the boil to hit the proper range, but you’ll never know how long to wait unless you calibrate at least the first time with a thermometer. I use the Thermapen Mk4 (same one I use for brewing tea at lower temperatures) but you could get a temp controlled kettle instead.
Coffee beans – TL;DR is use em fresh as you can ideally during the 1-2 week window after roast, up to a month if you have to. Store in an air tight container away from light. I use a 64 oz Airscape and love it. Perhaps the 32 oz size would fit 12 oz of beans better, but sometimes I buy 16 oz, requiring the larger size.
Grind only immediately before brewing. I started off only buying Stumptown beans online before they had distribution nationwide. There are countless roasters available online now, and locally for me in Southern California. There are lots of great options locally so I don’t get them shipped anymore. It’s definitely fun to try out new roasters, as they pop up around here. Some clearly stand out as higher quality, but you never know until you try!
Coffee to water ratio
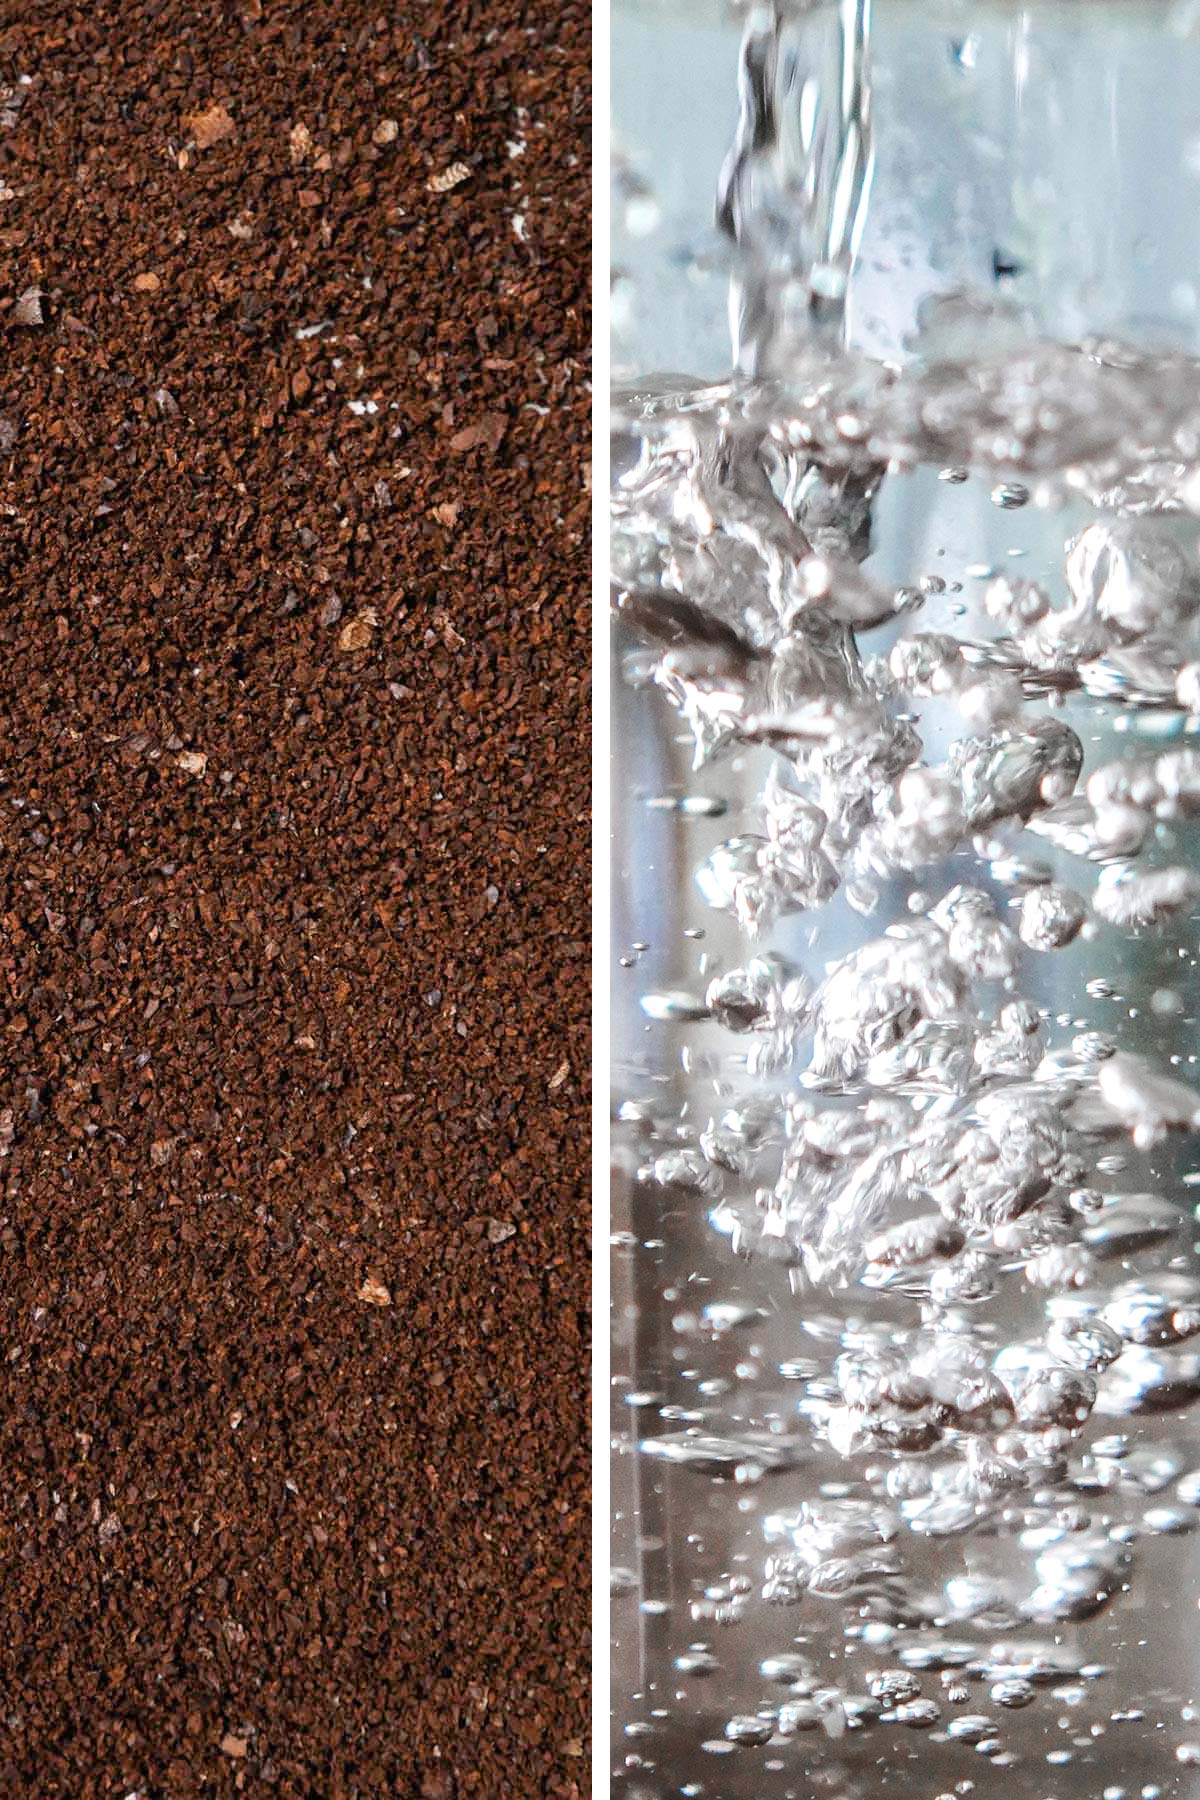
The water to coffee ratio can have a big impact on the final taste of your brew. I typically start with a 1:14 ratio of coffee to water. For each single cup I brew it’s 16g beans and 222g water. The 222g is the final yield, so you’d want to boil more to start, something around 300g (I’ll explain more below).
Brew method

This video I actually filmed a few years back, and finally cut it together. The gear has changed a bit, but brew method is the same!
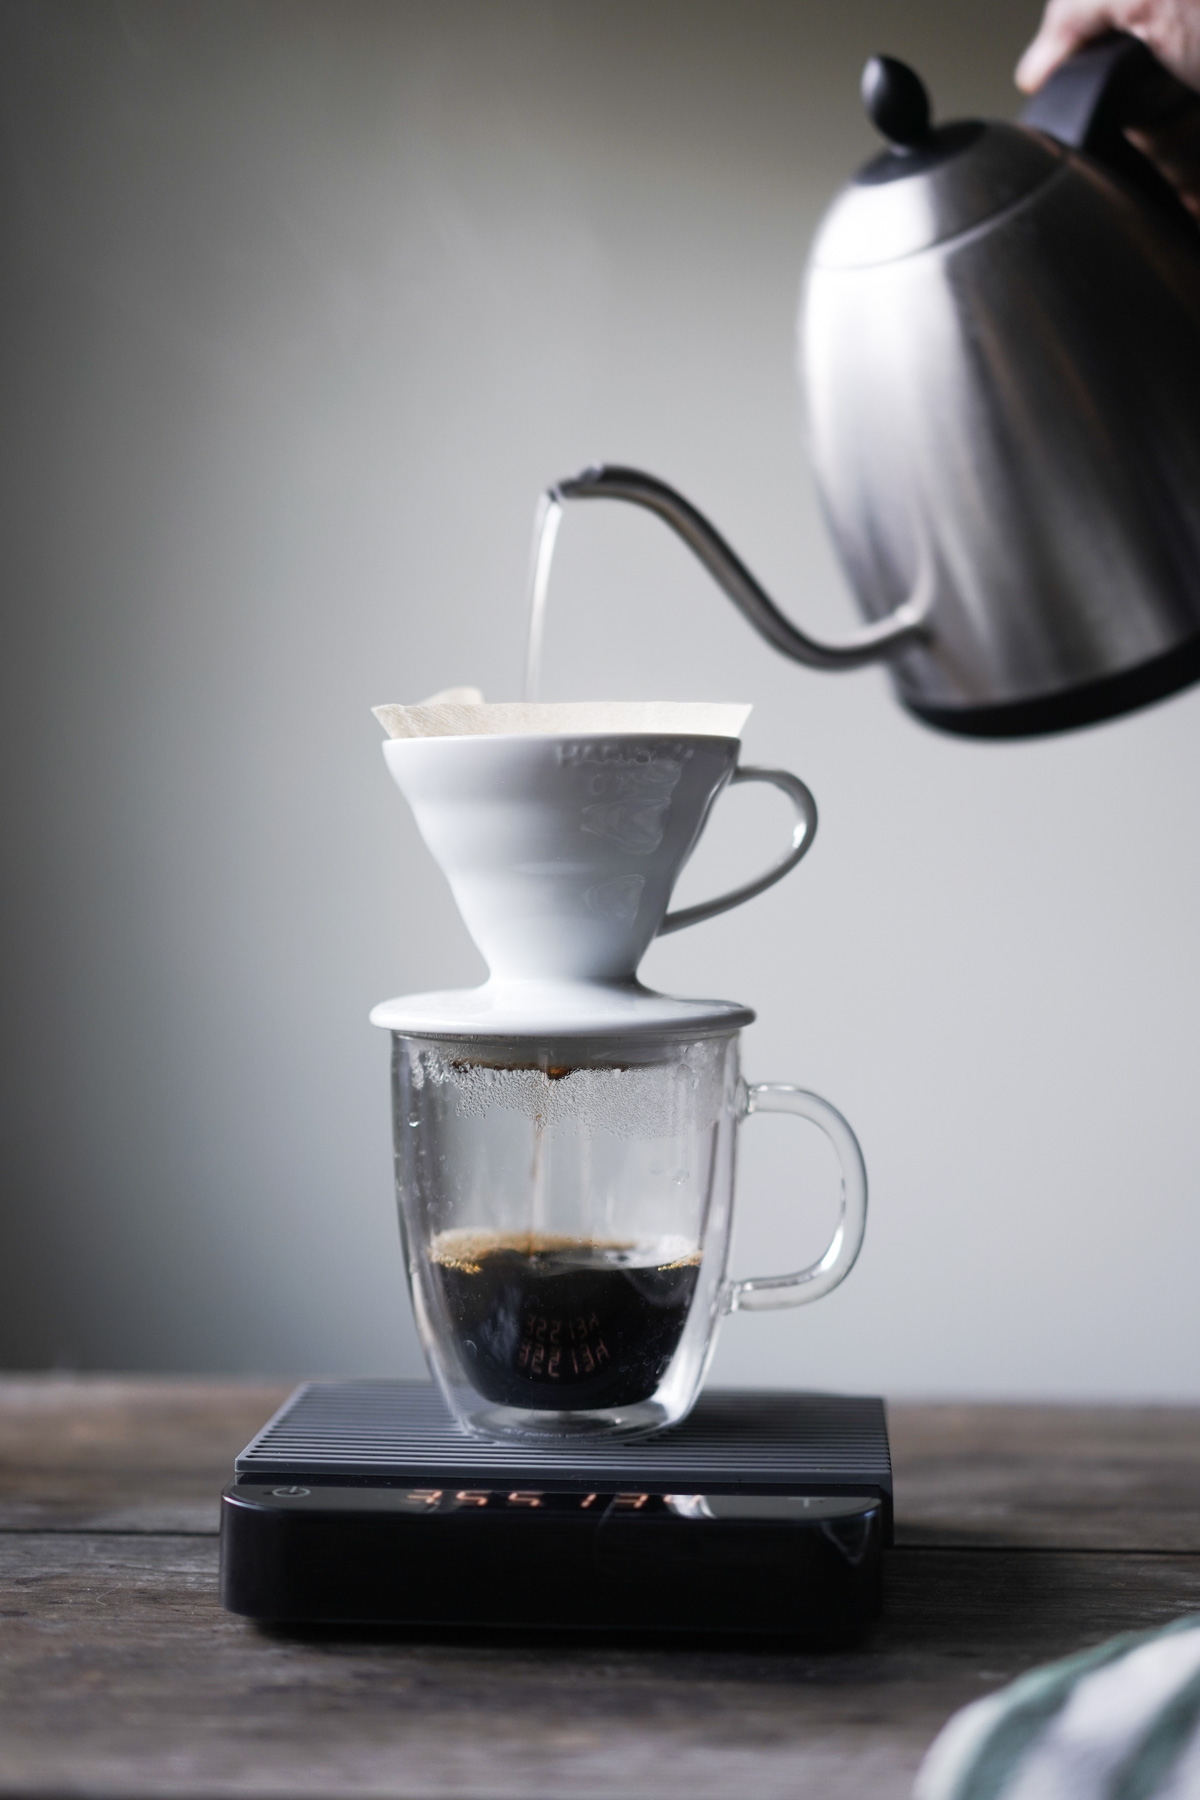
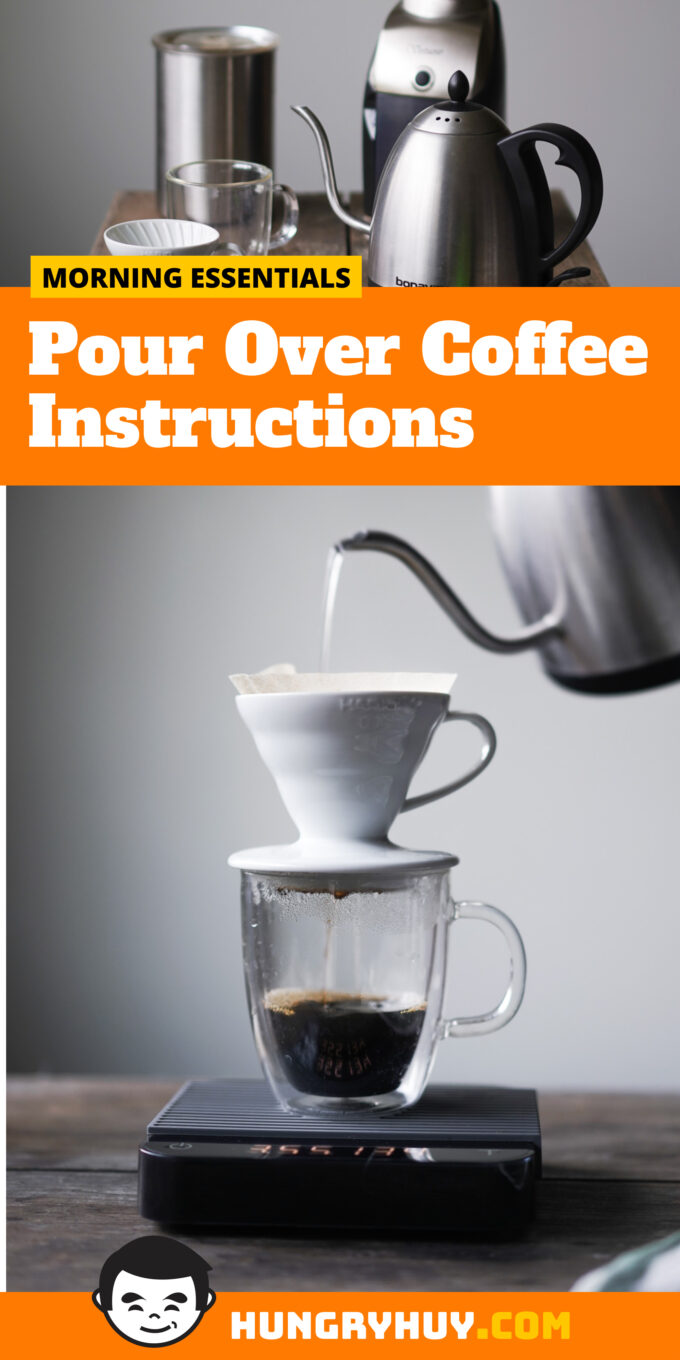
[adthrive-in-post-video-player video-id=”VwkrhSUH” upload-date=”2020-05-04T00:00:00.000Z” name=”How To Brew Pour Over Coffee” description=”Here's how I brew pour over coffee with the Hario V60. Also includes the kettle, scale, and grinder I use. This is not the only way to brew, but a great way I've used for many many years.” player-type=”default” override-embed=”default”]Boil water – 300g water. You can boil it on the stovetop in a pot, or in the microwave too, but make sure you use a gooseneck kettle to do the pour over.
Weigh and grind beans – Weigh 16g coffee beans. Mist it with water from a tiny atomizer to de-static the beans, reducing grinder retention meaning less sticks to your grinder making a mess, and you get exactly the amount of grind you originally weighed.. Grind somewhere between 400-800 micrometers–roughly between the size of table salt and kosher salt or around a 17 setting on the Baratza – Virtuoso.
Preheat and rinse – Place the V60 on your cup, add the paper filter and pour just enough boiling water to fully rinse the filter. This will also heat up your cup and filter to maintain a more steady brew temp.
Bloom – Add the coffee grinds to the filter, and shake so it’s level. Tare the scale, then pour ~16-25g–just enough to fully wet the grinds so it can hydrate, heat up, and bloom (release carbon dioxide) for 30 seconds. Pour out the bloom and paper rinse water.
Brew – Tare the scale again. Start the timer, then pour a slow continuous stream in a circle, staying close to the V60. Pour about midway between the edge of the V60 and the center. You want to aim to hit 37g of water every 20 seconds, so your final yield will be 222g of water over 2 minutes.
Drink! – Let it cool down for a few minutes, then stir the coffee before tasting.
Calibrating your brew – Every new bag of beans could benefit from some type of calibration. Sour coffee is a sign of underextraction, and bitter coffee is a sign of overextraction. If you’ve controlled all the variables of your brew closely, then you can simply adjust the grind size larger or smaller by a notch to calibrate. If your coffee was sour or underextracted, try a finer grind next time. If it was too bitter, try a coarse grind for less extraction.
Start with that first. If you can’t fine tune it to taste good with grind size, you can start to play around with the coffee to water ratio (try 1:15 or 1:16 next time) and even water temperature (try up or down 5 °F in the range of 195-205 °F).
Pour Over Coffee
Ingredients
- 300 g filtered water boiled to 205 °F
- 16 g coffee beans medium grind
Equipment Used
Instructions
- Boil 300g water
- Weigh 16g coffee beans, grind to medium coarseness
- Place your mug on the scale, then the V60 brewer on the mug. Tare the scale.
- Pour 15g water to rinse the filter and warm the brewer and cup.
- Add coffee grinds, and lightly shake to level.
- Pour 16-25g water evenly on the grinds–just enough to hydrate them. Let bloom for about 30 seconds.
- Pour out the water in your cup, put the V60 back on your cup, tare the scale.
- Start timer and pour ~37g water into the V60 slowly in smooth concentric circles every 20 seconds. It should take 120 seconds to pour 222g water total.
- Let cool for a few minutes, stir, and drink!