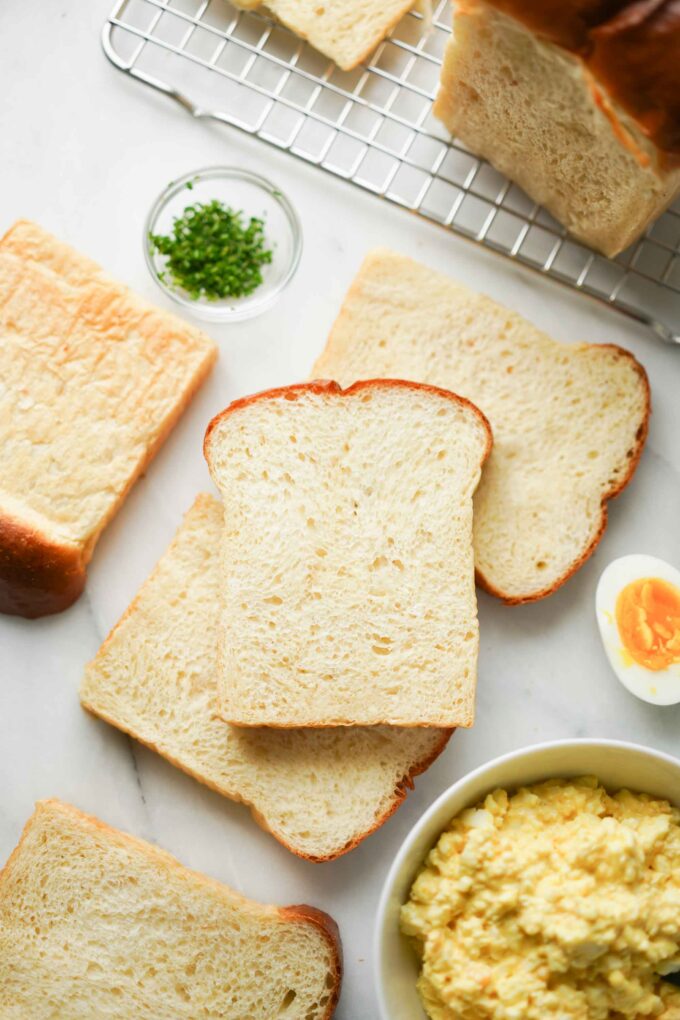
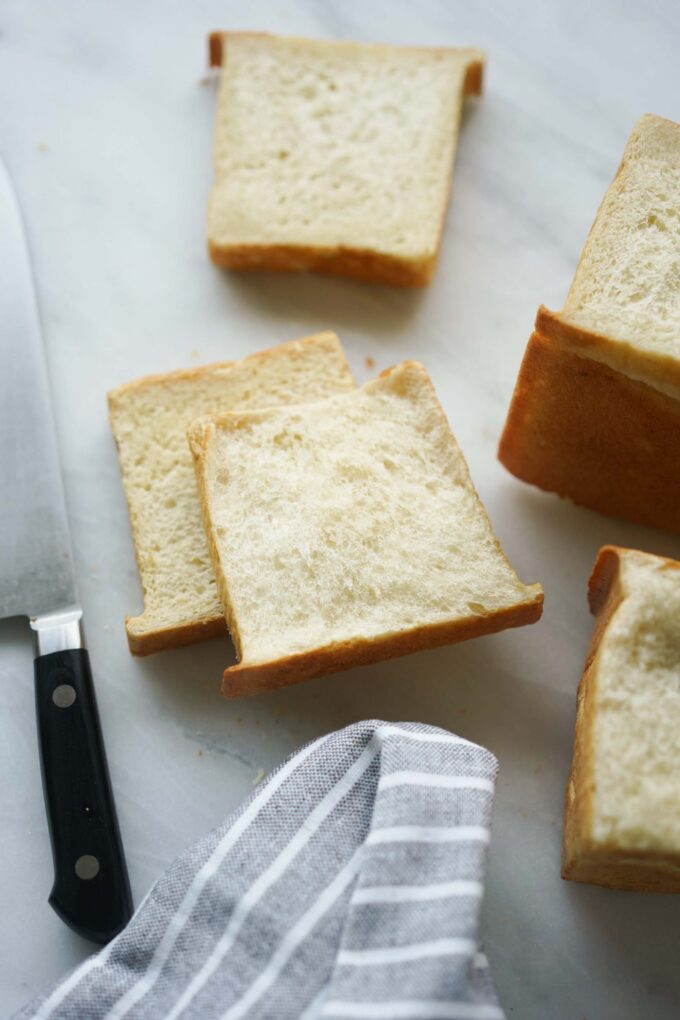
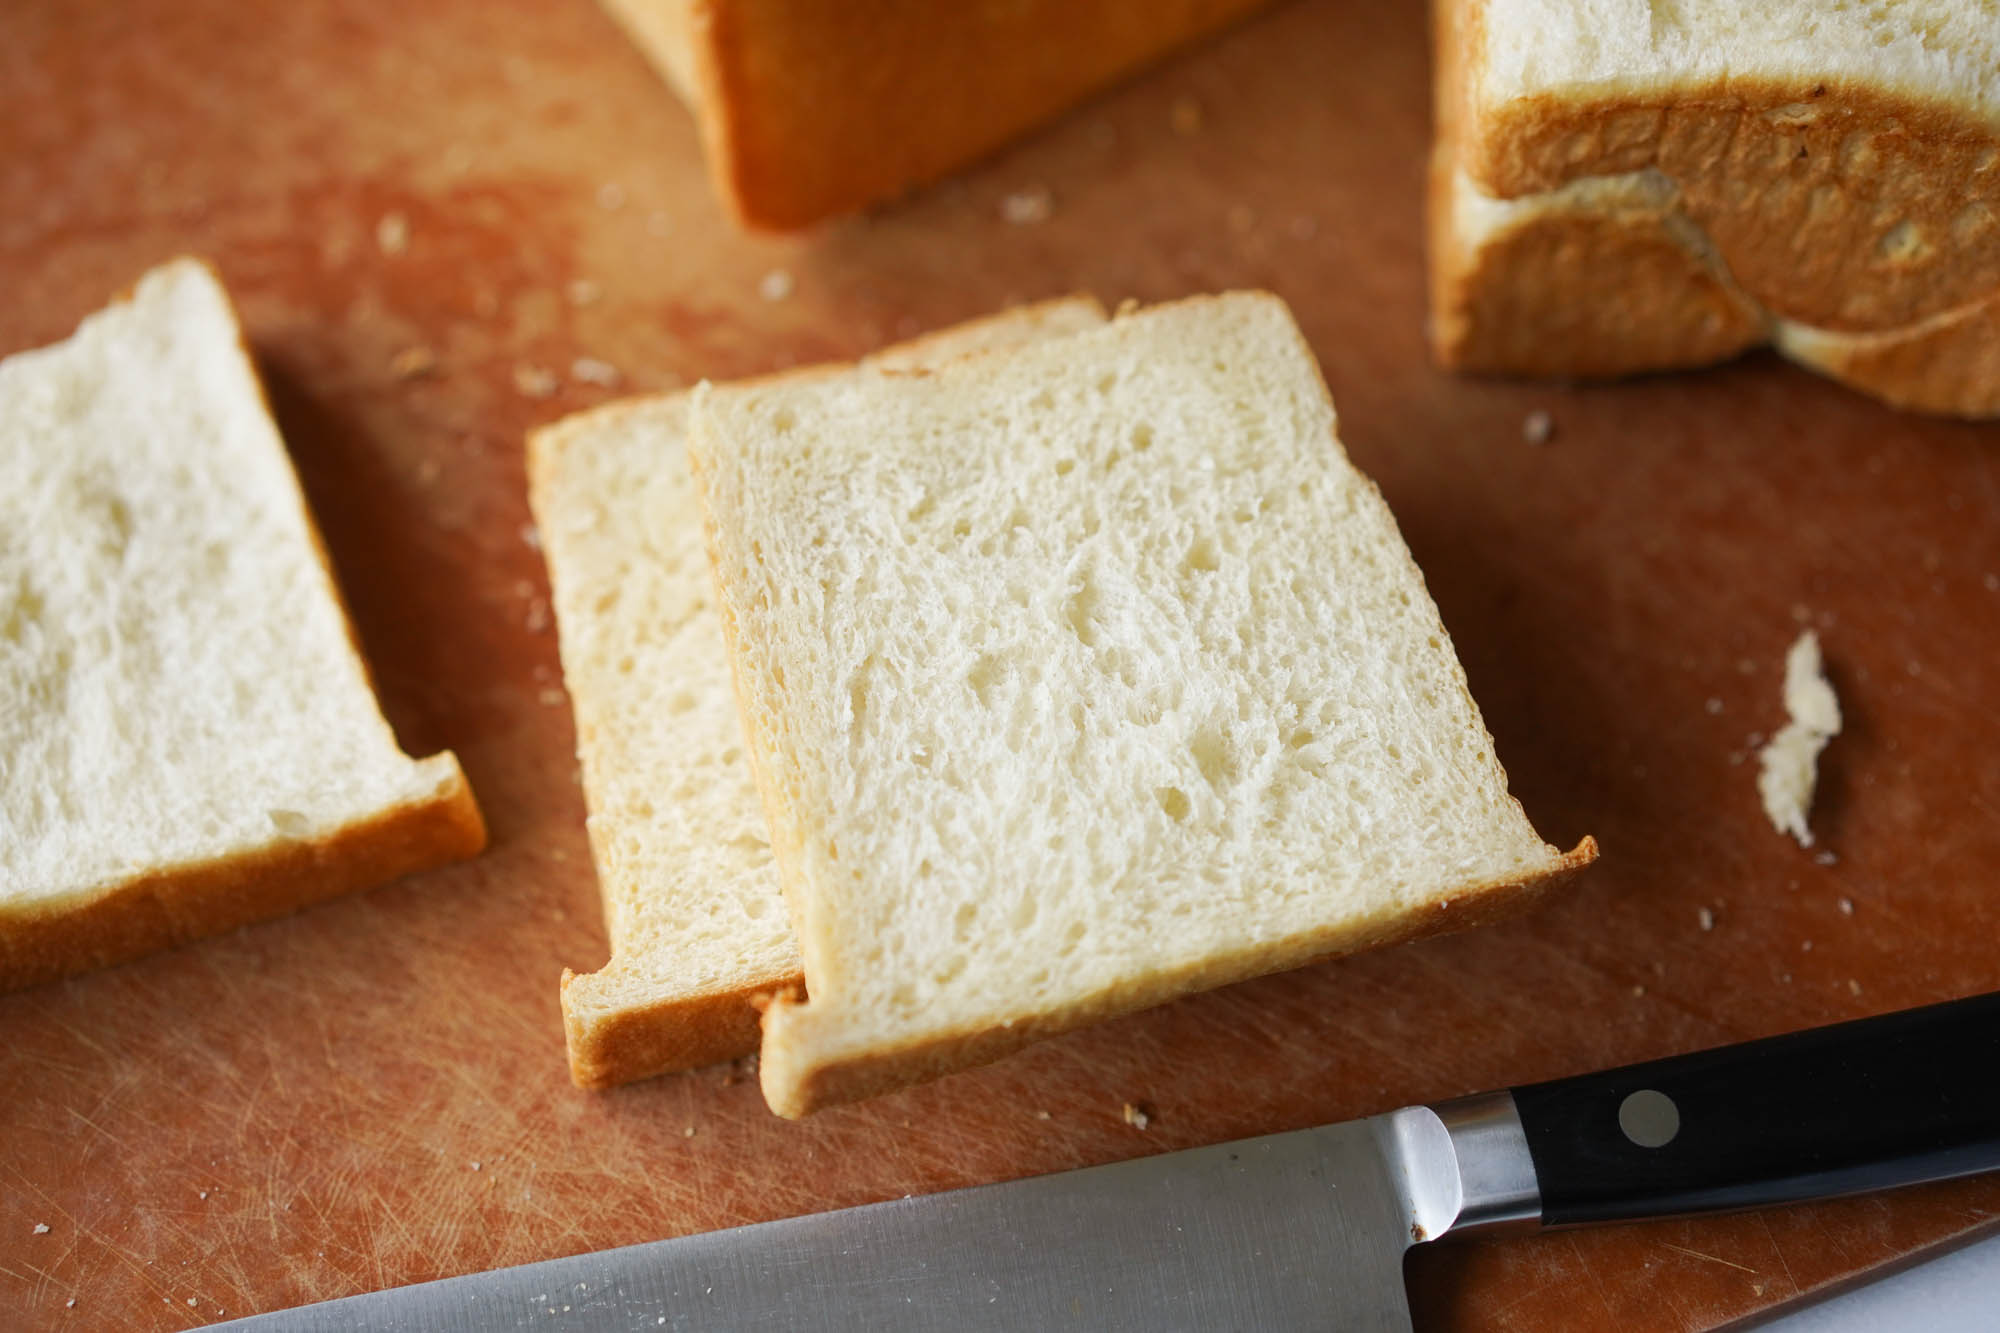
Soft, pillowy slices of fluffy Japanese white bread, this shokupan recipe will teach you have to make homemade pullman style loaves!
Shokupan slices are typically what you find in the famous tamago sando, fruit sando, or katsu sando from 7-Eleven or Lawson stores in Japan. While the egg salad or katsu fillings are an important part of each sandwich, the shokupan slices offer a pillowy texture that is perfect for any kind of sandwich.
These days you can find shokupan in loaf form or cut into thicker slices from your local Japanese grocery store or bakery. I’m very fortunate to have bakeries like Cream Pan or Mitsuwa Marketplace that makes bread fresh daily.
What is shokupan or Japanese milk bread?

Shokupan is a traditional milk bread in Japan and literally means “food bread” or “eating bread.” While the popularity of bread in Japan has had a complicated and long history, milk bread or fluffy white bread in the style of Pullman loaves weren’t really popularized or even introduced until American soldiers came to Japan in the 20th century.
What makes shokupan so special is its extra fluffy and soft texture, but also its ability to stay soft for a longer period of time without processed ingredients.
Its high hydration dough (and the dough starter that makes this dough manageable to knead) is to thank for this cloudlike texture. Not to be confused with its cousin, Hokkaido milk bread, this dough is just as milky, but less sweet.

What is Tangzhong or Yudane?
Shokupan dough is similar to Hokkaido milk bread dough because they both use a starter to make it easier when dealing with their high hydration doughs. The higher the hydration, the more water in the dough and the softer the bread will become. Most high hydration doughs (like sourdough) can be tricky because there is so much water in the dough it can become quite sticky and hard to knead—even with a stand mixer.
To counteract the difficulty of high hydration dough, Japanese, Tawiwanese, and Chinese bakers have come up with ways to include what’s known as “starters” that gelatinizes the starches in boiling water. Here are the two types of starters:
- Yudane method: This is the traditional method of making milk bread in Japan. It’s a patented method involving mixing boiling water and flour and then letting it rest overnight. It uses 20% of the overall flour contents of the entire recipe, and then a ratio of 1-part flour to 1-part water.
- Tanzghong method: This method was popularized by blogger and author Christine Ho in the early 2010s after adjusting the method from Yvonne Chen’s book, “65° C Bread Doctor.” Tangzhong uses 7% of the entire flour contents of the recipe, and then a ratio of 1-part flour to 5-parts liquid. It’s a faster method and you just make a roux of flour and liquid (often water or milk or both), and heat it on the stove until it thickens to the consistency of thick paste. You are then able to use the starter in the dough once it’s cooled to the touch.
I’ve tried both ways and prefer using the tangzhong method because it’s quicker and gives me the same outcomes in my bread texture as the yudane—a fluffy Japanese white bread.
The bread loaf pan

For this recipe, I used a pullman style loaf pan (also known as a pain de mie) with a lid to get flat even sides that is good for sandwiches, like tamago sando. The specific pan I used for this recipe is 9″ x 4″ x 4.”

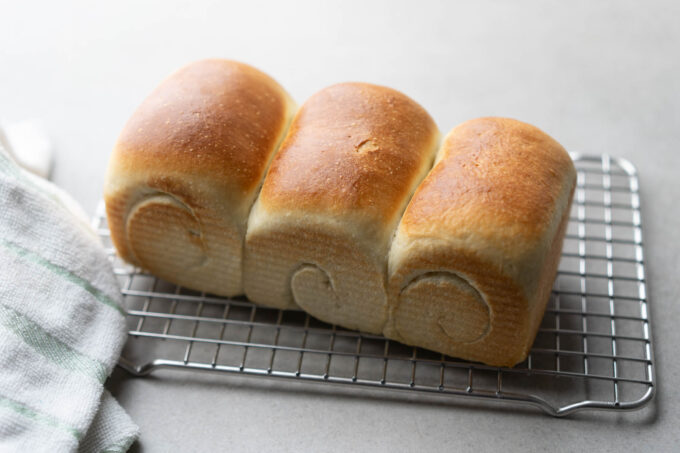
If you’re unable to find this type of pan, you can also use a traditional loaf pan (like ones for banana bread). Using a lid is also optional if you aren’t able to find a pullman pan with a loaf, but please note that your loaf will have round tops and not have a smooth top.
Baking tips
- Use a scale to get accurate measurements of all the ingredients. Like all baking recipes, it’s imperative to get accurate measurements, and weighing out ingredients is a foolproof method. I’ve been known to accidentally add too much flour to my measuring spoons, and weighing out ingredients helps prevent adding too much flour or sugar or worse, yeast!
- Use a stand mixer to save time with mixing the ingredients and kneading.
- Premix wet ingredients (like my eggs and milk) for even distribution.
- Premix dry ingredients to the bowl first & turn on the mixer while you add the wet ingredients. In the past, I have accidentally added all the ingredients willy nilly into the mixer without a second thought (for example, adding eggs, then milk, then all the dry ingredients and starting the machine), and this gave the dough too many lumps with unincorporated flour balls.
- Check your dough proofing every 30 minutes and use an oven if your room is too cold (colder than 70 °F). Some ovens even have a “proofing” option. I like to use the warming option in my older oven to preheat for about 3 minutes, but turn it off before putting in my dough to proof. You don’t want the temperature to be higher than 90 °F.
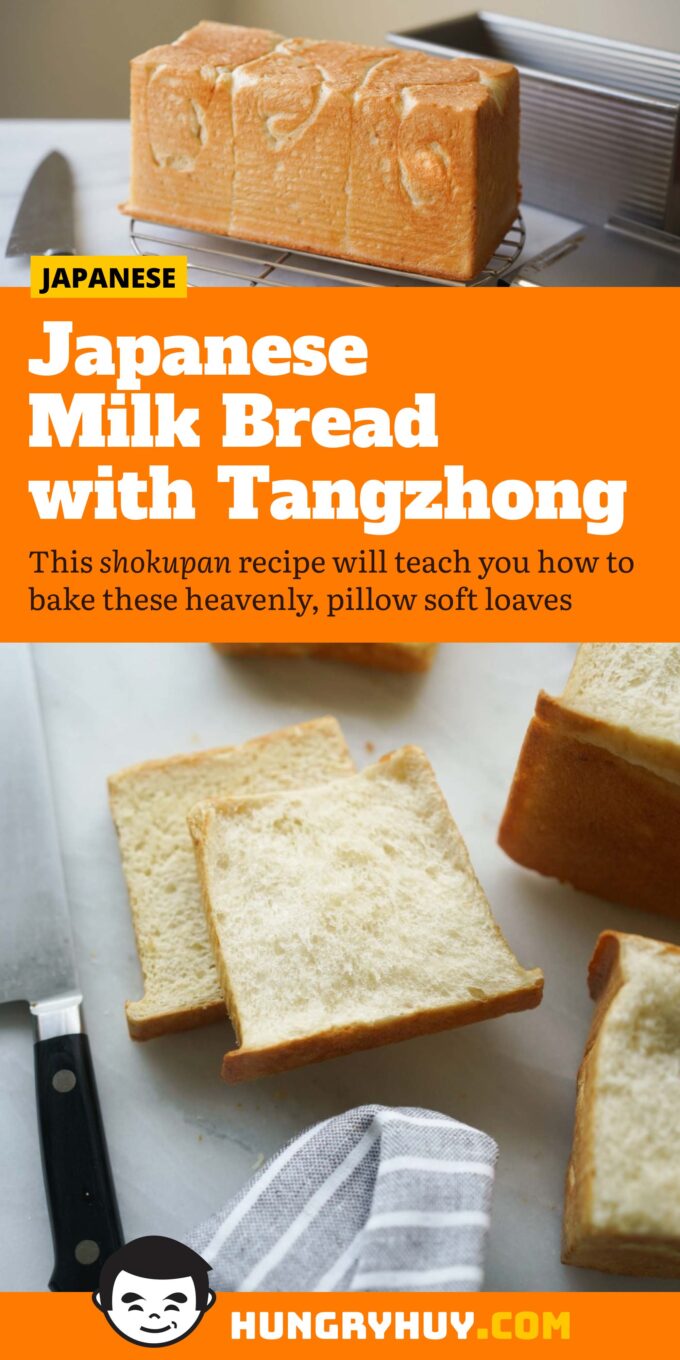
Shokupan Recipe (Fluffy Japanese Milk Bread With Tangzhong)
Ingredients
Tangzhong
- 23 g bread flour
- 56 g (2 fl oz) filtered water
- 56 g (2 fl oz) whole milk
Dough
- 1 large egg room temperature
- 70 g (2.5 fl oz) whole milk
- 340 g bread flour
- 7.3 g instant yeast
- 16 g milk powder
- 25 g white granulated sugar
- 4.5 g salt Diamond Crystal brand preferred
- 56.7 g unsalted butter cubed and softened and more for greasing the pan
- vegetable oil for oiling proofing bowl
Equipment Used
- stand mixer or mixing bowl and wooden spoon
- 1 pullman loaf pan with a lid (9" x 4" x 4")
Instructions
Tangzhong
- Combine bread flour, water, and milk in an unheated sauce pan. Whisk until fully combined. Place the pan over medium-high heat and bring to a boil.
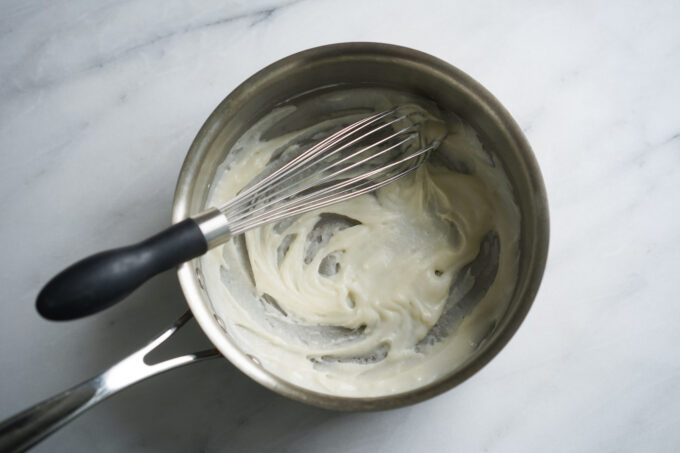
- Lower the heat to medium-low and continue to whisk until it becomes a thick pudding.
- Remove from the heat and transfer to a heat-safe container until cool to the touch, about 10 minutes. See photo for final texture.

Mixing Dough & First Rise
- In a bowl, mix together the egg and whole milk until it’s combined.
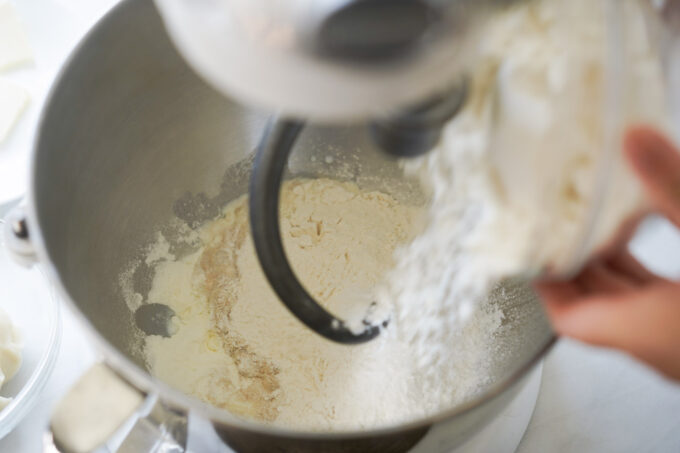
- In a stand mixer with the dough hook attachment (or bowl), stir together the bread flour, yeast, milk powder, sugar, and salt. Pour the egg and milk liquid in the bowl. Finally, add the tangzhong and mix on medium (or level 4-5 on my Kitchen Aid). Continue to mix for about 2 minutes or until the dough forms into a ball.
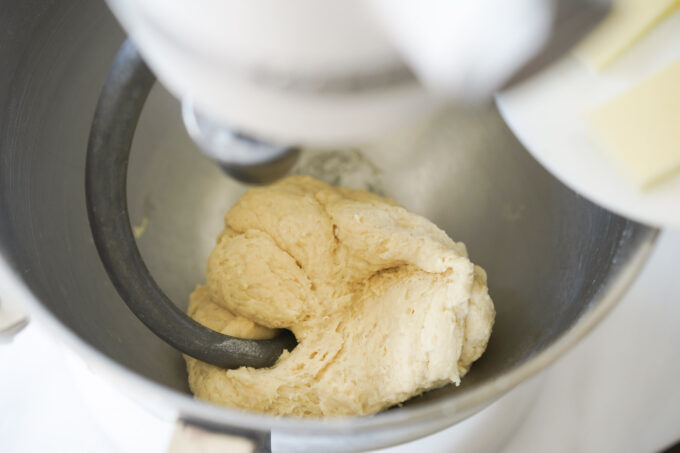
- Add butter into the stand mixer and continue to mix at the medium level for 5 to 7 minutes. The dough should fully incorporate the butter and become smooth and elastic. You may need to turn off the machine and use a spatula to scrape down the sides of the bowl to make sure everything gets incorporated. I typically have to do this more than 8 times.
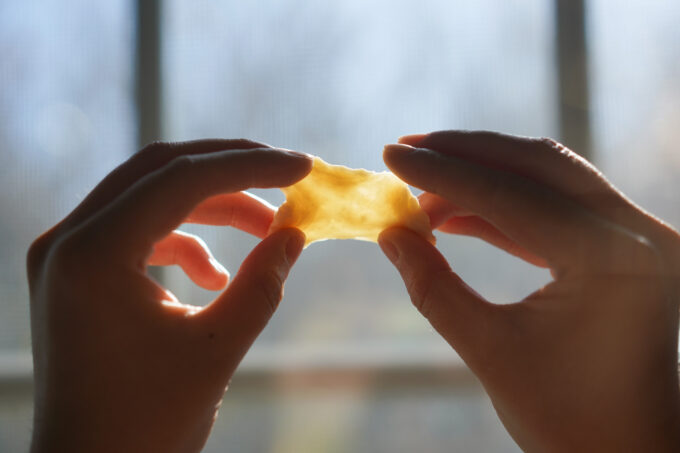
- Windowpane test: Test the dough for sufficient gluten formation with the windowpane test. Pinch off about 1 teaspoon of dough and slowly stretch it between your pointer fingers, index fingers, and thumbs. Stretch it thin and hold it up to a source of light. If its thin enough to let light through like a “windowpane" without breaking, you've developed enough gluten and can proceed. If the dough breaks or can’t be stretched, continue to knead for another 2 minutes and retry the test. Note: this dough has a stickier consistency, so be careful when stretching.
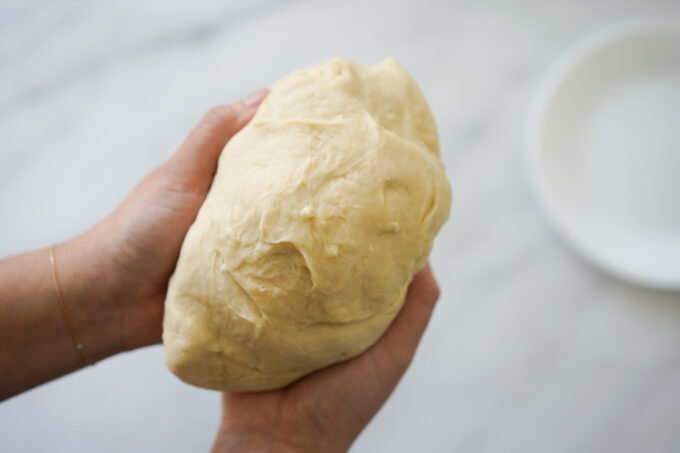
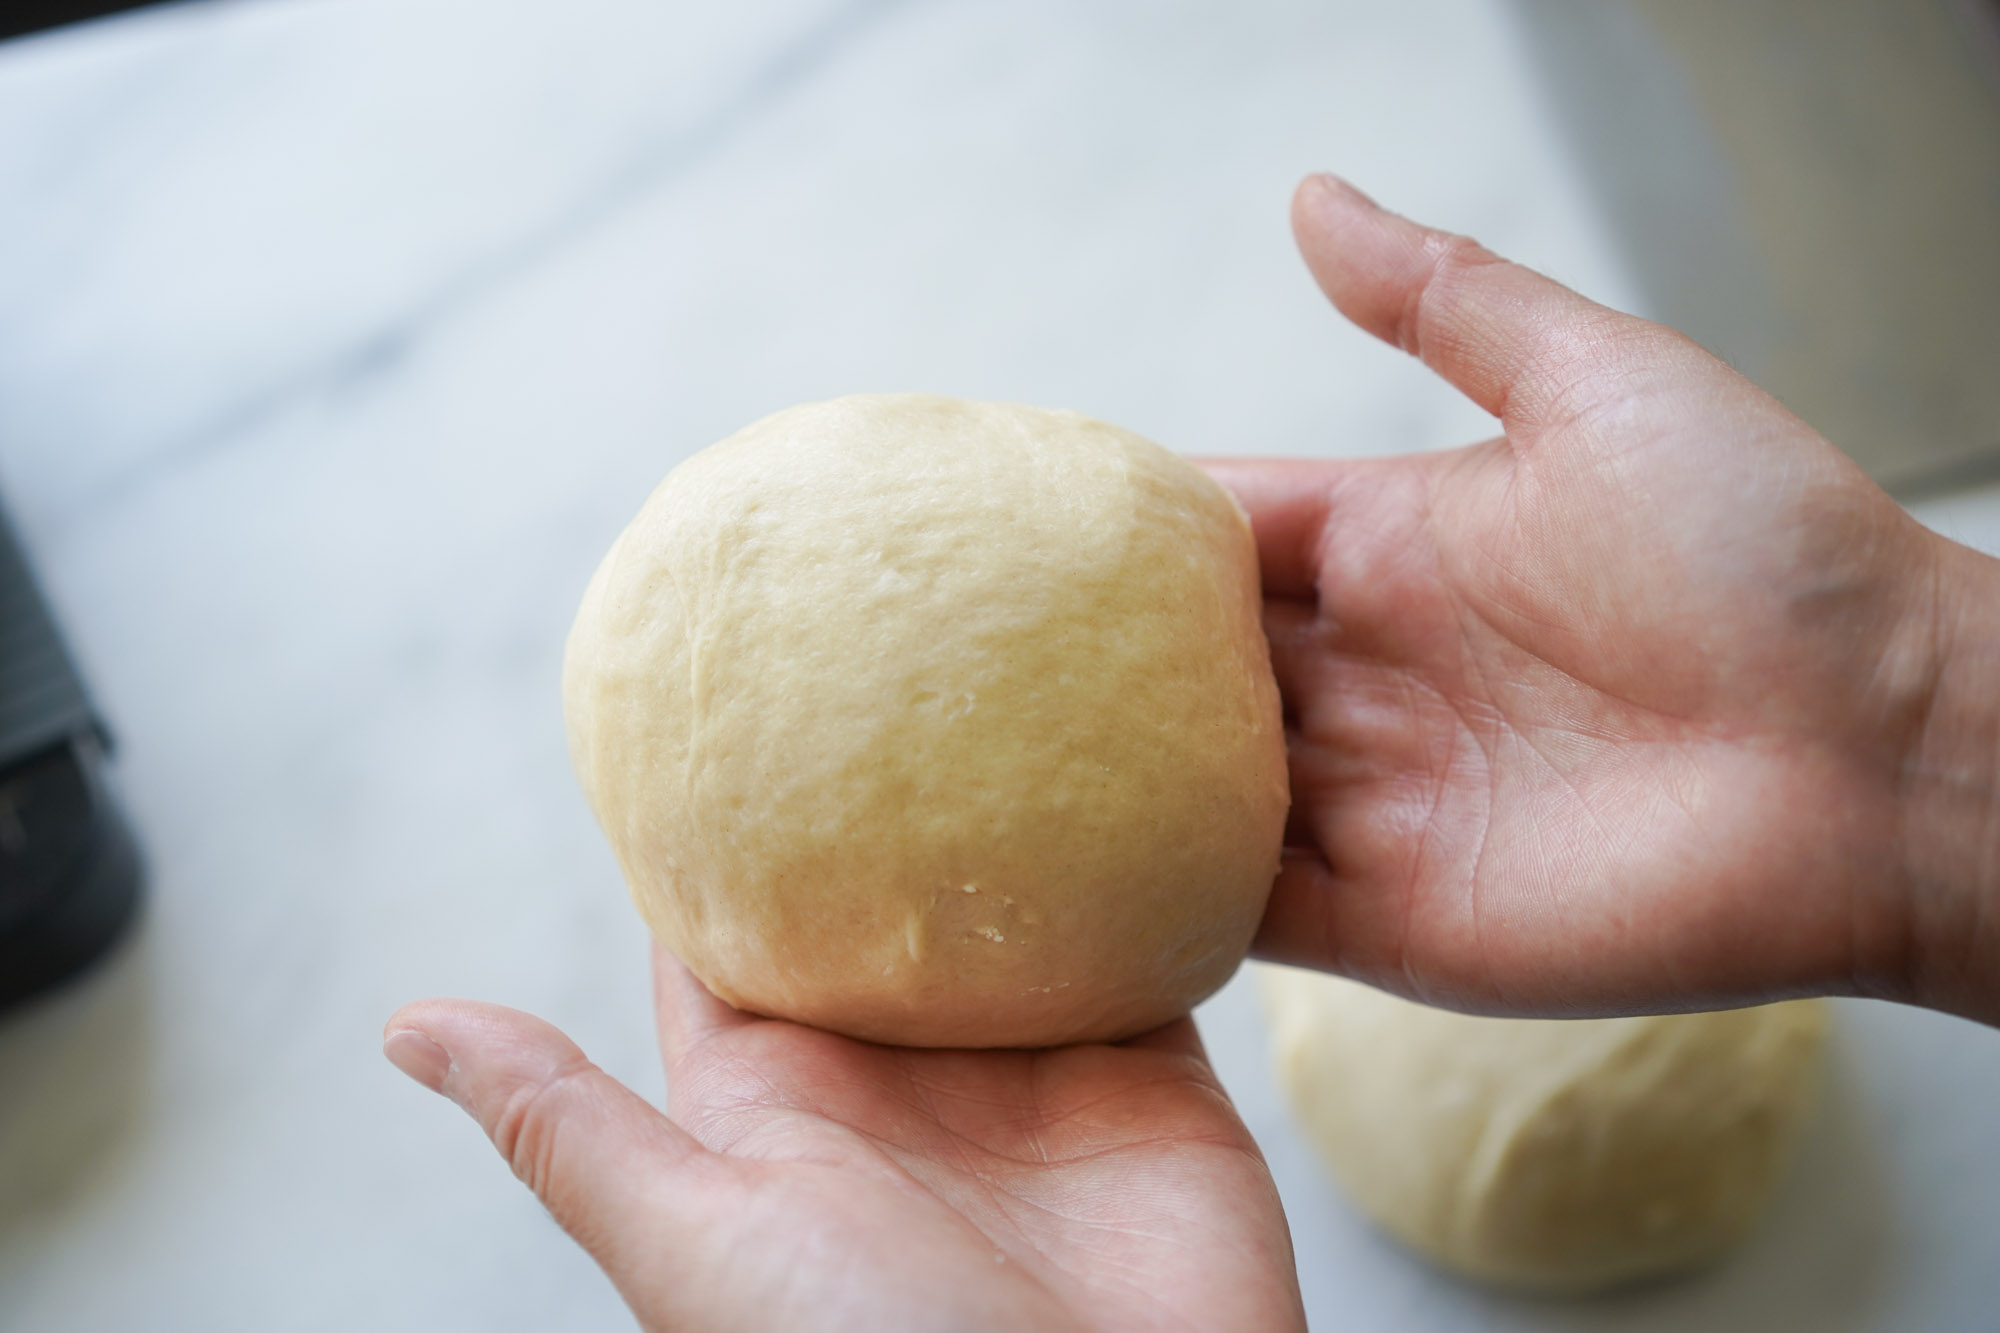
- Remove the dough and transfer it onto a clean surface. See photo for how the dough should look right when taken out of the mixer. Form the dough into a smooth ball by encasing the dough in the middle of your hands. Make a heart with your pointer fingers and thumbs, then move your hands and the dough in a circular fashion until it forms a ball.
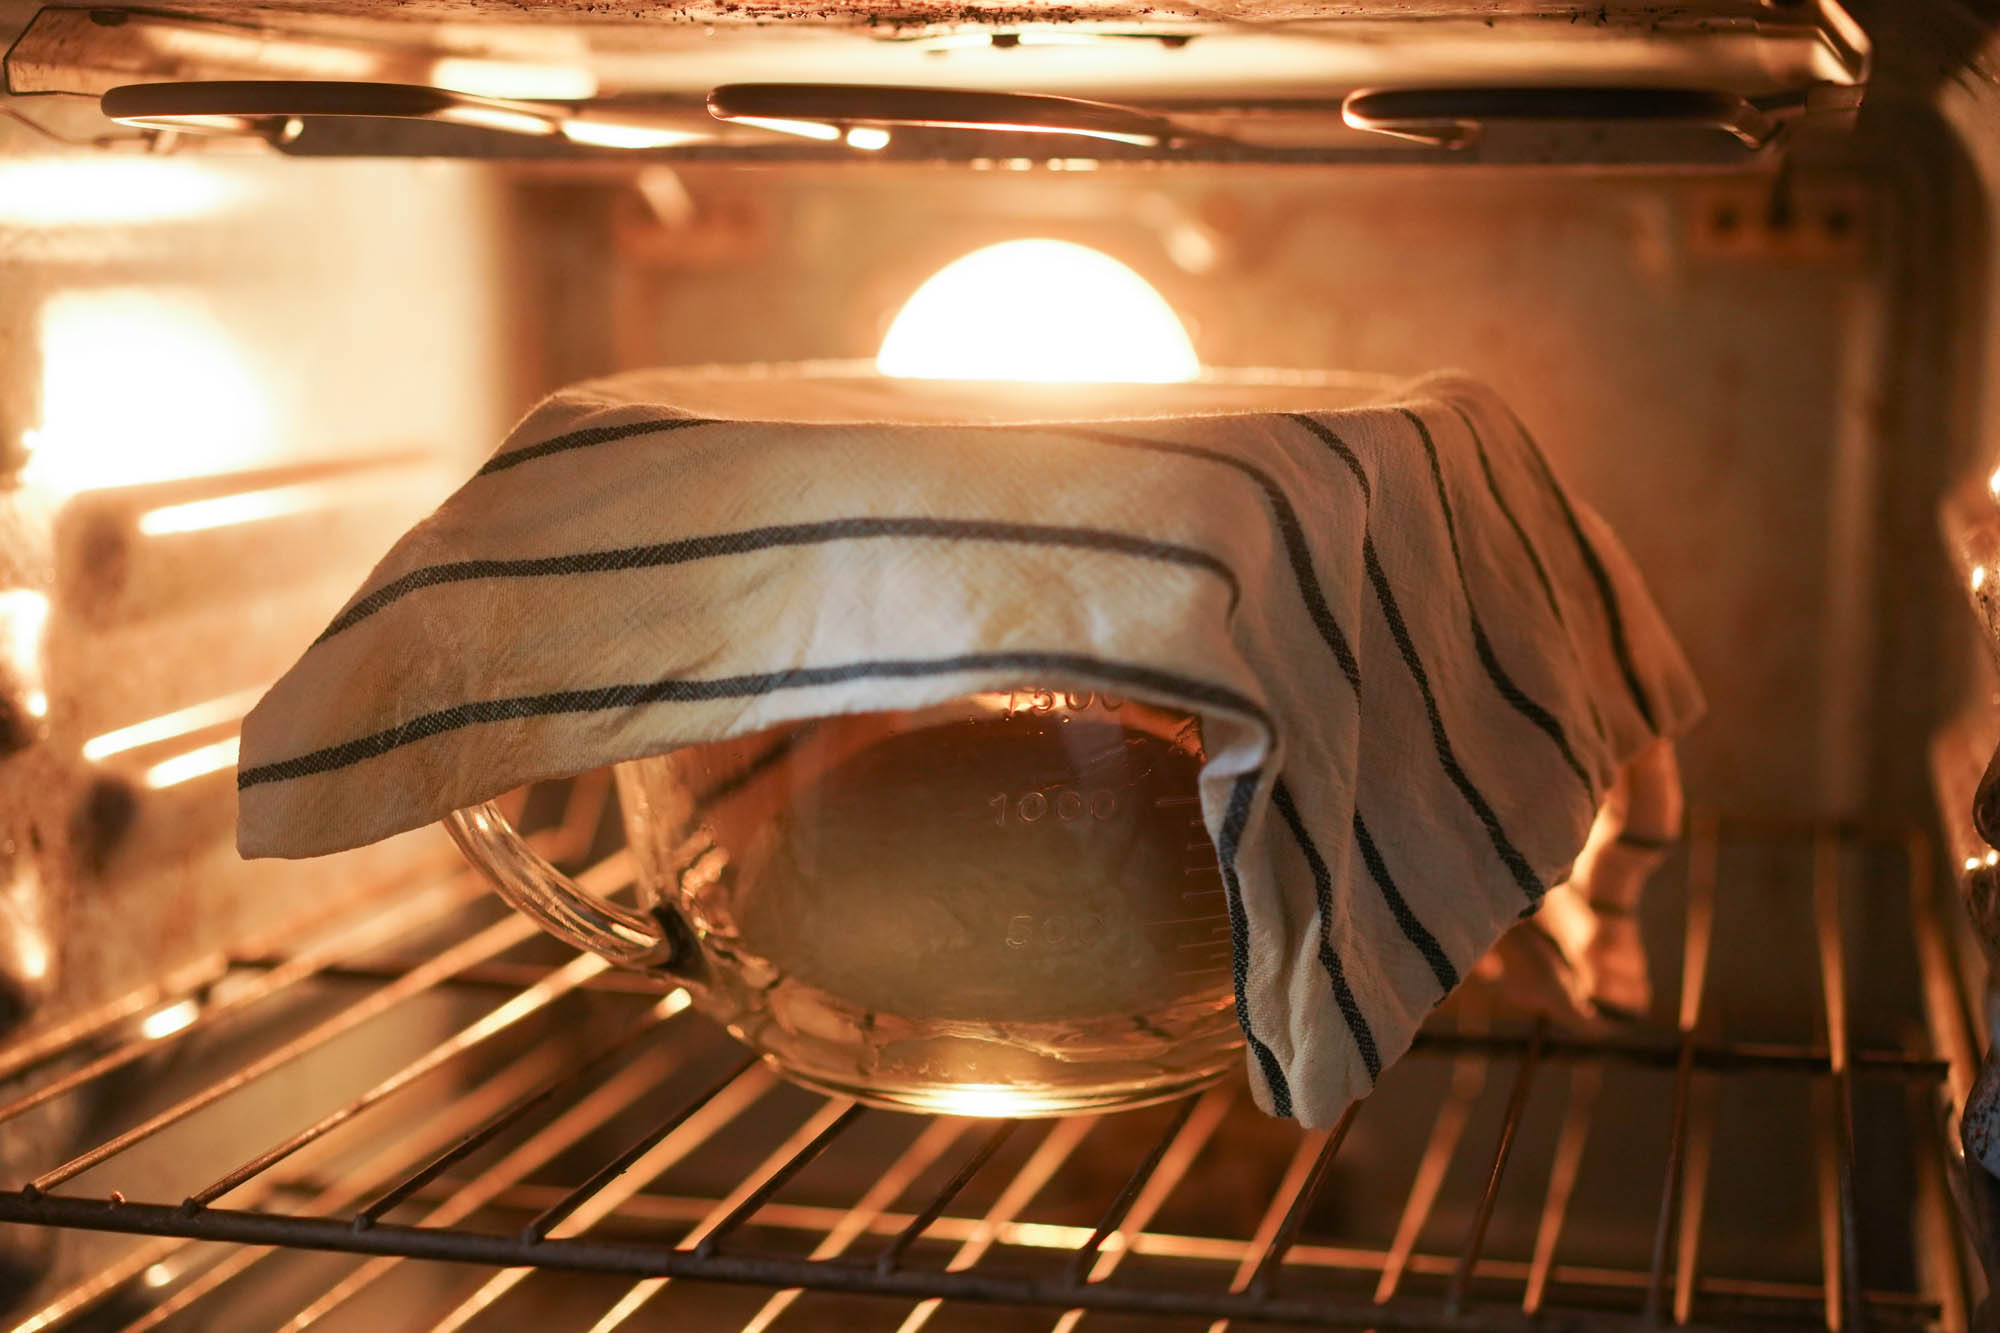
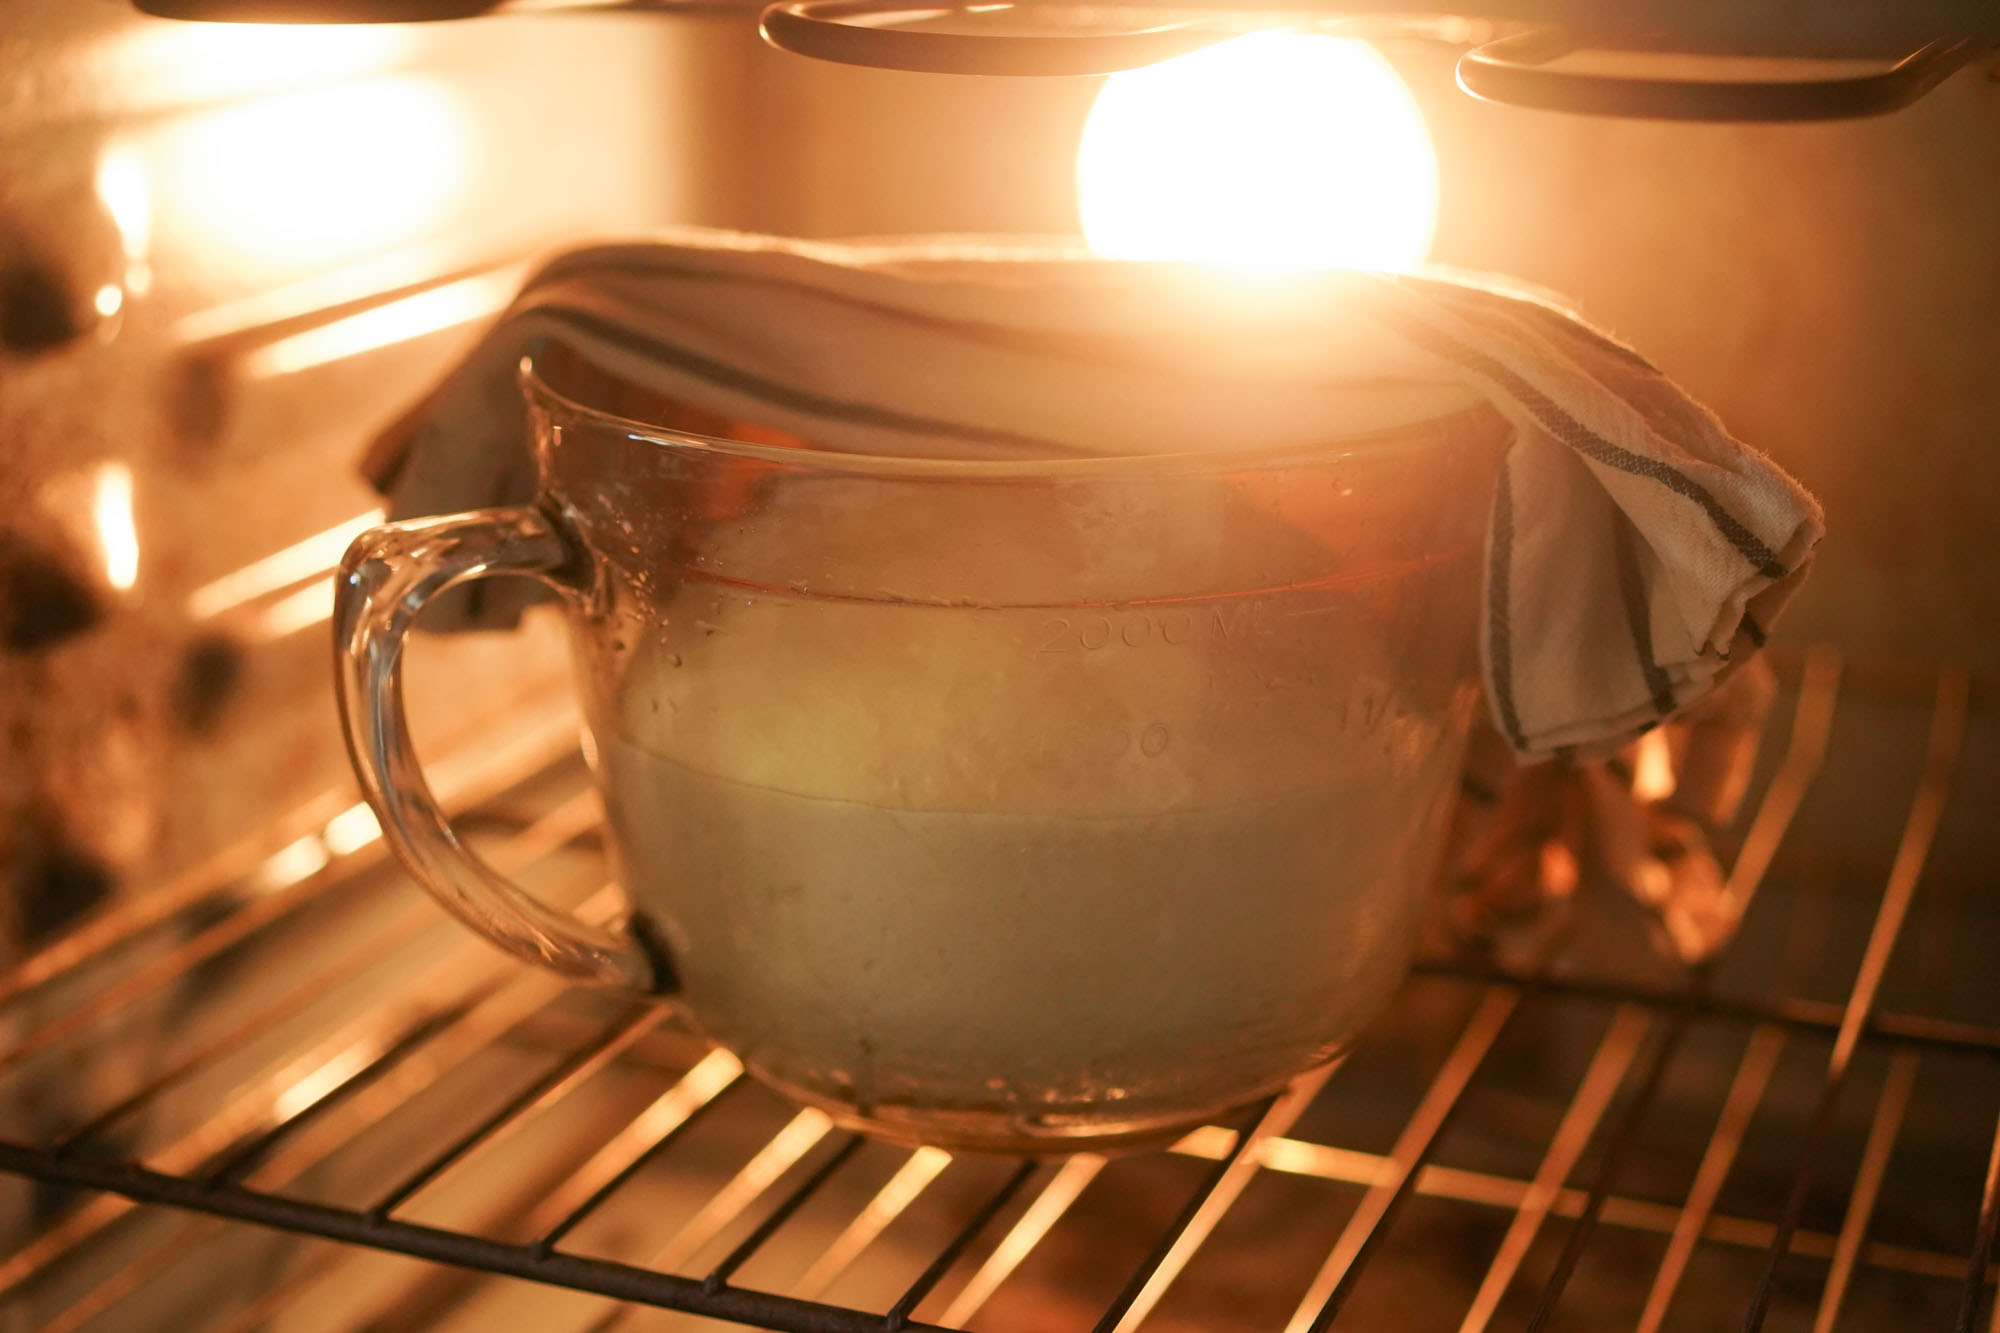
- Brush on a small amount of vegetable oil in a mixing bowl to coat the inside of the bowl. Transfer the ball of dough into this bowl and cover with a dishtowel. Leave it in a warm place like by a sunny window (or in an oven that’s turned off) for 1-2 hours or until the dough doubles in size. Note: some newer ovens have a “proofing” setting so this might also work.

- Check every 30 minutes or so to see if the dough has doubled in size.


Second rise & baking
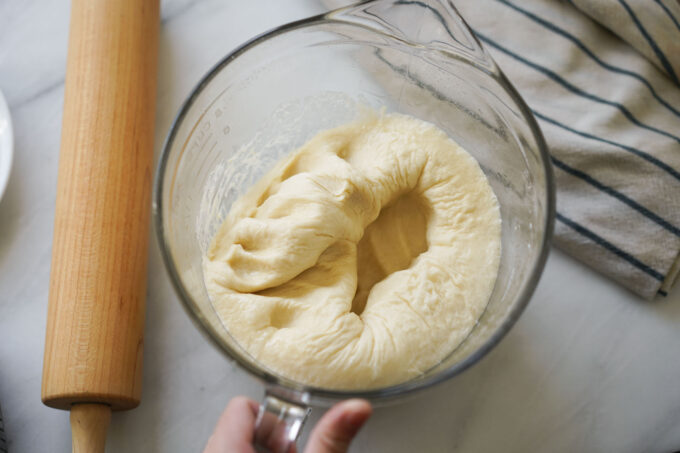
- Once the dough has doubled in size, remove it from the oven, remove the towel, and punch the dough down once to remove excess gas.
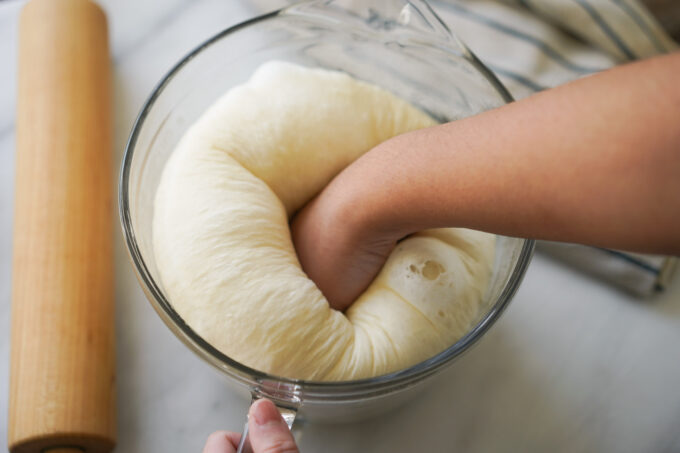
- A single, quick punch will do. Here's how it looks afterwards.
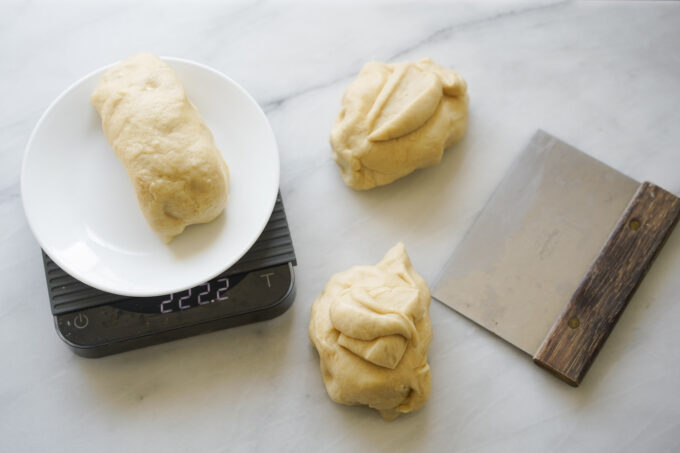
- Transfer onto a clean surface. Weigh your dough and divide this number by 3. Roll into a large log and cut into 3 equal pieces by weight. You can eyeball it, but it’s extremely difficult and you may end up with a lopsided loaf especially if you’re baking in a pan without a lid. Weighing will ensure your rolls are all the exact same size.
- Quickly reroll each ball of dough to smooth out the entire surface. Using a claw shape with your hand lets you move it around and control it better without too much sticking. Here's how it should look after rolling.

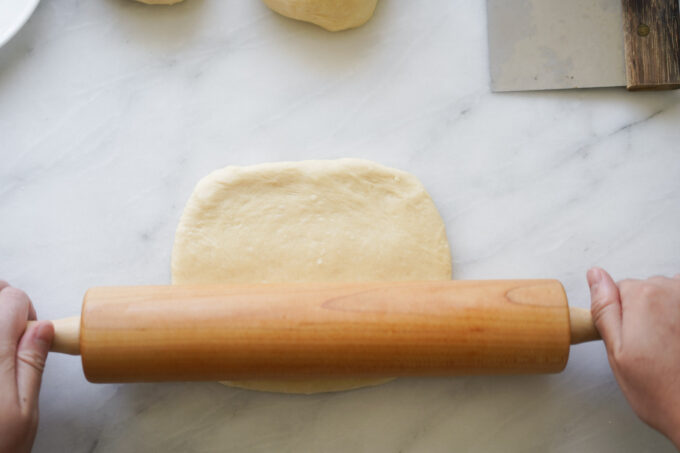
- Use a rolling pin to roll out each ball into a square.
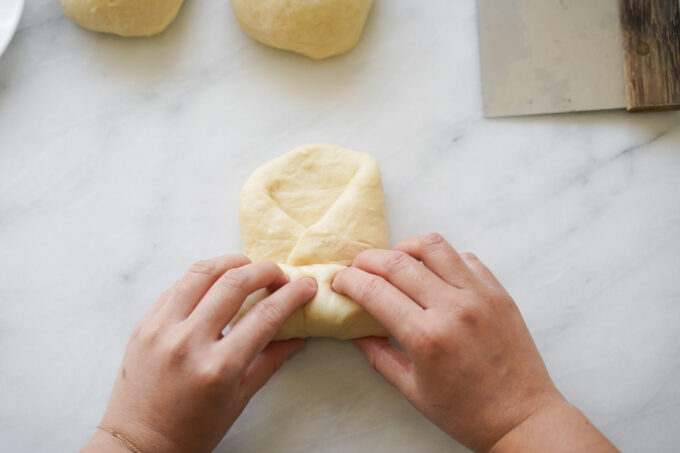
- Fold one corner of the square into the middle and take the opposite corner and fold it towards the center too. Take the corner closest to you and begin rolling the dough upwards until it becomes a jelly roll.
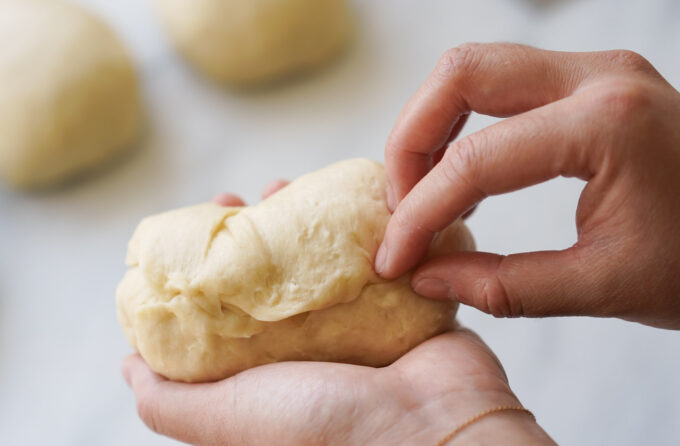
- Pinch the ends of the dough into itself to seal. Repeat with the other two balls of dough.
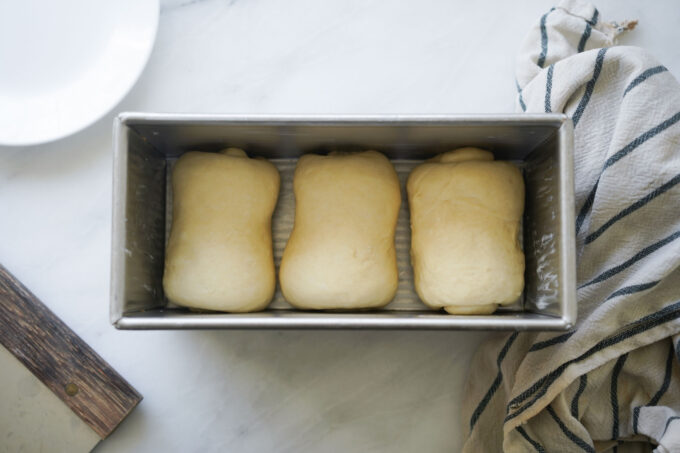
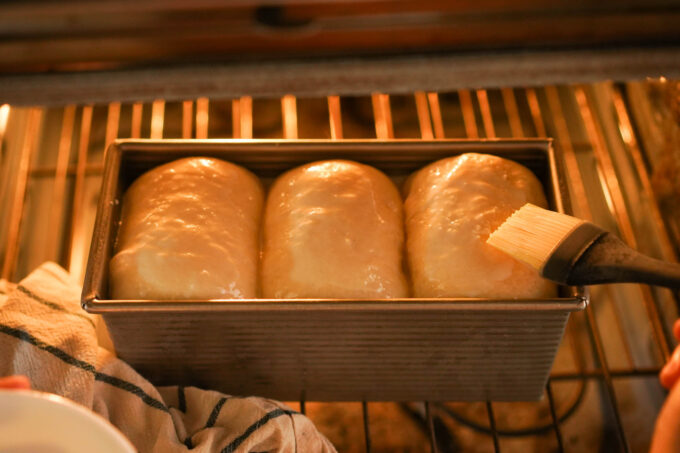
- Butter your pan to prevent the bread from sticking. Place all the pieces of dough into the pan so that they have about ½ an inch of space between them and look like they are horizontally stacked on top of each other.
- Cover the pan with the dish towel and let it proof once again for about 30-40 minutes or until the tops of the dough is right at the rim of the pan. Then, brush on some milk on the top of the dough.
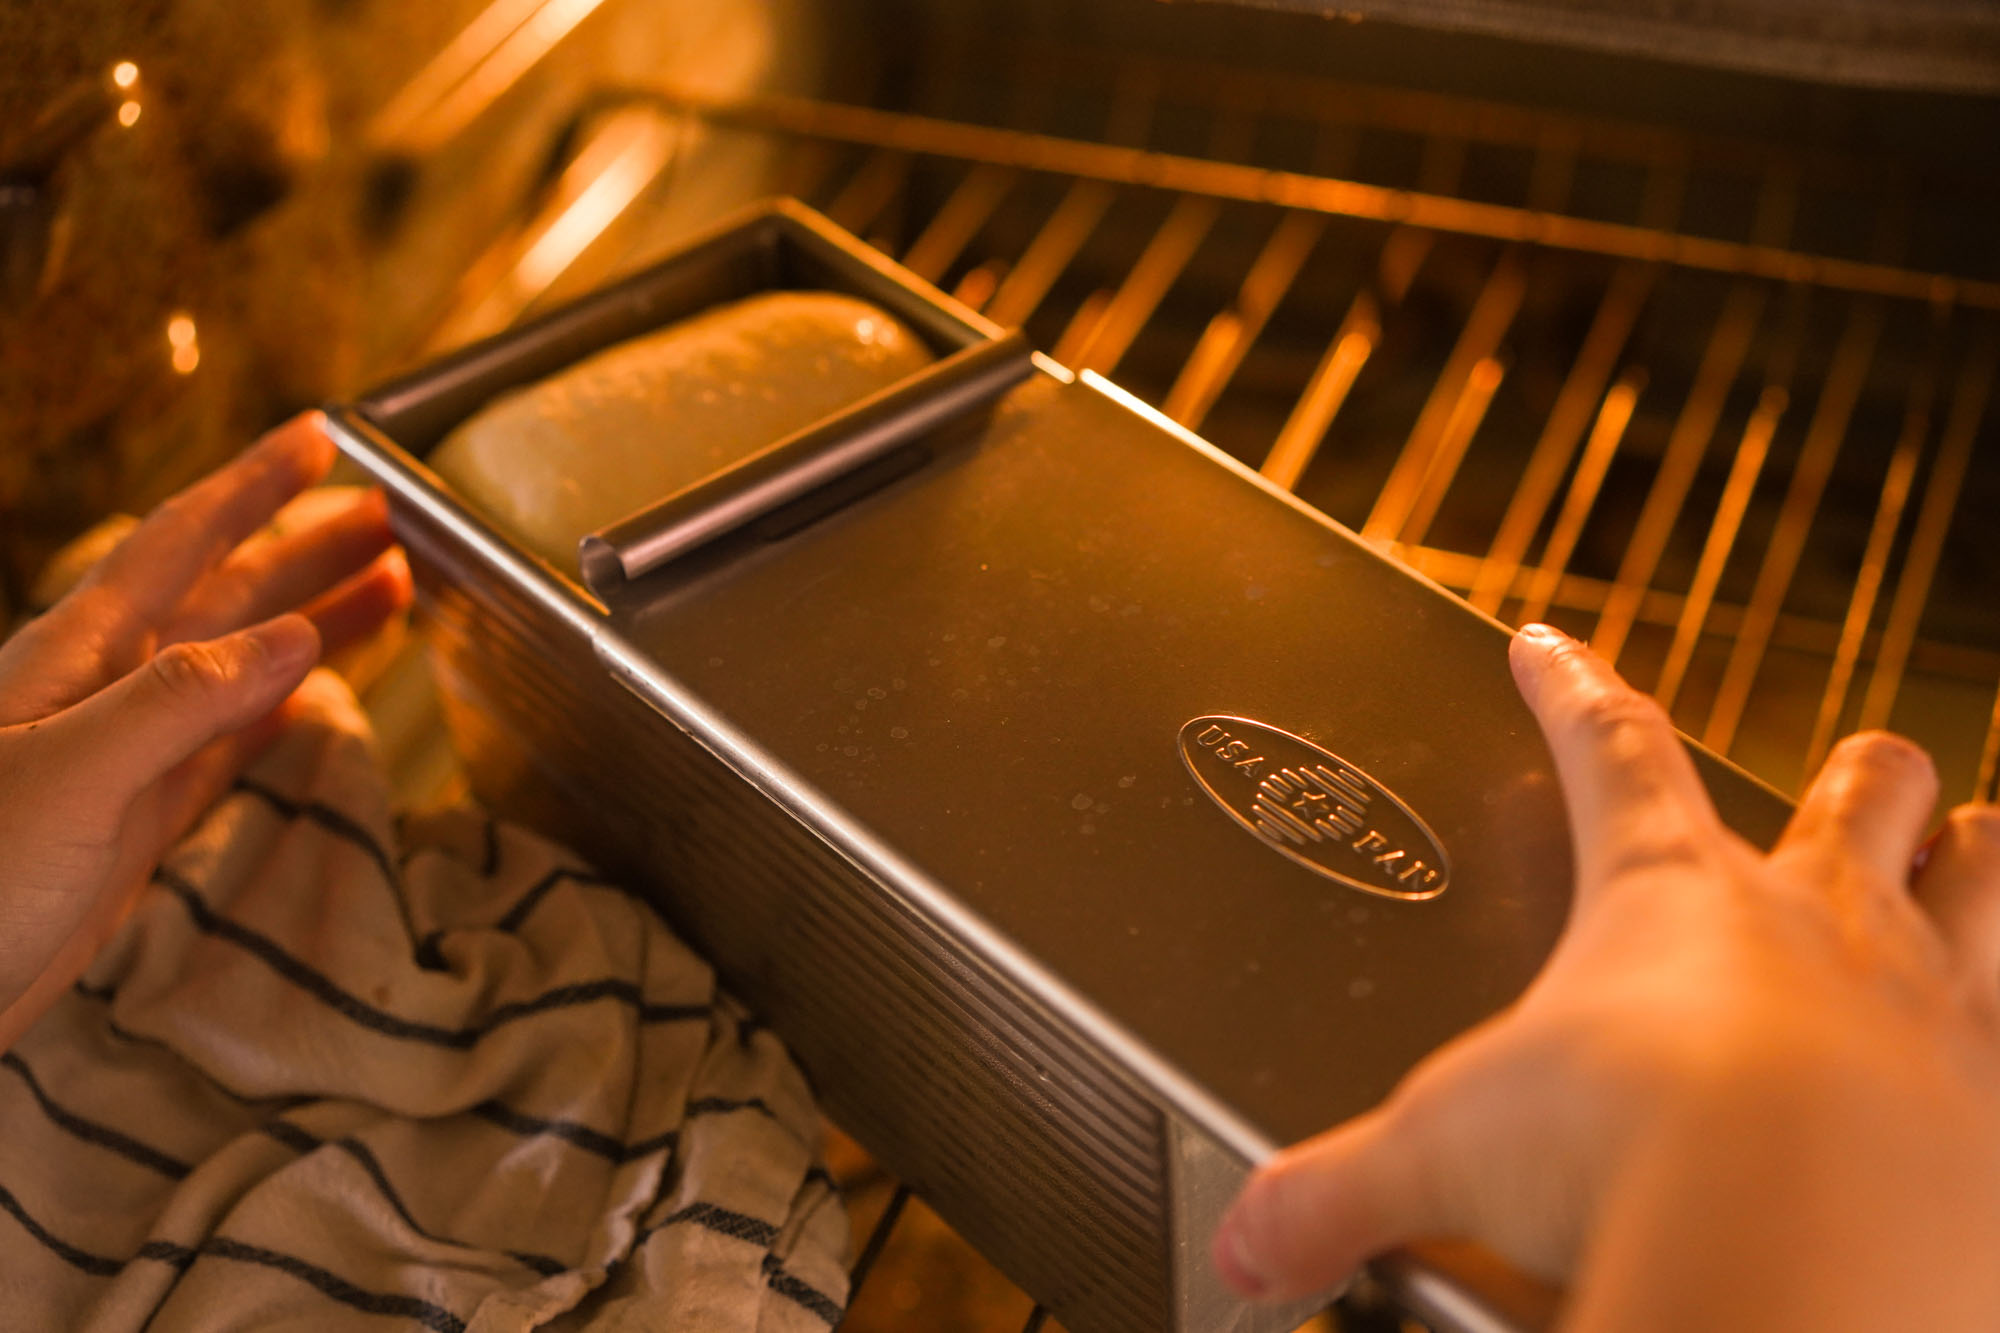
- Slide the lid carefully to cover the pan, and remove from the oven. Preheat the oven to 350 °F.
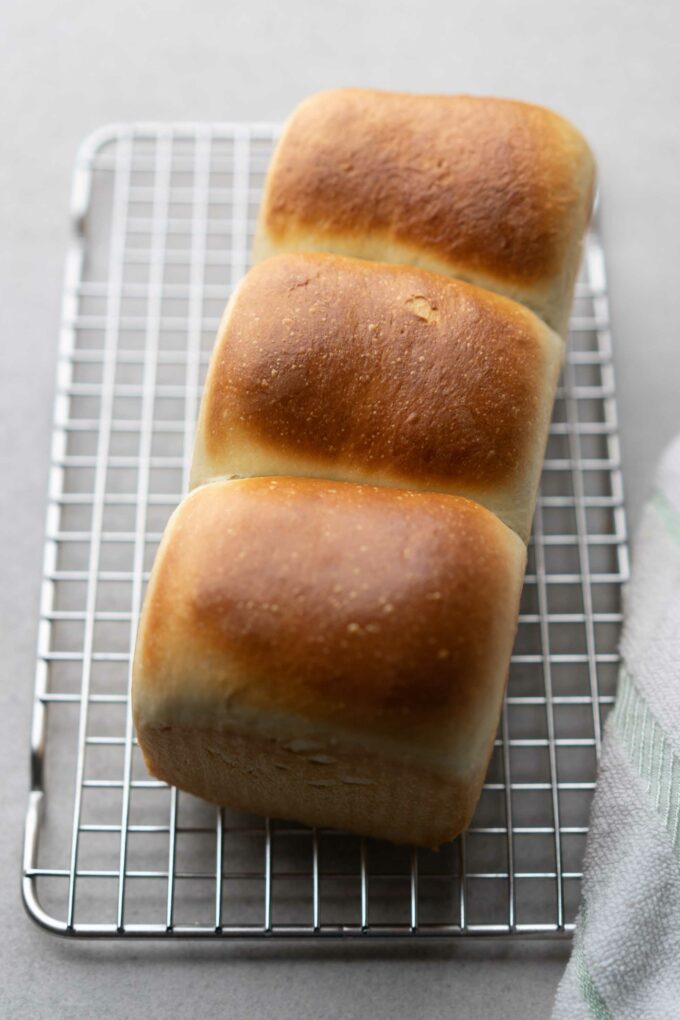
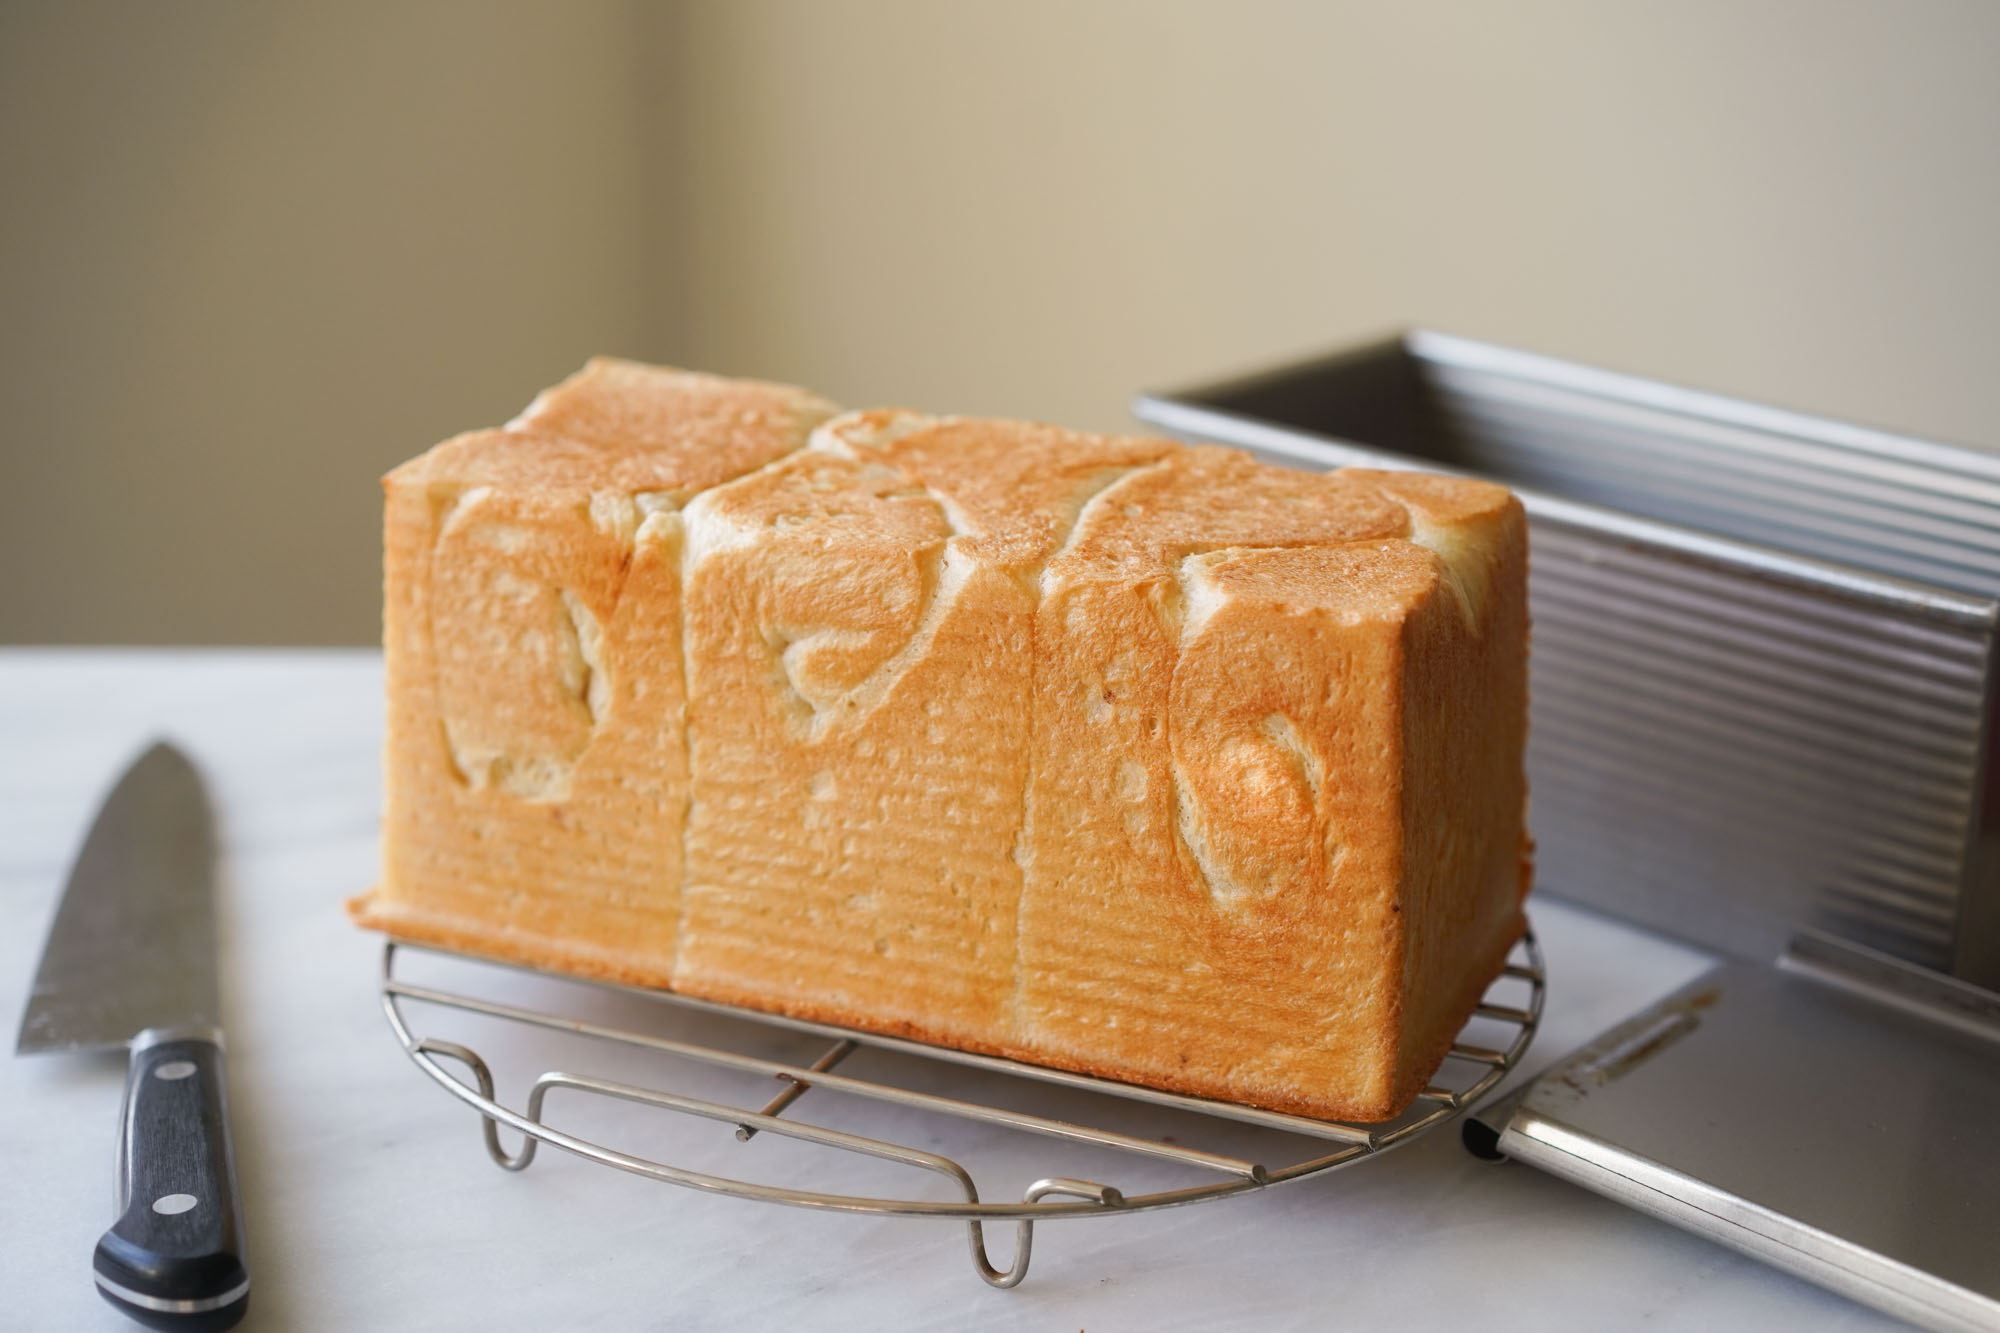
- When the oven is fully preheated, put the baking pan in and bake for about 20 minutes. Carefully uncover the lid and check if the bread is firm and golden brown (about 210 ° F internally). Remove from the oven and transfer the loaf onto a cooling rack.
- I like to let the bread rest until it’s cool to the touch before slicing.


Perfectly written instructions and bread turned out beautiful thank you
This came out pretty good! I weighed my ingredients but thought it was a little dry and dense. I might try decreasing the amount of flour next time or upping the hydration. It was delicious nontheless!
Thanks John!
What kind of knife do you use to slice?
Hey Rachel, I use a normal chefs knife. Personally I think “bread knives” create too much mess/crumb waste, but a chefs knife keeps it clean.
I’m really pleased with this recipe. The bread is lovely and I’m not normally a white bread person. This will be a regular from now on.
After several loaves I increased the milk form 70 g to 95 g because the dough ball was too dry to meld. This has worked out perfectly. I pass the “window pane” test after 7 minutes post adding butter wonderfully.
This bread takes me back to Japanese Lawson markets with fond memories of their sandwiches. It is hard to beat.