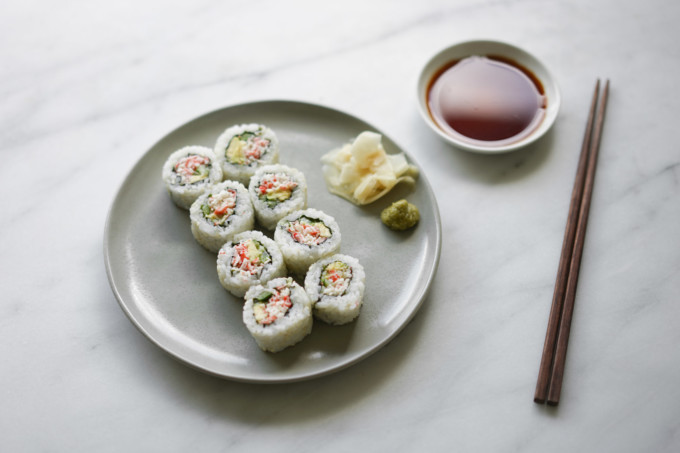
I’ll admit it, I love California rolls–tasty crab-infused kani, crunchy cucumbers, and fatty avocado wrapped in a rice and seaweed roll. Even though I mostly eat traditional nigiri these days, I loved eating California rolls as a kid, and it’s where my love of sushi started. This recipe has some tips and tricks to get you started on your sushi obsession!
Where did California rolls originate?
Just like spicy tuna rolls and temaki (hand rolls), the origin of California rolls is somewhat messy, but recently the Japanese government has honored Hidekazu Tojo from Toronto, as a cultural ambassador for his creation of the popular roll.
Tojo states that he created the California roll to appease his Western customers and introduce them to a more accessible sushi. He added ingredients that weren’t raw (cooked crab, cucumbers, and avocado) and inverted the seaweed and sushi rice in order to prevent customers from peeling the seaweed.
Tojo had many visitors from outside of Toronto visit, specifically from Los Angeles, who loved the roll so he named it the California Roll. These days California roll is available at many restaurants and grocery stores, and comes with variations.
Crab vs. kanikama

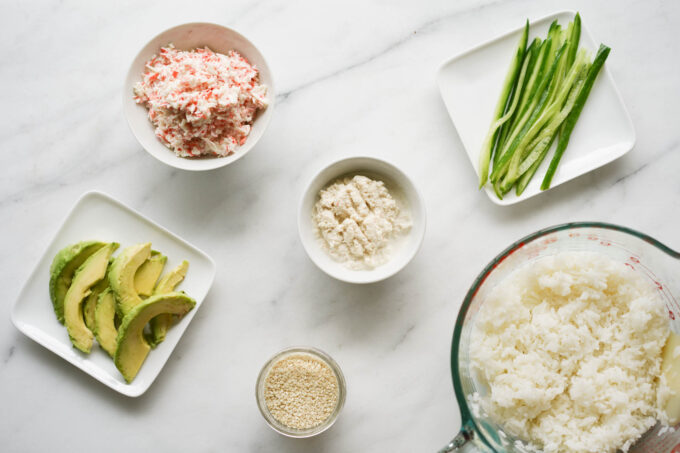
Often times when I order California rolls at various sushi restaurants, they include kanikama, or “kani” for short, an imitation of crab meat instead of real crab. Kani is made up of white fish (typically Alaskan pollock), crab flavoring, egg whites, and cornstarch to bind them into crab-like sticks. I like to get mine from local Japanese supermarkets but you can also get imitation crab meat sticks at Catalina Offshore Products.
It can’t be crab season all the time, but kani really makes up for it when you’re having cravings! For my California roll recipe, I like to cut the kani into small pieces and mix in Kewpie to add more flavor. Be careful with how much Kewpie you add because this can make your kani too saucy and ruin your roll. If you have fresh Dungeness crab, this is also a great option.
Sushi rolling tips
One of the most important parts of this roll is not the insides, but the sushi rice. My sushi rice recipe uses a balanced flavor of rice vinegar, sugar, and salt to amplify the other ingredients. There’s nothing worse than eating sushi with rice that’s too mushy, too sweet, or unflavorful.
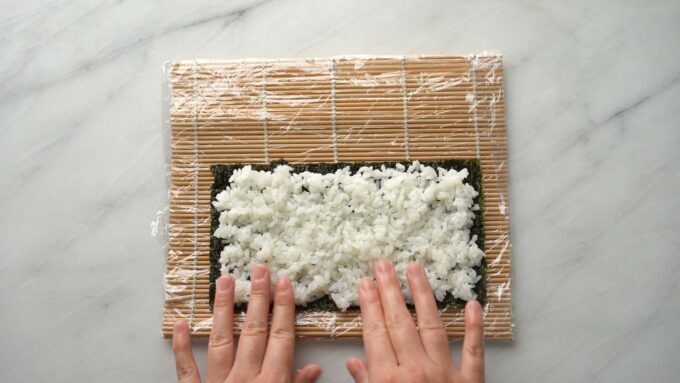
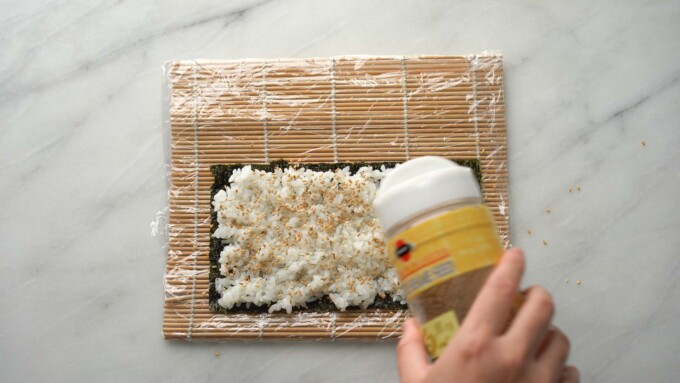
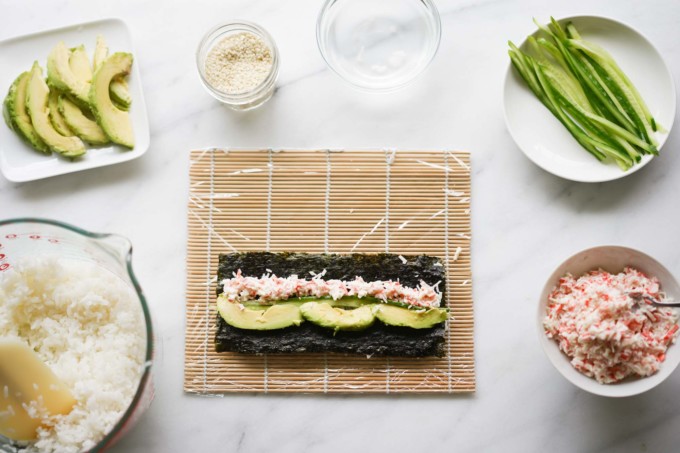
To help spread the rice onto the seaweed, use your hands and dip them into a bowl of water to prevent them from sticking. I also like to add sesame seeds onto the rice just to have a bit more crunch. You can also add tobiko for extra saltiness.
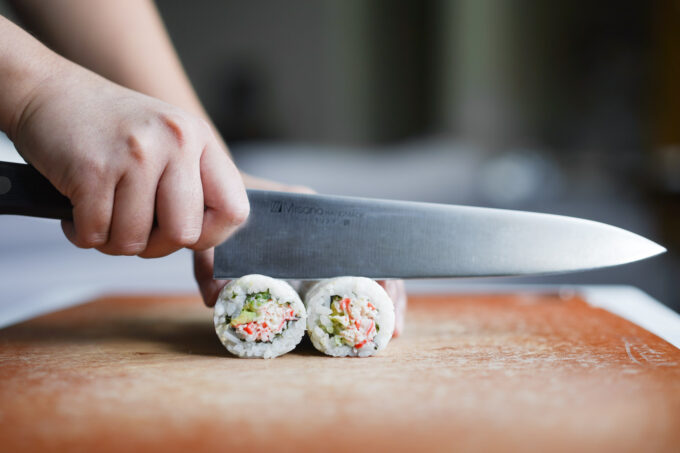
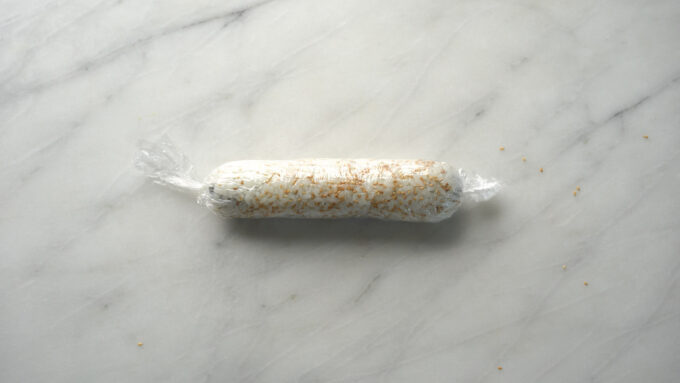
The most daunting part of this recipe is rolling, but I more or less used the same rolling technique as my spicy tuna roll post. One big tip that I have seen at restaurants is that they use cling wrap as a final outer layer to tighten the California roll. This also helps with making clean cuts of sushi afterwards, as well as a very sharp knife too.
To learn other methods of rolling, and even when you don’t have a sushi mat, check out my sushi rolling guide.
Serving
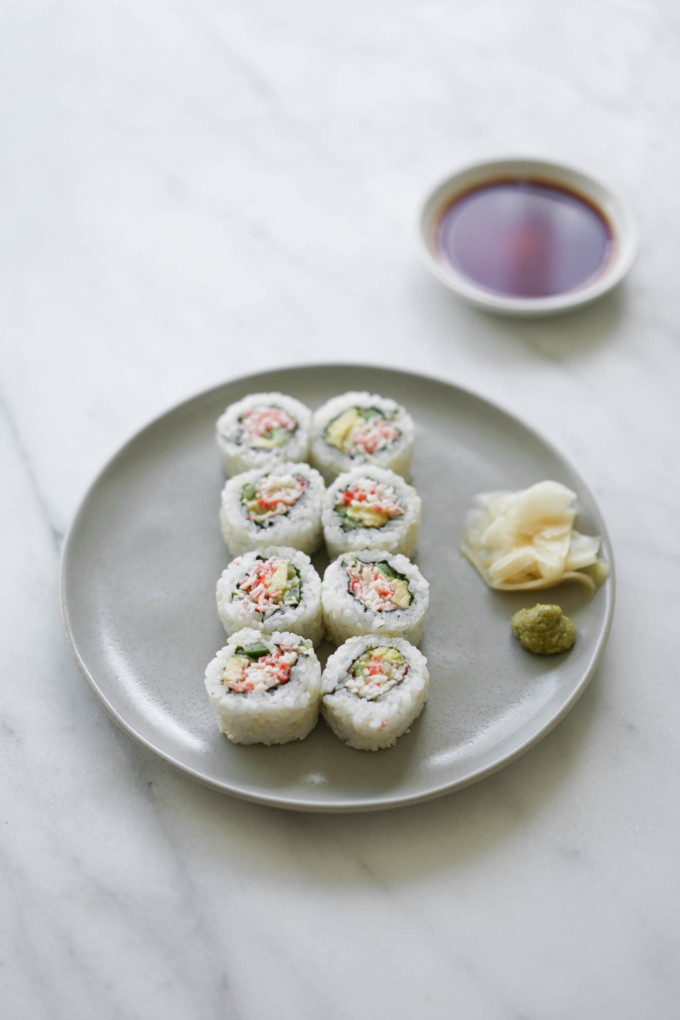
I like to eat California rolls with wasabi and ginger on the side. Pink ginger has kind of become a standard at many restaurants and even though this can occur naturally when you pickle young ginger, many companies use dye or beets to color more mature ginger–either way, I try to veer towards naturally colored ginger.
Along with California rolls, there’s also a lot of different types of sushi rolls and hand rolls. To learn more about sushi rolls vs. hand rolls, you can also visit this informative post.
California Roll Recipe
Ingredients
- 2 c cooked and prepared sushi rice
- nori sheets gold or silver grade preferably
- 4 tsp white sesame seeds
- 8 sticks kanikama (crab sticks)
- 2 tbsp Kewpie Japanese mayonnaise
- 1 medium avocado pitted and sliced
- 2 Persian cucumbers julienned
Sides
- soy sauce
- wasabi
- gari pickled ginger
Equipment Used
Instructions
- Cook and prepare two cups of sushi rice.
- Take eight kanikama sticks and cut them into small pieces (about three millimeters) and put the pieces into a small bowl. Kanikama comes in the shape of sticks, but you can pull them apart into smaller strips. When you mix in the Kewpie, you need to mix a bit aggressively to break up the pieces of kanikama.
- Cut the avocado in half and remove the pit. Take a spoon to remove the halves from the peel. Cut the avocado into thin slices. Julienne the cucumbers into thin slices.
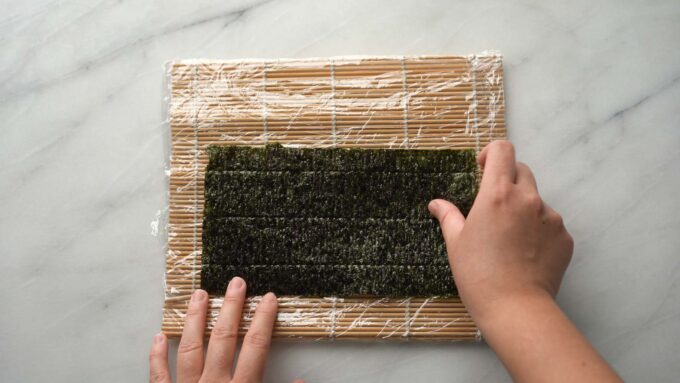
- Cut the nori sheet into half sizes along the shorter end of the sheet (like hamburger style if you remember from elementary school).
- Take ¼ cup of rice, and using your hands, layer the rice evenly on the sheet. Dip your hands in the water bowl to keep your hands from sticking to the rice.
- Sprinkle sesame seeds over the rice.
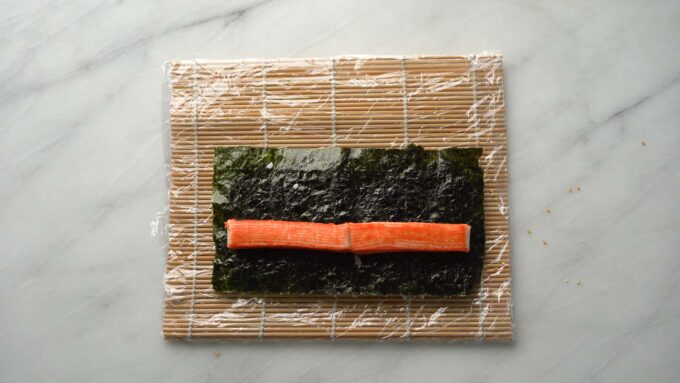
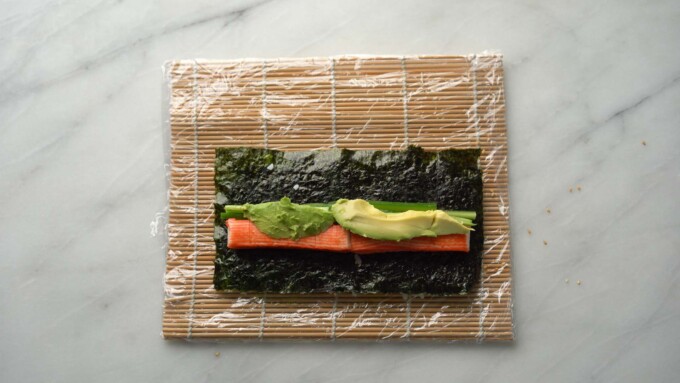
- Turn the seaweed and rice sheet over and add the kanikama and Kewpie mixture along the middle of the seaweed. I like to add about three tablespoons of kanikama to end up with a roll that is one and a half diameter in size.
- Layer the avocado slices and cucumbers horizontally along the kanikama mixture.
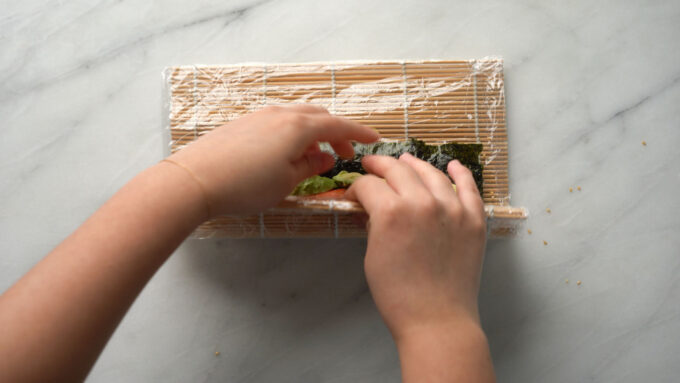
- Take the bottom edge of the sushi mat and slowly move the nori sheet over the filling, completely wrapping the fillings in the sheet. Use an upwards motion with the sushi mat to guide your spicy tuna roll upwards. Keep the roll tight by applying even and gentle pressure while rolling upwards. Be gentle to prevent your nori from breaking or having rice or fish from coming out the sides. Continue this motion until your roll comes away from the mat.
- If you are having a hard time tightening your roll, wrap a sheet of cling wrap around your sushi roll and tighten by using both index fingers and thumbs to pinch the sides of the cling wrap while simultaneously rolling your California roll forward. This should look like a candy wrapper.
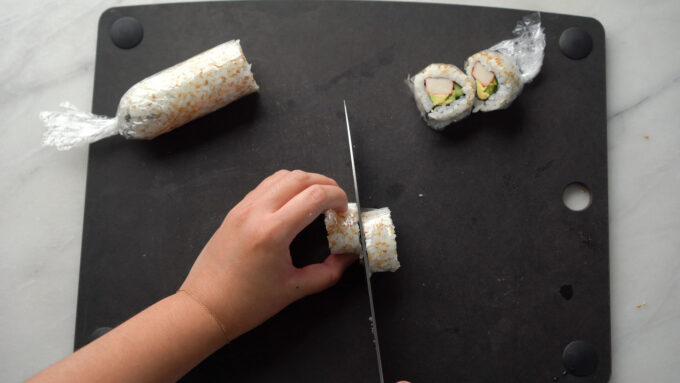
- To cut your roll, take a very sharp knife and cut in long, one stroke slices. You don’t want to run your knife back and forth because this could tear or damage the roll. Wipe your knife after every cut to prevent rice from sticking.
- Serve your California roll with soy sauce, wasabi, and gari.

