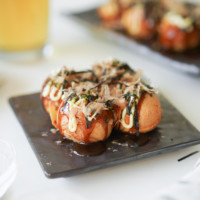
Takoyaki is a Japanese term for “octopus grilled/fried,” and they are a very popular yatai (or mobile street food) snack. These lightly fried octopus balls have a crisp outer shell with a soft and moist center filled with pieces of octopus, pickled ginger, green onions, and crunchy tenkasu (or tempura pieces).
These fried octopus balls were first popularized by a man named Tomekichi Endo from Osaka, Japan in the 1930s. Originally, they were filled with beef and konjac, they are far better known for their octopus filling these days. Endo was influenced by a Japanese dumpling called akashiyaki, which was made of egg batter and octopus.
What ingredients are in takoyaki?
Although these are named after their octopus filling, you can also find takoyaki filled with other foods like: squid, mushrooms, shrimp, and more. Currently, you can find takoyaki served at more than just street food stalls, but in restaurants and even convenience stores too in Asia and all over the world.
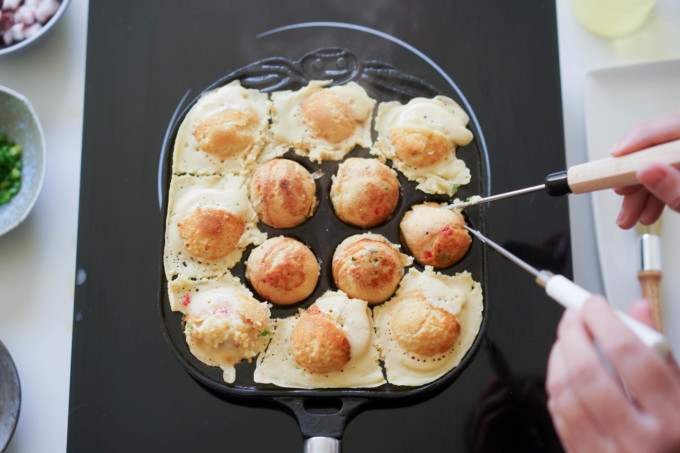
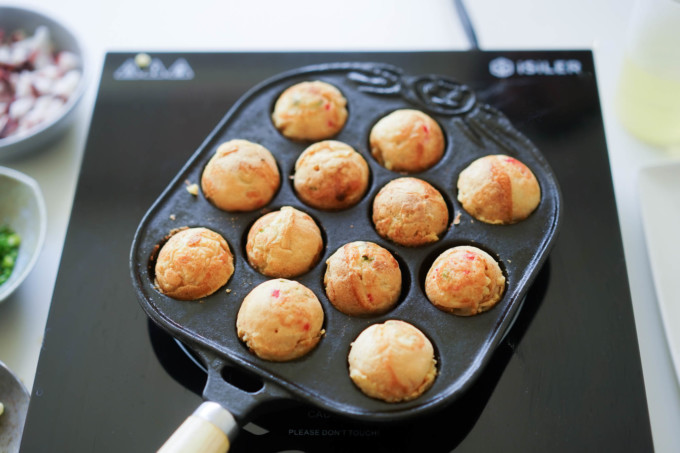
Most of my experience with takoyaki comes from eating at Japanese restaurants and they varied in size, crispness, and the texture of the batter inside. Typically, they range anywhere from 1-2 inches in diameter (depending on where you buy them) and they are cooked in a special pan with individual semi-circles.
However, I have had deep fried takoyaki that had a much thicker crust due to the frying. If you don’t have time to make it all from scratch, you can also purchase premade takoyaki powder (or mix) from your local Japanese store too. But if you’re a traditionalist, you’ll like that this recipe uses a wet batter made of dashi, all-purpose flour, rice flour, eggs, soy sauce, and baking soda.
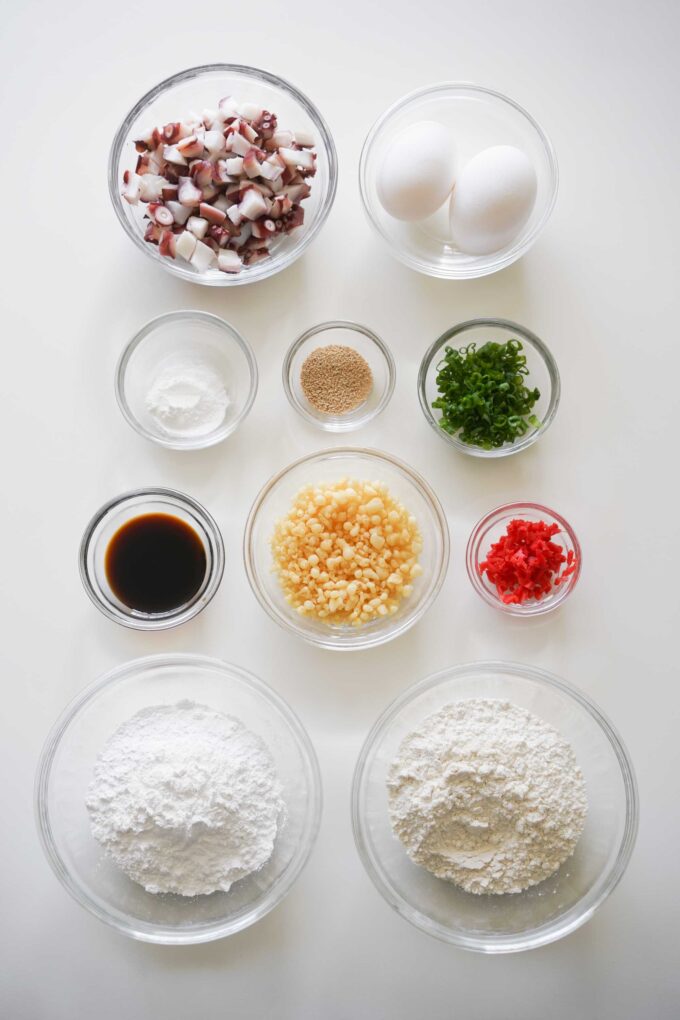
As for the fillings, I also use traditional fillings for this recipe that I didn’t have to make beforehand:
- Cooked octopus: You can (and should) use pre-cooked octopus from a Japanese grocery store. Octopus can be a bit tricky to prep since it can be chewy if you don’t cook it properly. I found pre-cooked octopus in the sushi aisle–it’s perfectly cooked and saves you time.
- Pickled ginger: Japanese pickled ginger often comes in shades of pink (from either perilla leaves or food coloring). I like to mince them into smaller pieces to add to the takoyaki.
- Tenkasu: tenkasu are pieces of tempura that you can buy in packages. This beats having to make tempura batter and deep fry tiny pieces. I like tenkasu in the takoyaki because it adds a nice texture inside the moist centers.
- Green onion: I like to cut green onion into fine slices.
Takoyaki toppings
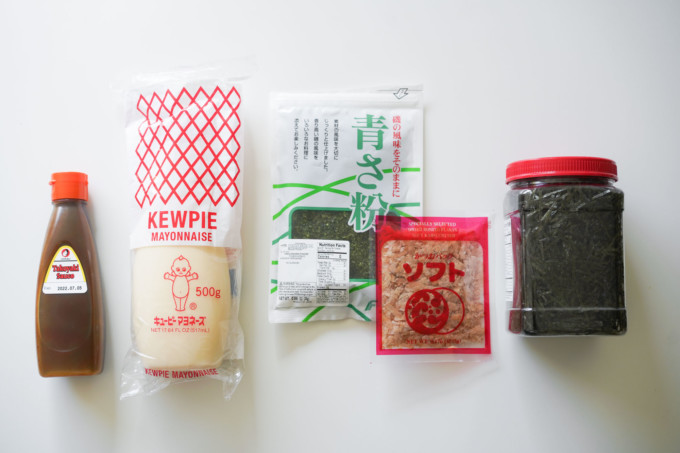
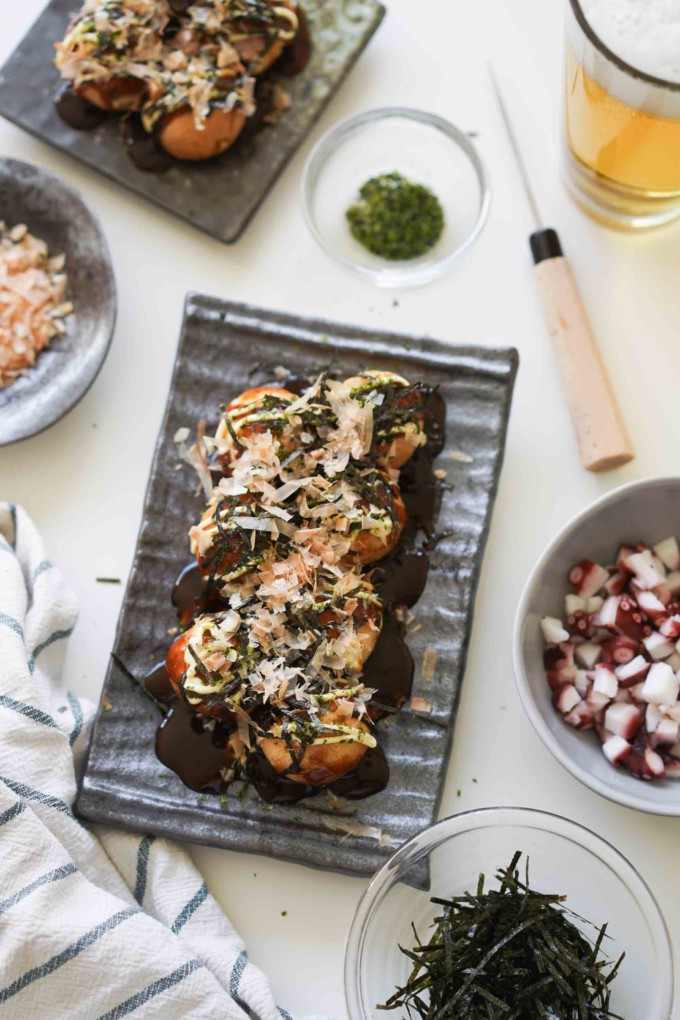
One of my favorite things about takoyaki is the sheer number of toppings. As if frying balls of battered octopus isn’t delicious enough—you get to add traditional toppings of takoyaki sauce, Kewpie, aonori, kizami, and katsuobushi!
- Takoyaki sauce is a dark sauce that is slightly sweet and akin to a lighter Worcestershire sauce, which is drilled on top. It’s filled with lots of umami flavors like tomatoes, oyster sauce, bonito flakes, and more.
- Aonori, otherwise known as green laver, is dried seaweed powder.
- Kizami are shredded strips of roasted nori, but I believe you can also cut strips of larger nori too.
- Katsuobushi is another name for bonito flakes—these are the very thin strips of smoked fish that “dance” on the takoyaki right before you eat them!
- Kewpie is a brand of Japanese mayonnaise. This mayonnaise is my favorite because it’s a lot eggier and is slightly sweeter than traditional western mayonnaise. You also need to make sure you buy the Japanese version of Kewpie because there are American versions at many grocery stores now. I’m told the Japanese version still tastes better due to the addition of MSG and more eggs.
I found all of these products at my local Japanese store, Mitsuwa. But you can also buy them online at various websites like Yummy Bazaar and Marukai Market. I’ve even seen Kewpie Japanese mayonnaise being sold at Target online!
Making the takoyaki batter
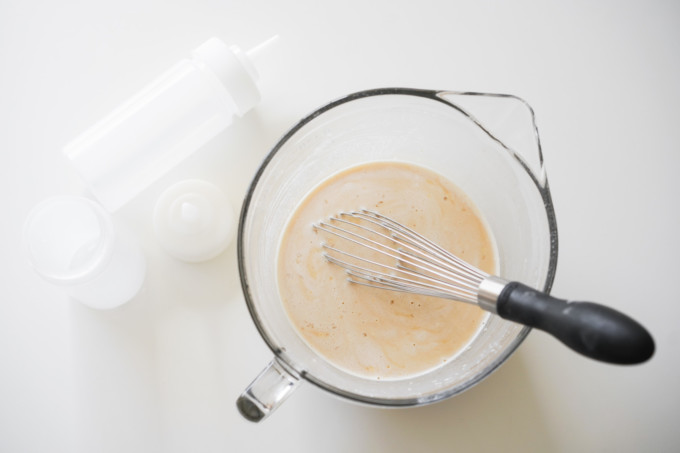
To make the batter, you just whisk together all the ingredients: dashi, eggs, all-purpose flour, rice flour, soy sauce, and baking soda. The addition of rice flour is not typical and I added this to get a crisp outer layer that didn’t get soggy after you remove it from the pan.

One good thing about making the batter at home is you can avoid eating some of the preservatives in the premade mixes that you find at your local Japanese store. Not to mention that with many of these mixes, you still need to supply your own eggs, water, octopus, green onion, and other fillings.
Can you make takoyaki without a takoyaki pan?
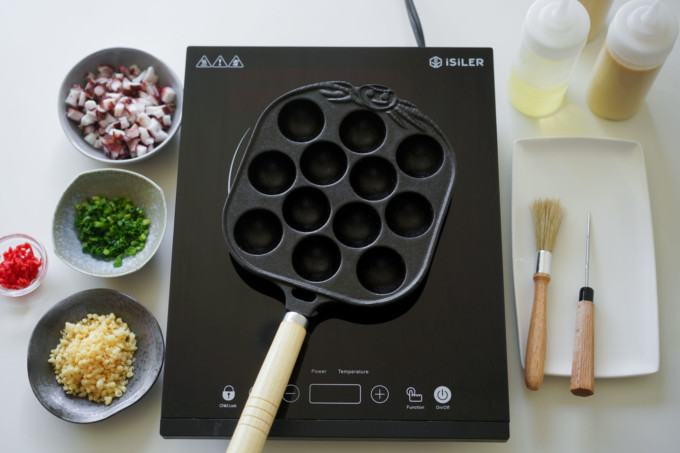
Takoyaki are often made with special takoyaki pans that have many semi circles and are made from cast aluminum, non-stick, and cast-iron materials. You can also buy them with their own electric heating system or a simple pan you place over a stove.
In another option, you can also use an aebleskiver pan to make takoyaki, but be mindful of timing since the aebleskiver ball shape are typically larger in size. In the same sense, you can also use banh khot molds, but again, adjust the timing for cooking due to the change in size.
From personal experience, I have not made takoyaki without a pan because this recipe makes a very liquid and wet batter. However, I have eaten deep fried takoyaki that were likely formed without a pan. I suspect this is made by freezing the batter slightly to firm up the texture in order to shape them into balls by hand and then deep frying them before they melt.
In my opinion, I favored the traditional cast-iron material as the best takoyaki pan because the pre-seasoning gave me a nice non-stick coating and the heating gives a golden crisp outer layer on my takoyaki.
Tips for takoyaki success your first time
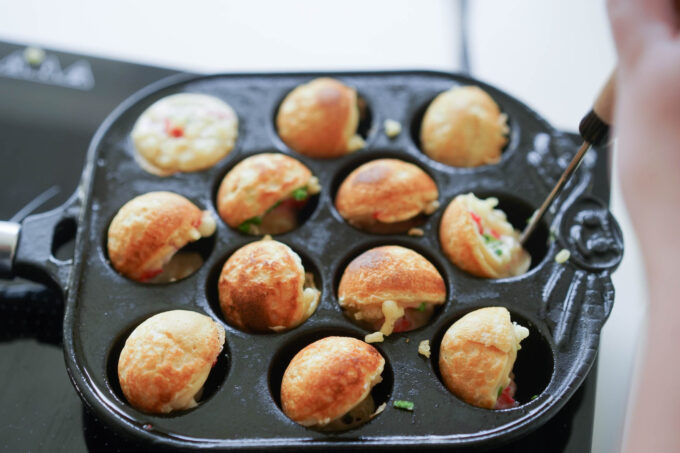
- If you are using a cast iron takoyaki pan, make sure to move the pan around to heat evenly. I noticed that because I was using a square pan on a circular stove, I needed to move around the pan during cooking to make sure the takoyaki balls cooked evenly at the same time.
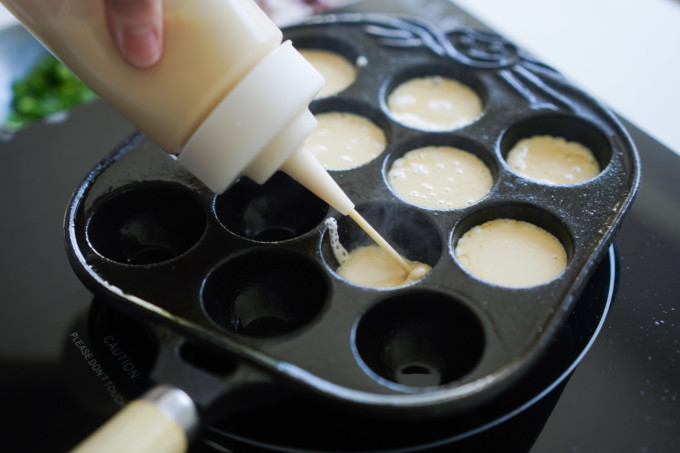
- Fill the takoyaki spaces about 80% full the first pour. Since the batter has baking powder, the batter will grow after a minute on the pan. You will also be adding fillings to the spaces so it may overflow too much if you add too much batter at the beginning.
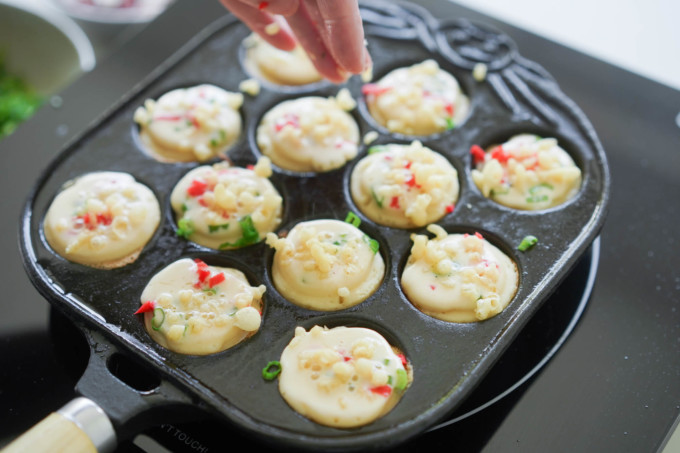
- Add the fillings when you see bubbles in the batter—if you add them too early, they may sink to the bottom and burn.
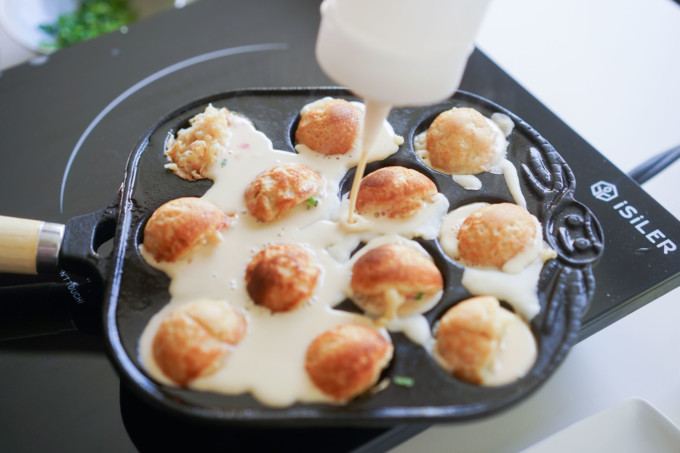
- Turn the takoyaki when you see the edges begin to golden. Turn the takoyaki balls about 120 degrees, leaving a little space to fill more batter inside the ball. I like to fill as much batter in the balls and around the pan as possible. It’s okay to fill the edges of the pan because you can fold extra batter into the balls when you rotate them.
- Continue to turn the takoyaki to get a crisp outer layer.
Is takoyaki supposed to be mushy?
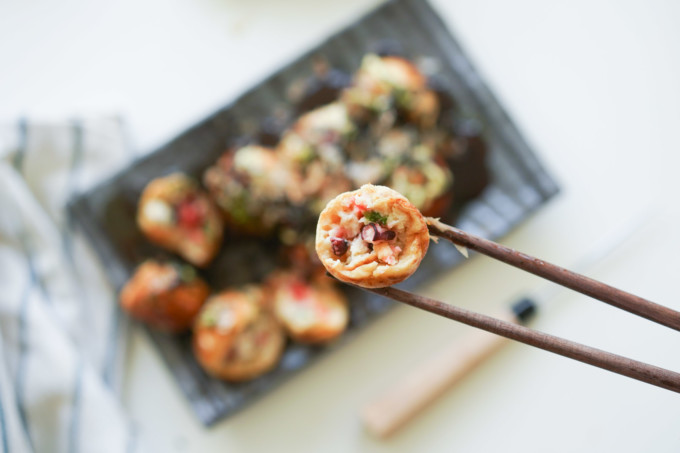
Takoyaki have crisp outside edges surrounding very moist and mushy centers that are filled with octopus, pickled ginger, green onions, and tenkasu.
Some of my favorite things to serve and eat with takoyaki are yakitori, miso-black cod, shrimp and vegetable tempura, and miso soup.
What is takoyaki in English?
Takoyaki means “octopus grilled/fried” in English.
Are bonito flakes alive?
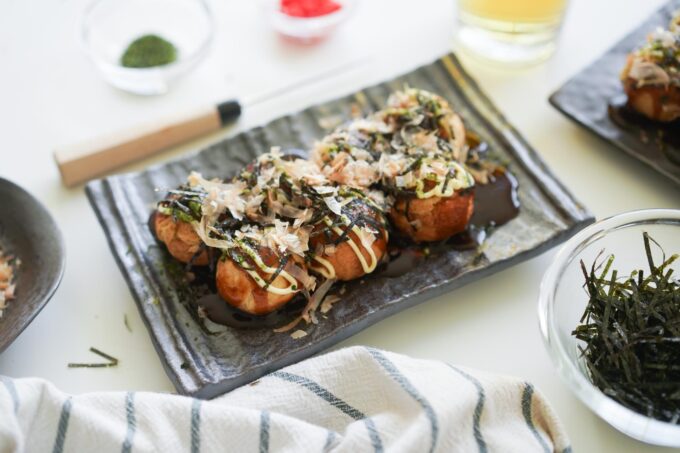
Bonito flakes, or katsuobushi, are very thinly sliced smoked fish so no, they are not alive. Since they are so thin, they have a tendency to move around at the lightest motion and heat of the food they sit upon.
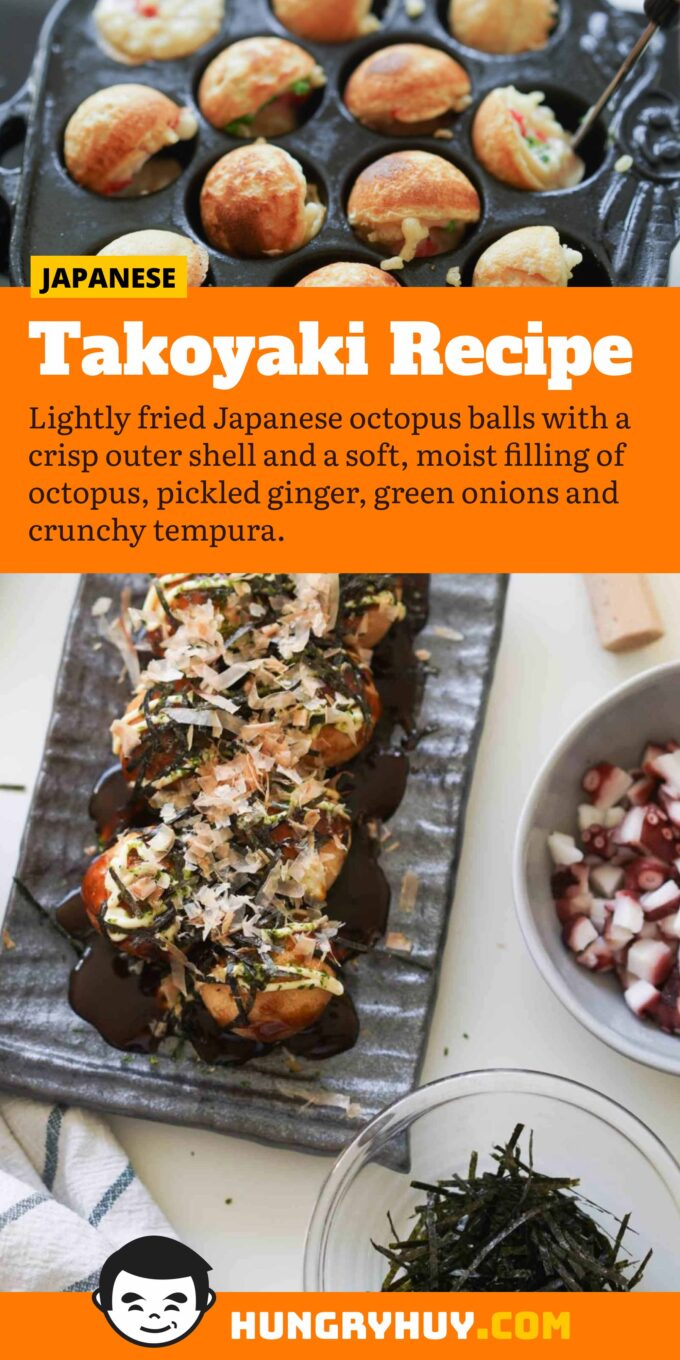
Takoyaki (Japanese Octopus Balls)
Ingredients
Takoyaki batter
- 2 g dashi powder
- 10 fl oz warm water 100-110 °F
- 2 large eggs
- ½ fl oz soy sauce
- 60 g all purpose flour
- 56 g rice flour
- 5 g baking powder
Fillings
- vegetable oil to grease the pan
- 3 oz cooked octopus cut into ¼ inch pieces
- 10 g pickled ginger minced
- 2 stalks green onion sliced thinly
- 13.5 g tenkasu
Toppings
- takoyaki sauce
- aonori dried seaweed powder
- Japanese mayonnaise preferably Kewpie brand
- kizami nori shreds
- bonito flakes
Equipment Used
- takoyaki pan
- chopsticks or takoyaki pin stick
- brush
- squeeze bottle, optional
Instructions
- Heat the water at least 100 °F and no more than 110 °F, then add the dashi powder and stir until it’s completely dissolved. Add the eggs and soy sauce into the dashi and whisk until it’s combined.
- In a bowl combine the all-purpose flour, rice flour, and baking soda. Sift the dry ingredients into the wet ingredients and whisk until there are no more lumps.
- Add the batter into a squeeze bottle if you prefer. This can make adding batter to the pan cleaner, without dripping.
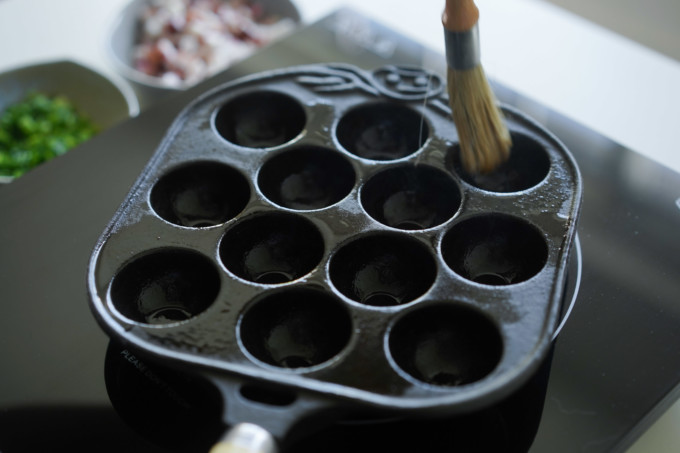
- Preheat the takoyaki pan over the stove on medium heat. Brush on some vegetable oil on each dip in the pan.
- Pour the batter into each dip at about 80% of the way up—do not add too much because it will expand.
- Cook for about one or two minutes, or until the batter begins to slightly bubble. This will ensure the fillings stay in the center and don’t sink to the bottom. Add a little bit of each of the fillings into each takoyaki.
- After you’ve filled each ball, go to the first takoyaki and use the takoyaki stick to release it from the sides to turn the ball in ¾ of the way around. Leave a little opening (about 1/8 inch) in the takoyaki so it is not completely covered. This is the opening where you will later fill in with more crispy, cooked batter.
- Pour more batter over the entire pan and into the opened spaces and continue to cook until the batter bubbles. Carefully watch the takoyaki at this time, adjusting the heat if it’s burning too hot or too low. You want to give enough time for the batter to cook all the way through without burning.
- Use the takoyaki stick to begin to turn the takoyaki around when the batter bubbles. Use the stick to move the batter around the edges of each semi-circle and fold them into each takoyaki ball as you are turning them.
- Cook the balls until each are golden brown and crispy on the edges. All the takoyaki should measure at 200 °F internally.
- Remove the balls with the stick and top them with takoyaki sauce, sprinkle aonori, squeeze some mayonnaise, add some seaweed strips, and bonito flakes on top. Serve immediately.

