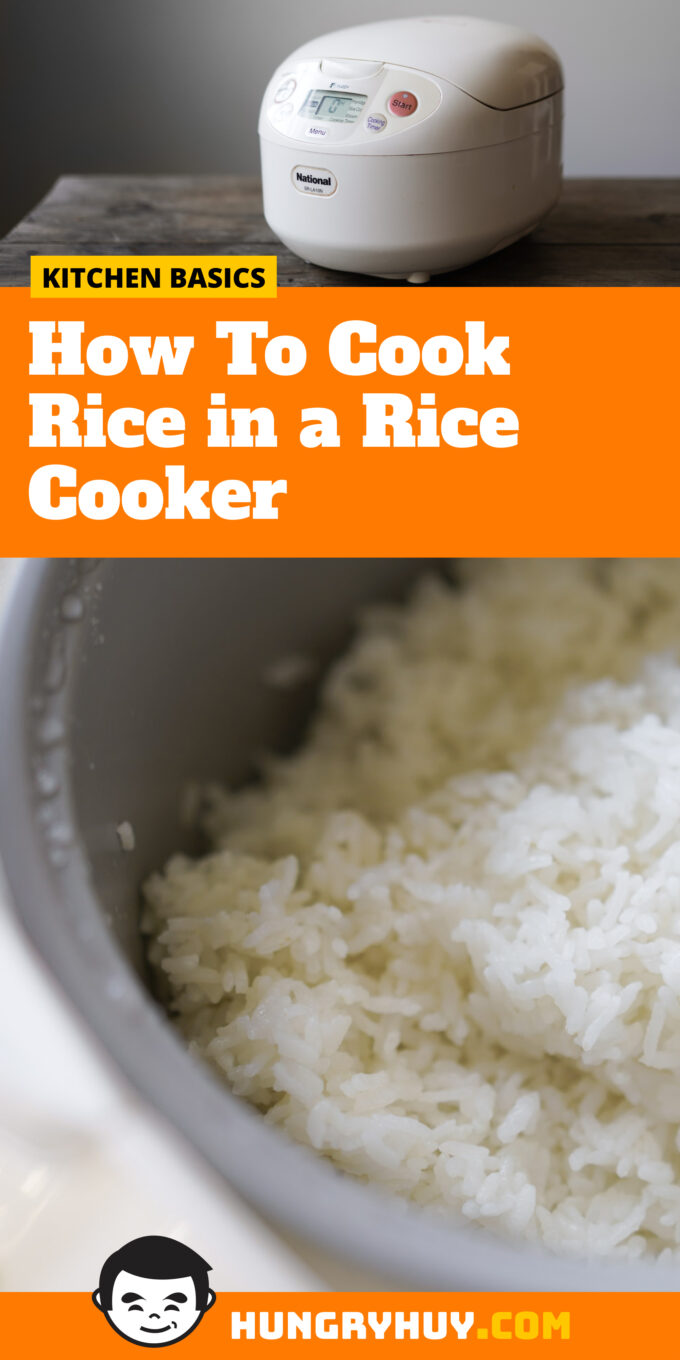
Once you learn how to cook rice in a rice cooker, it will be dead simple to repeat for consistent, fluffy and delicious rice every time. Hands off too! Simply rinse the rice, use a 1:1 ratio of water to rice, start the machine and you’re good to go. For more details about the reasons ‘why’, read on!
I first learned to cook rice from my maternal grandmother many years ago. She’d have me go into the garage and take a few scoops out of those vertical rice bins that look like water coolers–y’all growing up in Asian households know what I’m talking about.
Any meal without rice in that house was just NOT a complete meal, so you can bet everyone living there got a lot of practice making rice, and that I am now particular about how my rice is cooked!
Why use a rice cooker?
Using a rice cooker is an almost fool-proof method of cooking rice at home. It’s a convenient (and consistent) way of achieving those perfect fluffy and sticky grains that completes any meal. Yes, you can cook rice on the stovetop–but why add the extra hassle of watching rice cook, when you can just set it and forget it? It’s important to remember, you can even use a rice cooker to make quinoa too!
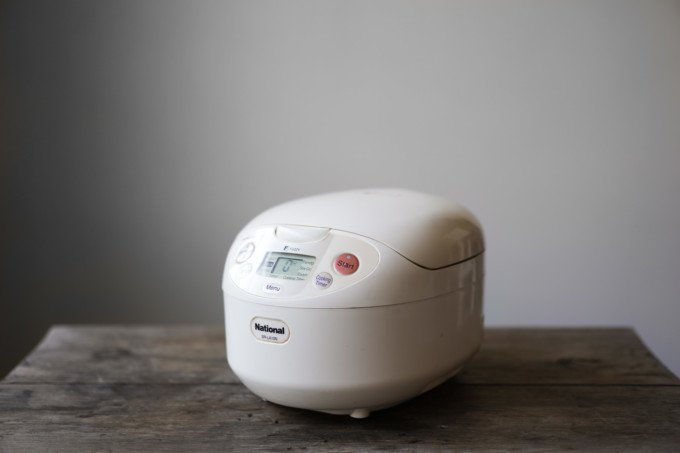
I use a relatively inexpensive rice cooker that was given by my mom but has used even cheaper (~$15 range) and super pricy ones at my family’s and friends’ houses. If you prefer not to buy a uni-tasker like a rice cooker, you can easily cook your rice in a microwave, on the stove, cook jasmine rice in an Instant Pot, Instant Pot basmati rice, or cook short-grain rice in an Instant Pot too.
But if you eat rice just about every day, a dedicated rice cooker with a simple interface and keep warm function should deserve some consideration. If you have an Aroma rice cooker, you should check out my Aroma Rice Cooker Instructions post.
Choose a type of rice
First things first, you need to choose the type of rice you want to eat. While there are plenty of different types of varieties of rice, there are 3 main sizes of rice grains and the type you choose can greatly affect the proportion of water you need to use:
- Long grain: Four times longer than they are wide and have a lighter texture (ex: Jasmine rice)
- Medium grain: Two times longer than their width and have a more tender and chewy bite (e.g.: Arborio or risotto rice)
- Short grain: Almost as wide as it is long and have a plumper and stickier consistency (e.g.: sushi rice or rice for salmon poke bowls or TikTok salmon rice bowls)
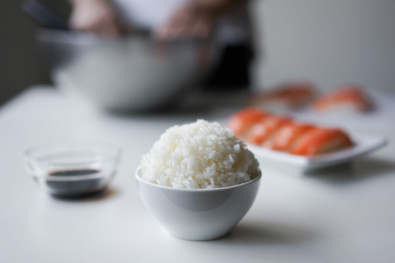
At home, and for this recipe, we like to cook with medium grain sushi rice for its pleasant, slight stickiness and moisture.
Rinsing the rice
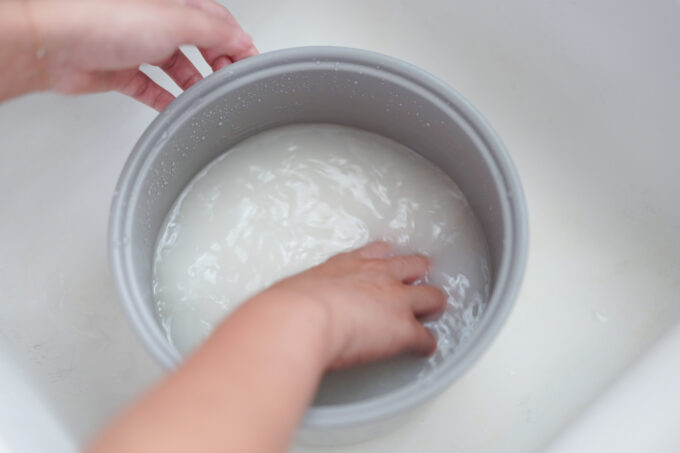
Lightly rinse, swirl, then drain the water from the rice 1 to 2 times with cold water to get rid of extra starch build up from broken grains or other debris. You want to retain some of the starch so there’s a bit of stickiness, good for being able to pick up your rice with chopsticks.
You can wash the rice in the rice cooker pot directly and use your hand to move the rice grains around. Pour out the cloudy water from the pot and repeat once or twice if necessary–you don’t want or need the water to be completely clear.
It’s important to note that some white rice produced in the US is enriched with powdered nutrients (iron, folic acid, etc.), and washing your rice could potentially remove these added nutrients.
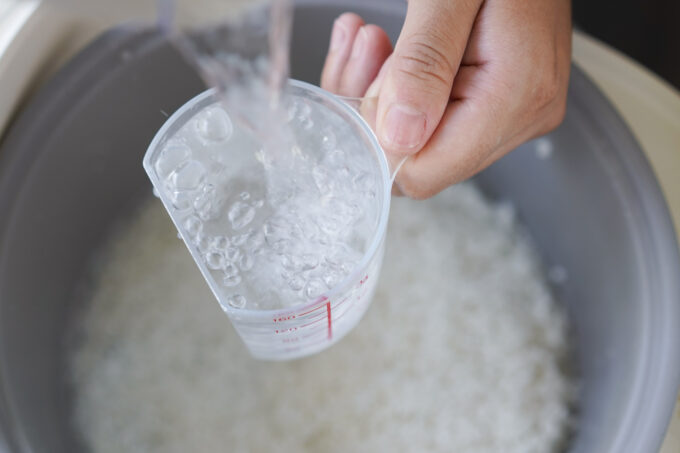
Adding the proper water to rice ratio
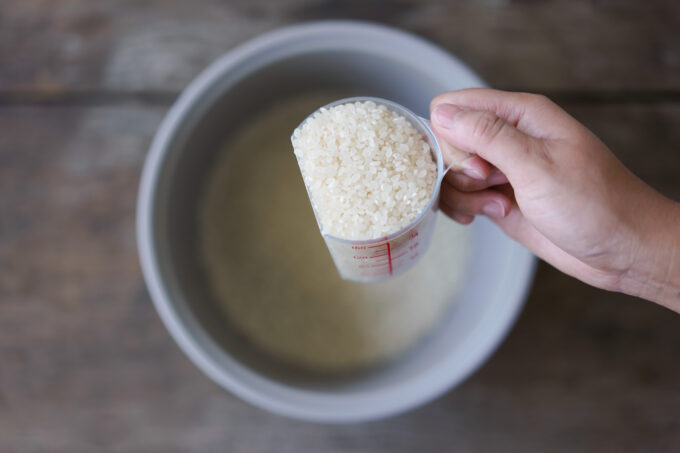
Measuring cup method (preferred!)
If you care about consistency, accuracy, or being able to tweak this ratio for other kinds of rice, you should be using a measuring cup. Please note, I use the same measuring cup for BOTH rice and water in order for the ratios below to work.
For any type of grain size (short, medium, or long) you can follow a 1:1 ratio of water to rice. If you want to add more rice, you can adjust the recipe in a similar way, 2 cups of rice to 2 cups of water. This should produce fluffy, but slightly sticky grains of rice when cooked, and works well for up to 3 cups in our rice cooker.
This ratio gives me perfectly fluffy rice every time. You may need to tweak them a tiny bit to your taste and specific brands of rice, and possibly even your rice cooker (see adjusting section below).
Note that these ratios are different than when cooking rice on a stovetop or cooking white rice in the microwave. This recipe also differs from cooking brown rice in the microwave and brown rice in a rice cooker.
The knuckle measuring method
If you’ve made rice in an Asian household, you should know full well that the standard method of measuring an appropriate amount of water only requires the use of (anyone’s) first knuckle of your index finger.
The knuckle method can work, but my problem with it is that it’s not precise enough for repeatable results. If you use this method and your results come out different everytime, don’t come wagging your finger at me.
To clarify, this is how one would do the knuckle meausring method: rinse and drain your rice, then shake it a bit left and right so the rice is completely level in the pot. Put your index finger straight down into the rice so that only the tip barely touches the top surface of the rice. Then add water so the water level reaches your first knuckle, approximately 1″. I’m not going to post a picture of this because I don’t want you using this method.
While I grew up with this rule and it works well enough, I don’t use it anymore. I can’t in good conscience rely on this or much less teach people to use this less than scientific method since it has many variables: how level you get the rice, the length of whomever’s finger doing the measuring, cooking vessel size, etc.
If you’re trying to tweak a recipe for different kinds or volumes of rice, the variations and pseudo finger-length method measurements get out of hand, quickly.
Powering on the rice cooker
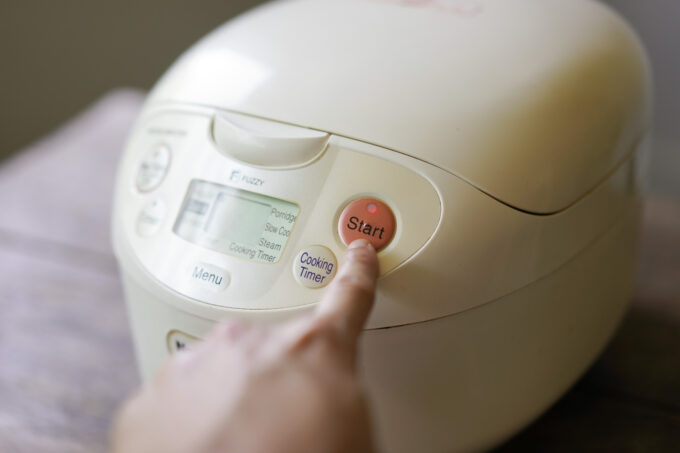
After filling your rice cooker pot with rice and water, place it back into the cooker and turn it on. Some rice cookers only have one power switch, and no options, so you’re all set. For fancier ones, it may have normal or quick cook settings, so read your manuals to make sure you know what it’s doing. The cooking typically takes from 20-30 minutes.
Once you press start, DO NOT open the lid! You don’t want to lose that precious water/steam essence you’ve got going on. Trust your machine and it’ll do the work for you. Most modern rice cookers will make a little sound or have an indicator light to let you know when it’s done. Our cooker has a “keep warm” setting after the rice is done cooking.
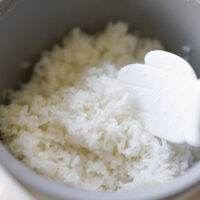
Let it rest, then fluff
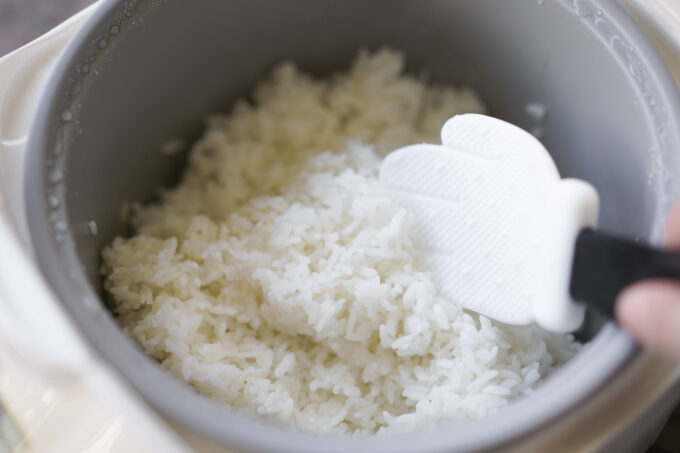
Let the rice sit in the cooker for about 5-10 minutes after the machine tells you it’s done. If you’re in a hurry you can eat it now, but waiting lets the moisture evaporate a bit, and along with the heat, distribute evenly through the grains.
Then open the lid, use a rice paddle to fluff it up a bit before serving. This is a Mickey rice paddle a friend got for us, but any other type will do too :). To learn how to properly eat rice with chopsticks, you can read my chopstick tutorial.
Adjusting your rice to water ratio for other rice types
Depending on the type of rice you’re using and the volume you want to cook, you may need to adjust your ratios. Longer grain rice will typically need more water, while shorter grain rice will need less.
I like to test any new type of rice I’m cooking with a 1:1 ratio, then adjust more or less water depending on the results. Once you’re within ballpark range, try adjusting the water by ¼ cup measurements and see how this changes your rice texture.
If you find that your rice is too dry and a little hard, you can add more water and leave the rice on warm for 5-10 minutes.
If your rice is too mushy, well that sucks because you’ll need to start over and decrease the amount of water. If you HATE wasting food (hello paternal grandmother with dozens of bite-sized portion leftovers in the fridge), additional options for saving the rice could be turning it into fried rice with Chinese sausages, Spam musubi, or rice pudding for dessert (extra yum!).
To learn how to make brown rice, you can learn how to cook brown rice in a microwave, brown rice in an Instant Pot, or brown rice in a rice cooker.
How to Cook Rice in a Rice Cooker
Ingredients
- tap water for rinsing
- 2 c rice short grain, long grain, or medium grain
- 2 c filtered water
Equipment Used
Instructions
- Measure out 2 cup of rice and add to the rice maker pot. My rice maker comes with a measuring cup and I always use this to measure both rice and water.
- Rinse the rice in the pot under cold running water. Use your hands to move the rice around gently to clean the grains. Pour out the water once it starts to change color. Repeat this process 2 times. Make sure to drain all the water when finished.
- After you clean the rice and remove the rinsing water, add 2 cups of filtered water to the pot.
- Return the rice pot to the rice maker. Make sure your rice maker is on and follow the manual instructions. Our rice cooker provides a “quick” setting along with a “normal” setting. I more often than not choose “quick” because it gives me the same results for a shorter amount of time. While the rice is cooking, do not lift the lid so as not to lose steam.
- Once the rice is done, leave the cooker closed for an additional 5 minutes.
- Open the lid and fluff the rice with a rice paddle.
- Serve rice onto bowls and enjoy.


When indicating nutrition you need to include serving size. I am guessing this is 1/4 cup.
Thanks, I will update to make that clearer. Nutrition is per serving, as indicated by the number of servings you select on the recipe.
Thank you so much for posting this method of making rice in a rice cooker! I have been making rice on the stove all my life, but recently moved to an apartment with a finnicky stove top. I have tried countless ratios of rice to water as well as burner temperatures to no avail. I resorted to microwavable packets. Meh! Not to mention very disappointing to my Cuban husband. Lol. No more awful rice for us!!
Thank you so much for posting this explanation and clear reasons, for cooking albeit something so simple. My 13yr old was so disappointed with 2 attempts with his brand new rice cooker. So when I read through this articulate and funny post I made the 3rd attempt and voila happy boy!
I would like to use beef broth instead of water? I would like to know how much of the beef broth is used?
I haven’t tried this but my main concern is the sodium level. If using low sodium broth you might be able to substitute it 1:1.