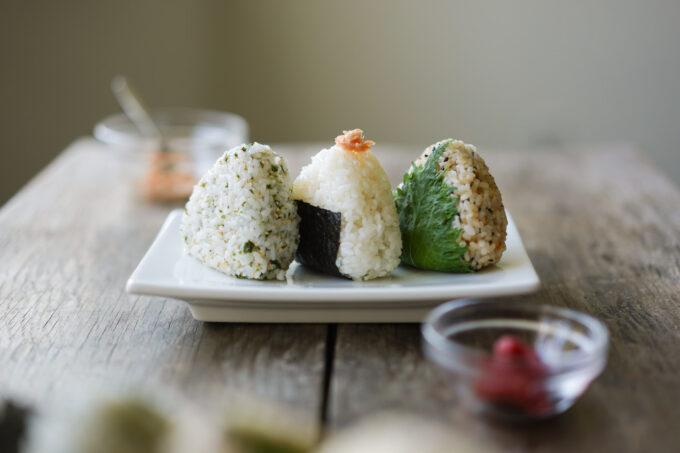
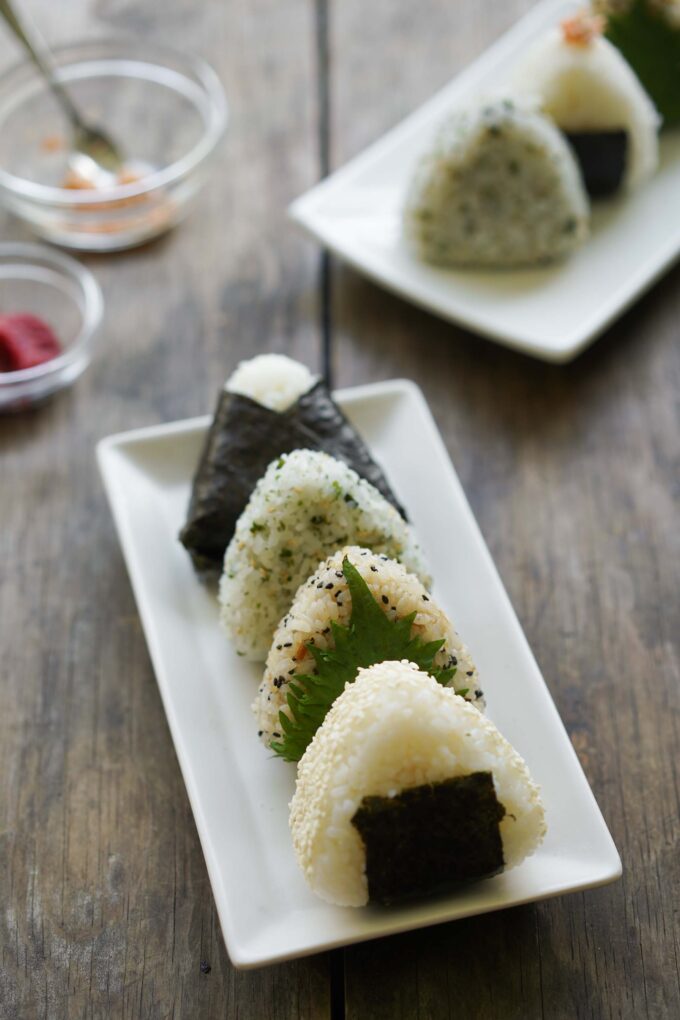
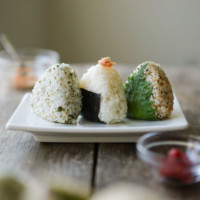
Onigiri are fluffy shaped rice balls wrapped in nori and packed with a variety of different savory fillings like buttery salmon, umami flavored bonito and soy sauce, creamy tuna, and furikake.
Onigiri, also known as o-musubi or rice ball, is a Japanese food staple that you can find in Japanese restaurants or grocery stores. It’s an easy way to transport rice and this makes it the perfect on the go snack!
The rice
To clarify, onigiri is not made with sushi rice like inari sushi. Onigiri is made by lightly seasoning the rice with salt, whereas sushi rice is made with a seasoning of vinegar, sugar, and salt.
To start your onigiri, you need to cook short grain Japanese rice and then add salt by paddling it in the bowl. Traditionally salt is added during the hand forming step, but I like to use molds and want to make sure all my rice is salted well. I like to start with about two cups to make eight onigiri. Each onigiri measures to about half a cup of rice.
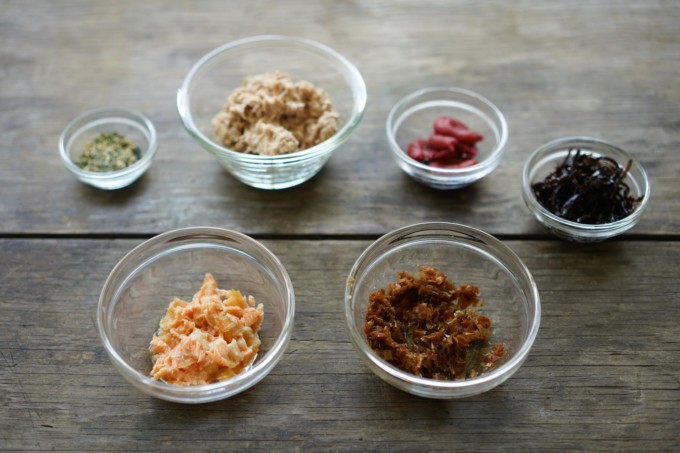
Onigiri fillings
Tuna with Kewpie Japanese Mayo
Make the tuna filling by mixing a can of tuna and some Kewpie Japanese mayonnaise in a small bowl. Add some soy sauce to season this filling, too. I like to add about 1 ½ tsp of tuna filling into one onigiri.
Flaky salmon
To make the flaky salmon, you need to pat dry a salmon filet and then sprinkle a generous amount of salt around the salmon. Leave this to marinate for about one hour before baking at 350 °F for 15 minutes, and broiling for five additional minutes. After broiling, use a fork to gently flake, but not mash the fish. I add about 1 ½ tsp of salmon filling into one onigiri.
Okaka (bonito flakes and soy sauce)
One of the easiest fillings to make is okaka, which is bonito flakes and soy sauce. I bought bonito flakes at my local Japanese grocery store. Mix one package of bonito flakes with soy sauce thoroughly. You want the flakes to be dampened, but not drenched with soy sauce. For one onigiri, I mix half a tablespoon of the okaka filling with ½ cup of rice directly and add some black sesame seeds to make one onigiri.
Other onigiri filling ideas
There are also other fillings that are super easy to make too!
- Ume (pickled plum): I use one to two pickled plum in each onigiri.
- Kombu tsukudani (simmered and seasoned seaweed): I use two teaspoons of kombu tsukudani with ½ cup of rice for one onigiri.
- Furikake: I like to add two to three teaspoons of furikake mix with ½ cup of rice per onigiri.
- Shrimp tempura
- Vegetable tempura
- Salted cod roe
- Salted pollock roe

How to form onigiri: by hand vs onigiri mold
Now that you’ve got your rice and your fillings, it’s time to make onigiri! Traditionally, onigiri is made by dipping your hands in salt water and forming the rice balls manually. However, I prefer using onigiri molds because it makes the rice balls uniform in shape and size, and it’s less of a mess!
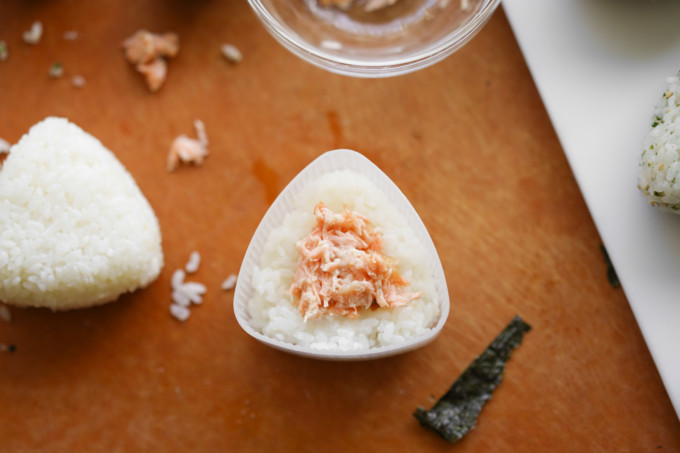
There are different ways to add the filling into rice balls, you can mix it directly with the rice and form the balls or you can add the fillings into the middle. For traditional onigiri, I like to add about ¼ of a cup of rice into the mold, then add the filling, and top with another ¼ of rice. For fillings that are mixed with the rice, I like to add mix them in a bowl with a spoon.
After adding the rice to the molds, the rice should be level to the brim of the mold. Use the top of the mold and press down to firmly shape the onigiri. Press the other end of the mold and release the onigiri ball onto a plate.
Wrapping onigiri
Once you’ve formed your onigiri, you can choose to wrap nori around your rice ball. Onigiri was created in Japan during the 11th century, but the addition of nori was not until the 17th century. I like to add nori to help carry the onigiri and keep the rice ball from being too sticky.
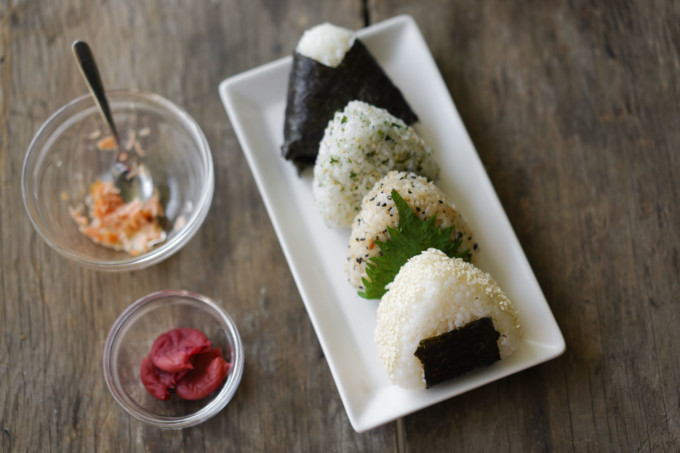
There are many ways to wrap the nori around the rice ball. For example, you can wrap the entire ball in large strips of nori, rolling the onigiri in sesame seeds, or shiso leaves to add extra flavor.
How to serve
You can take this onigiri to go or eat as a quick snack, but I like to eat this with chicken karaage and takoyaki (Japanese octopus balls), too. Ideally, onigiri is meant to be eaten the day that you make it. While you can refrigerate this and try to heat it up in the microwave, I would not recommend it because the rice can dry out.
For a more Americanized version of onigiri, you can also make Spam musubi in a similar fashion.
Frequently asked questions about onigiri:
What type of rice is used for onigiri?
Onigiri is made with short grain Japanese rice (but you can also use medium grain) that is lightly seasoned with salt.
How do you make rice balls stick together?
Onigiri balls are formed by the stickiness of the short grain rice. To further form the triangle or round shapes, you can use nori to wrap the onigiri.
How long do rice balls last in the fridge?
I would eat the rice balls as soon as possible, but you can save them for the next day as well. The longer you wait the rice will dry out and the nori will lose its crispiness.
Why do my rice balls fall apart?
If you find your rice balls not keeping its shape, you need to make sure to use the correct type of rice. Ongiri is made with short grain Japanese rice, which has a good amount of stickiness to keep its shape.
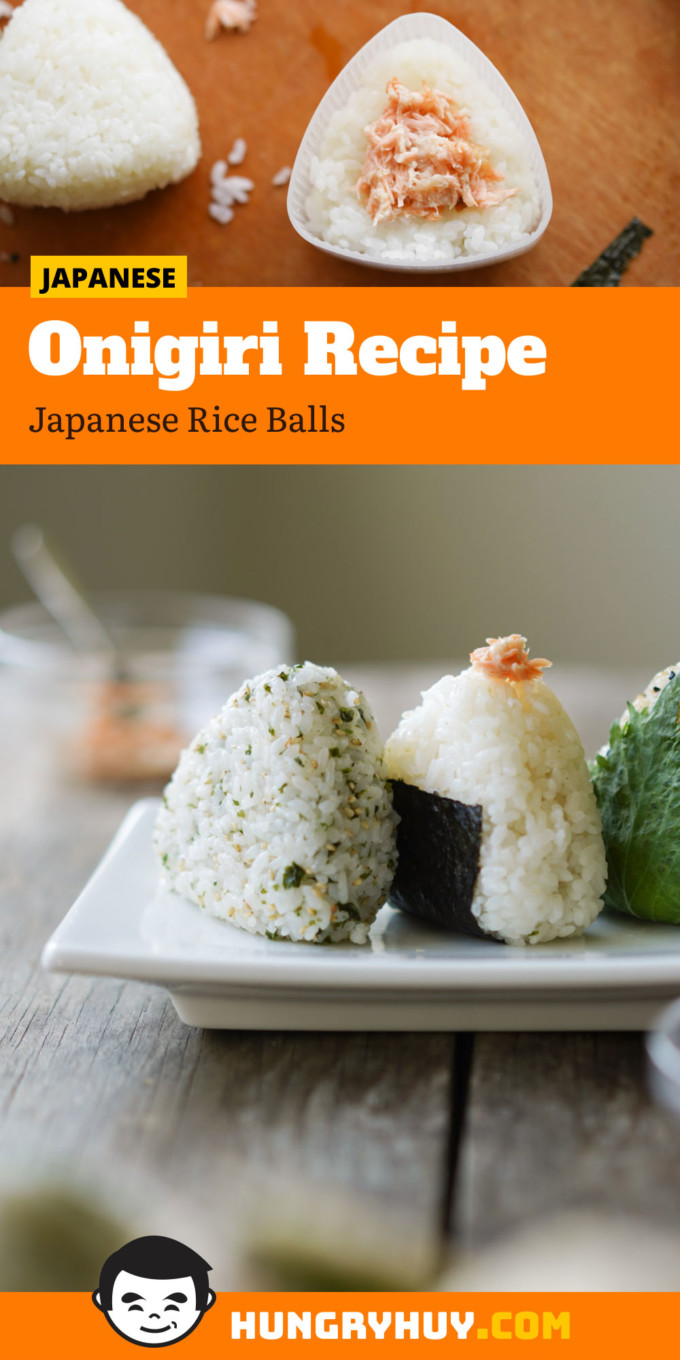
Onigiri – Japanese Rice Balls
Ingredients
- 4 c short grain rice cooked
Tuna filling
- 5 oz (141.7 g) can of tuna
- 2 tbsp Kewpie Japanese mayonnaise
- ½ tsp soy sauce
Salmon filling
- 7 oz filet of salmon
- 2 tsp salt
Okaku filling
- 5 g bonito flakes
- ½ tbsp soy sauce
- 2 tsp black sesame seeds
Kombu tsukudani filling
- 6 tsp kombu tsukudani
Ume (pickled plum) filling
- 6 oz ume (pickled plum)
Furikake filling
- 6 tsp furikake
Wrapping
- nori optional
- shiso leaves optional
Instructions
Onigiri preparation
- After cooking the short grain rice, add about half teaspoon of salt to the rice and mix. Taste the rice and adjust if you want more seasoning. Remember that you will also be adding filling with the rice so you don’t want to over salt the rice.
- Tuna filling: In a small bowl, add the canned tuna, Kewpie Japanese mayo, and soy sauce and mix together. I add about 1 ½ tsp of tuna filling into my onigiri.
- Salmon filling: Preheat the oven at 350 °F. Pat dry your filet and season with a generous amount of salt all over the fish. Marinate the salmon for one hour. Bake the salmon for 15 minutes, and then broil for an extra five minutes. Make sure to watch the fish so it doesn’t blacken. After the fish is done, use a fork to flake the fish into small pieces. I add about 1 ½ tsp of salmon filling into one onigiri.
- Ume pickled plum: Use your fingers to gently squeeze out the seed in a pickled plum. I use one to two pickled plum in each onigiri.
- Okaka filling: You can use store bought bonito flakes and mix one five gram packet with ½ tablespoon of soy sauce in a bowl. This should make the bonito flakes damp, but not too wet. I like to mix half a tablespoon of the okaka filling with ½ cup of rice directly and add some black sesame seeds to make one onigiri.
- Furikake filling: Add two to three teaspoons of furikake mix with ½ cup of rice and mix in a bowl with a spoon thoroughly. This makes one onigiri.
- Kombu tsukudani filling: Add two teaspoons of kombu with ½ cup of rice and mix in a bowl with a spoon. This makes one onigiri.
Forming onigiri
- For onigiri with fillings inside: Using the onigiri molds, add about ¼ cup of rice to the onigiri mold, then add the filling you desire, and top off with ¼ cup of rice. Make sure to fill the rice all the way up to the edge of the mold. Take the top and press down to make the shape. Turn the mold over and press the release button to release the onigiri.
- For onigiri with rice and fillings mixed together: Add the rice mixture into the onigiri mold and make sure to fill it all the way up to the edge of the mold. Take the top and press down to make the shape. Turn the mold over and press the release button to release the onigiri.
- Wrap your onigiri with nori. I like to cut rectangles of nori and place them in the middle of the onigiri. You can also use shiso leaves to add to the onigiri, too, by placing the leaf on the front side and folding it under the bottom. The rice should stick to the leaf easily.
- Additionally, you can add extra toppings and sprinkle or roll sesame seeds onto your rice balls.
- Eat the onigiri as soon as possible because they are meant to be eaten the same day as you make them.


